前言 | 运行截图 | 适用人群 | 开始使用 | 个性化 | 更新 | 默认安装 | 基础键位 | 使用建议
- Introduction
- Features
- For whom?
- Install
- Customize
- How to use
- Update
- Contributions
- Acknowledgements
- Articles
space-vim is a vim distribution for vim plugins and resources, compatible with Vim and NeoVim.
It is inspired by spacemacs and mimics spacemacs in a high level, especially in the whole architecture, key bindings and GUI. if have ever tried spacemacs, you will find space-vim is very similar to it in user experience.
Elegance here means pleasing, graceful as well as simple. If you are unfamiliar with spacemacs, you can visit spacemacs.org for more about the priciple behind that, which is also what space-vim seeks.
The distribution is completely customizable using .spacevim, which is equivalent to .spacemacs in spacemacs.
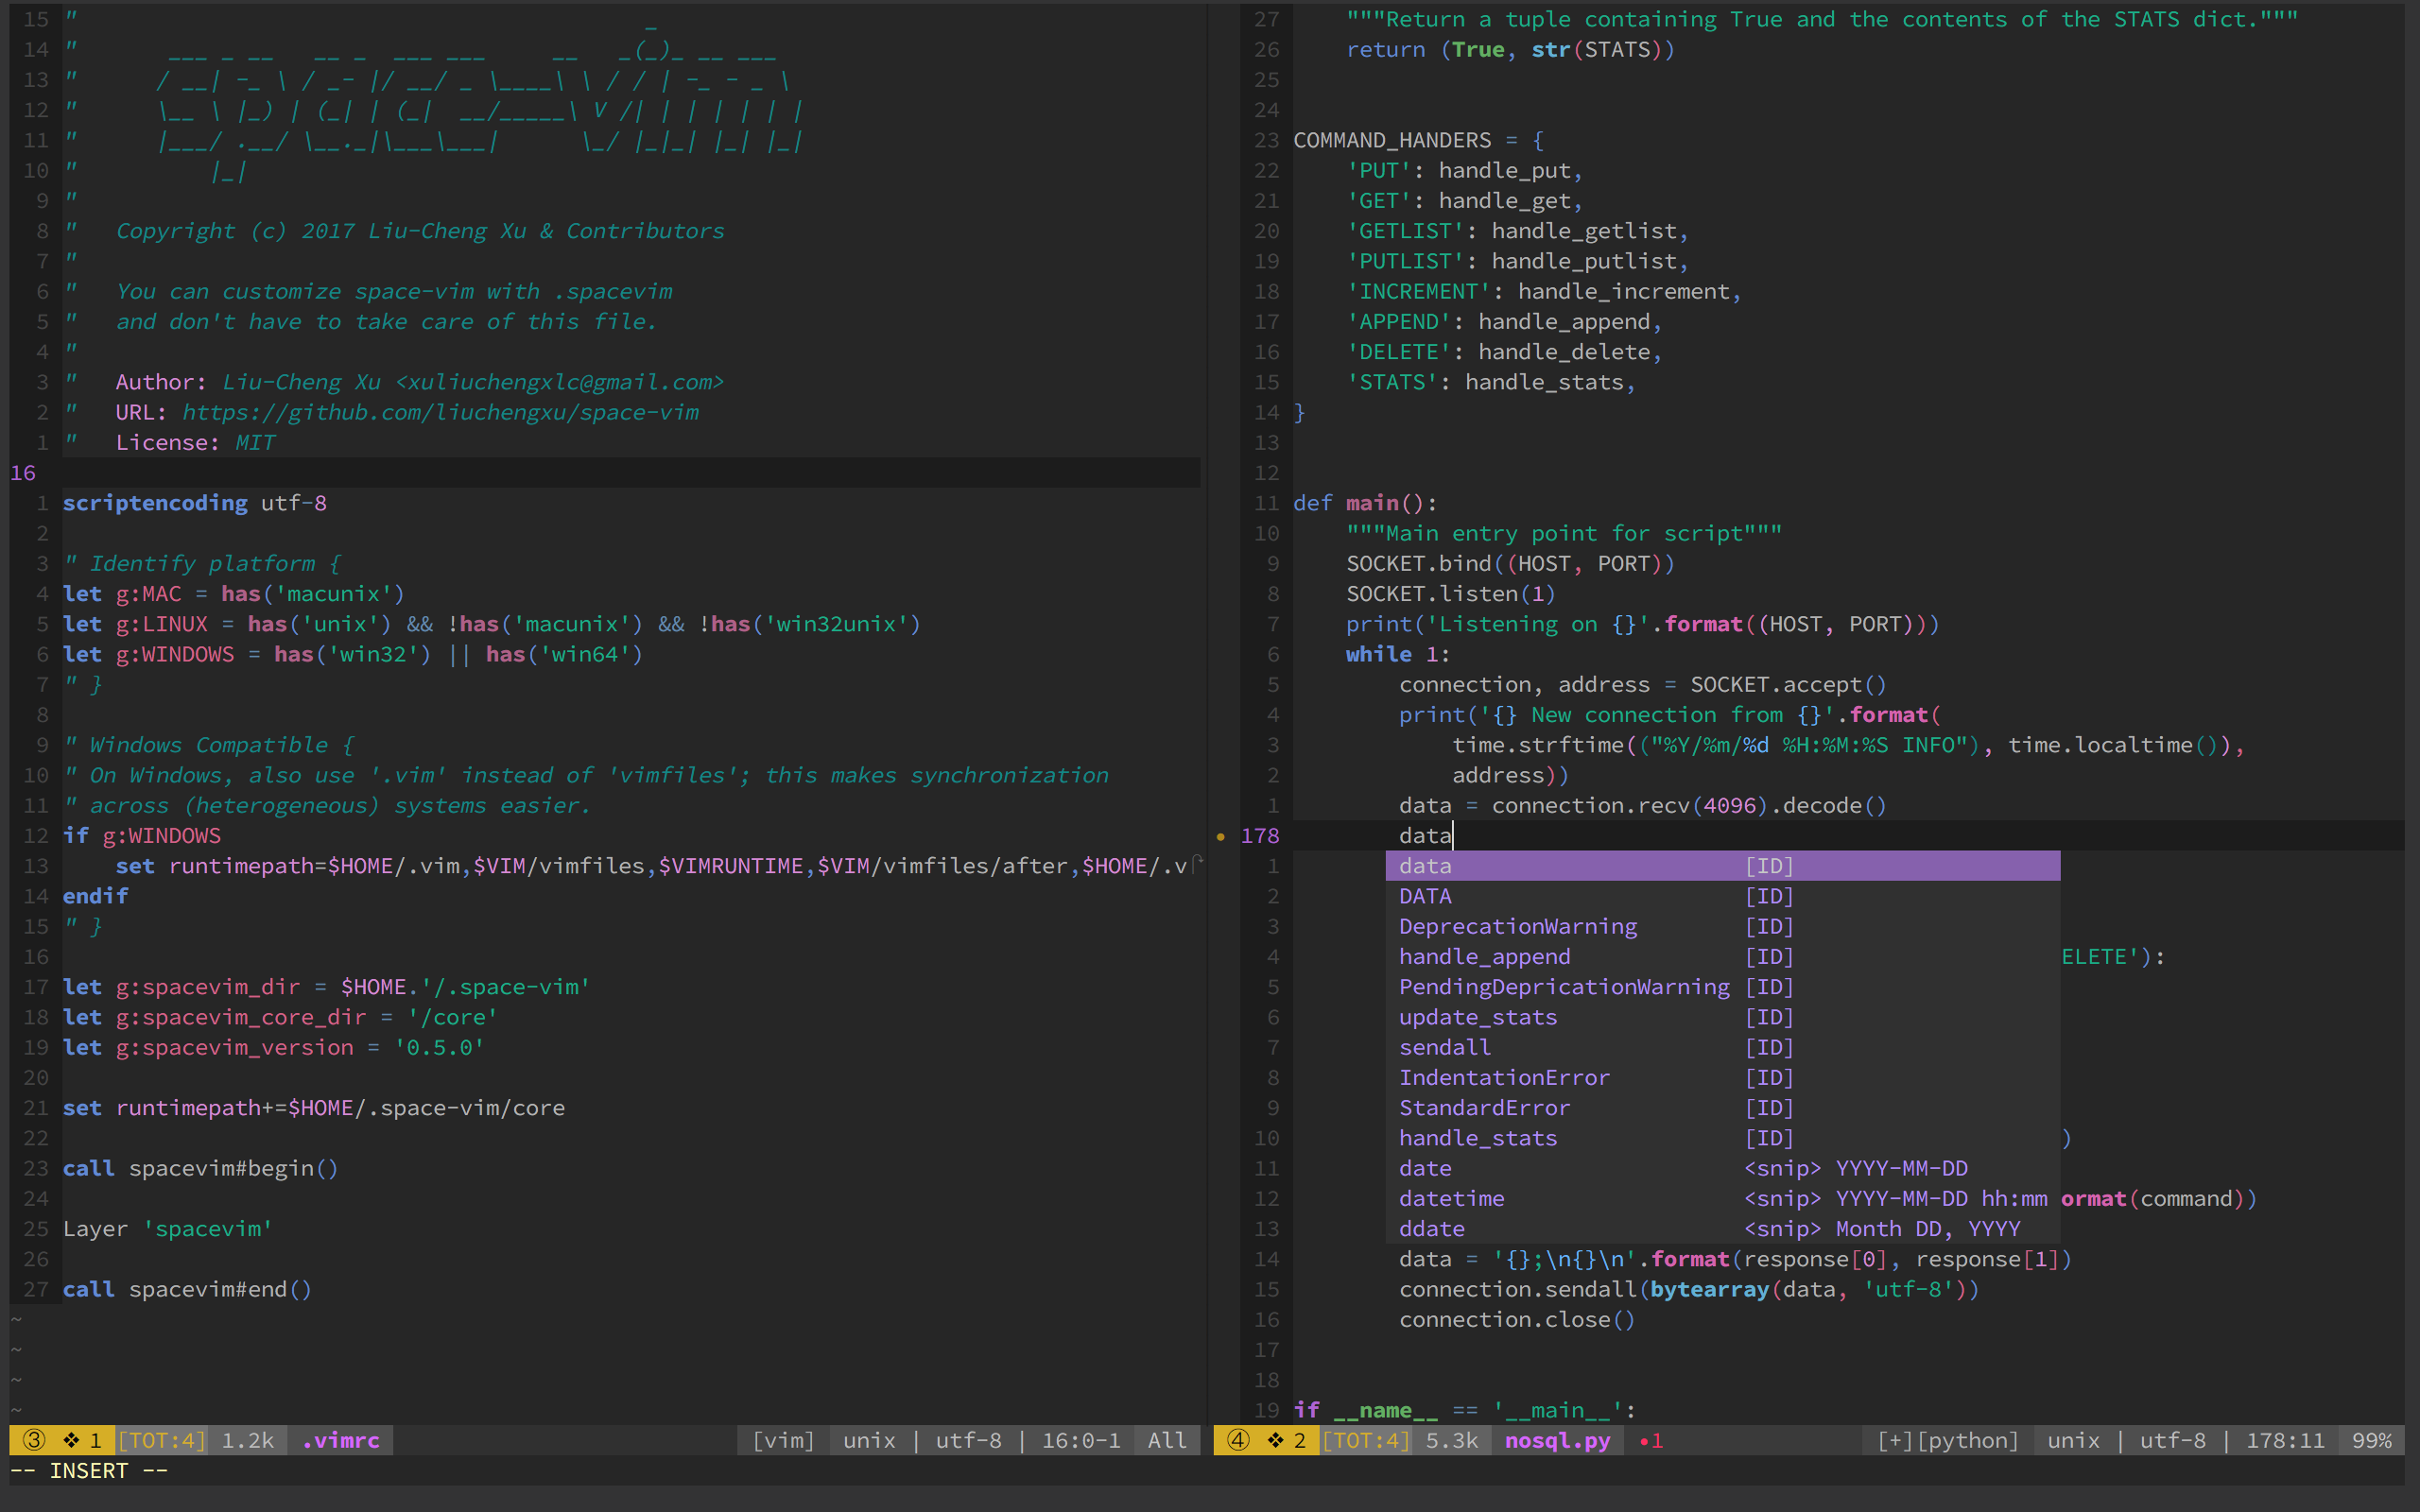
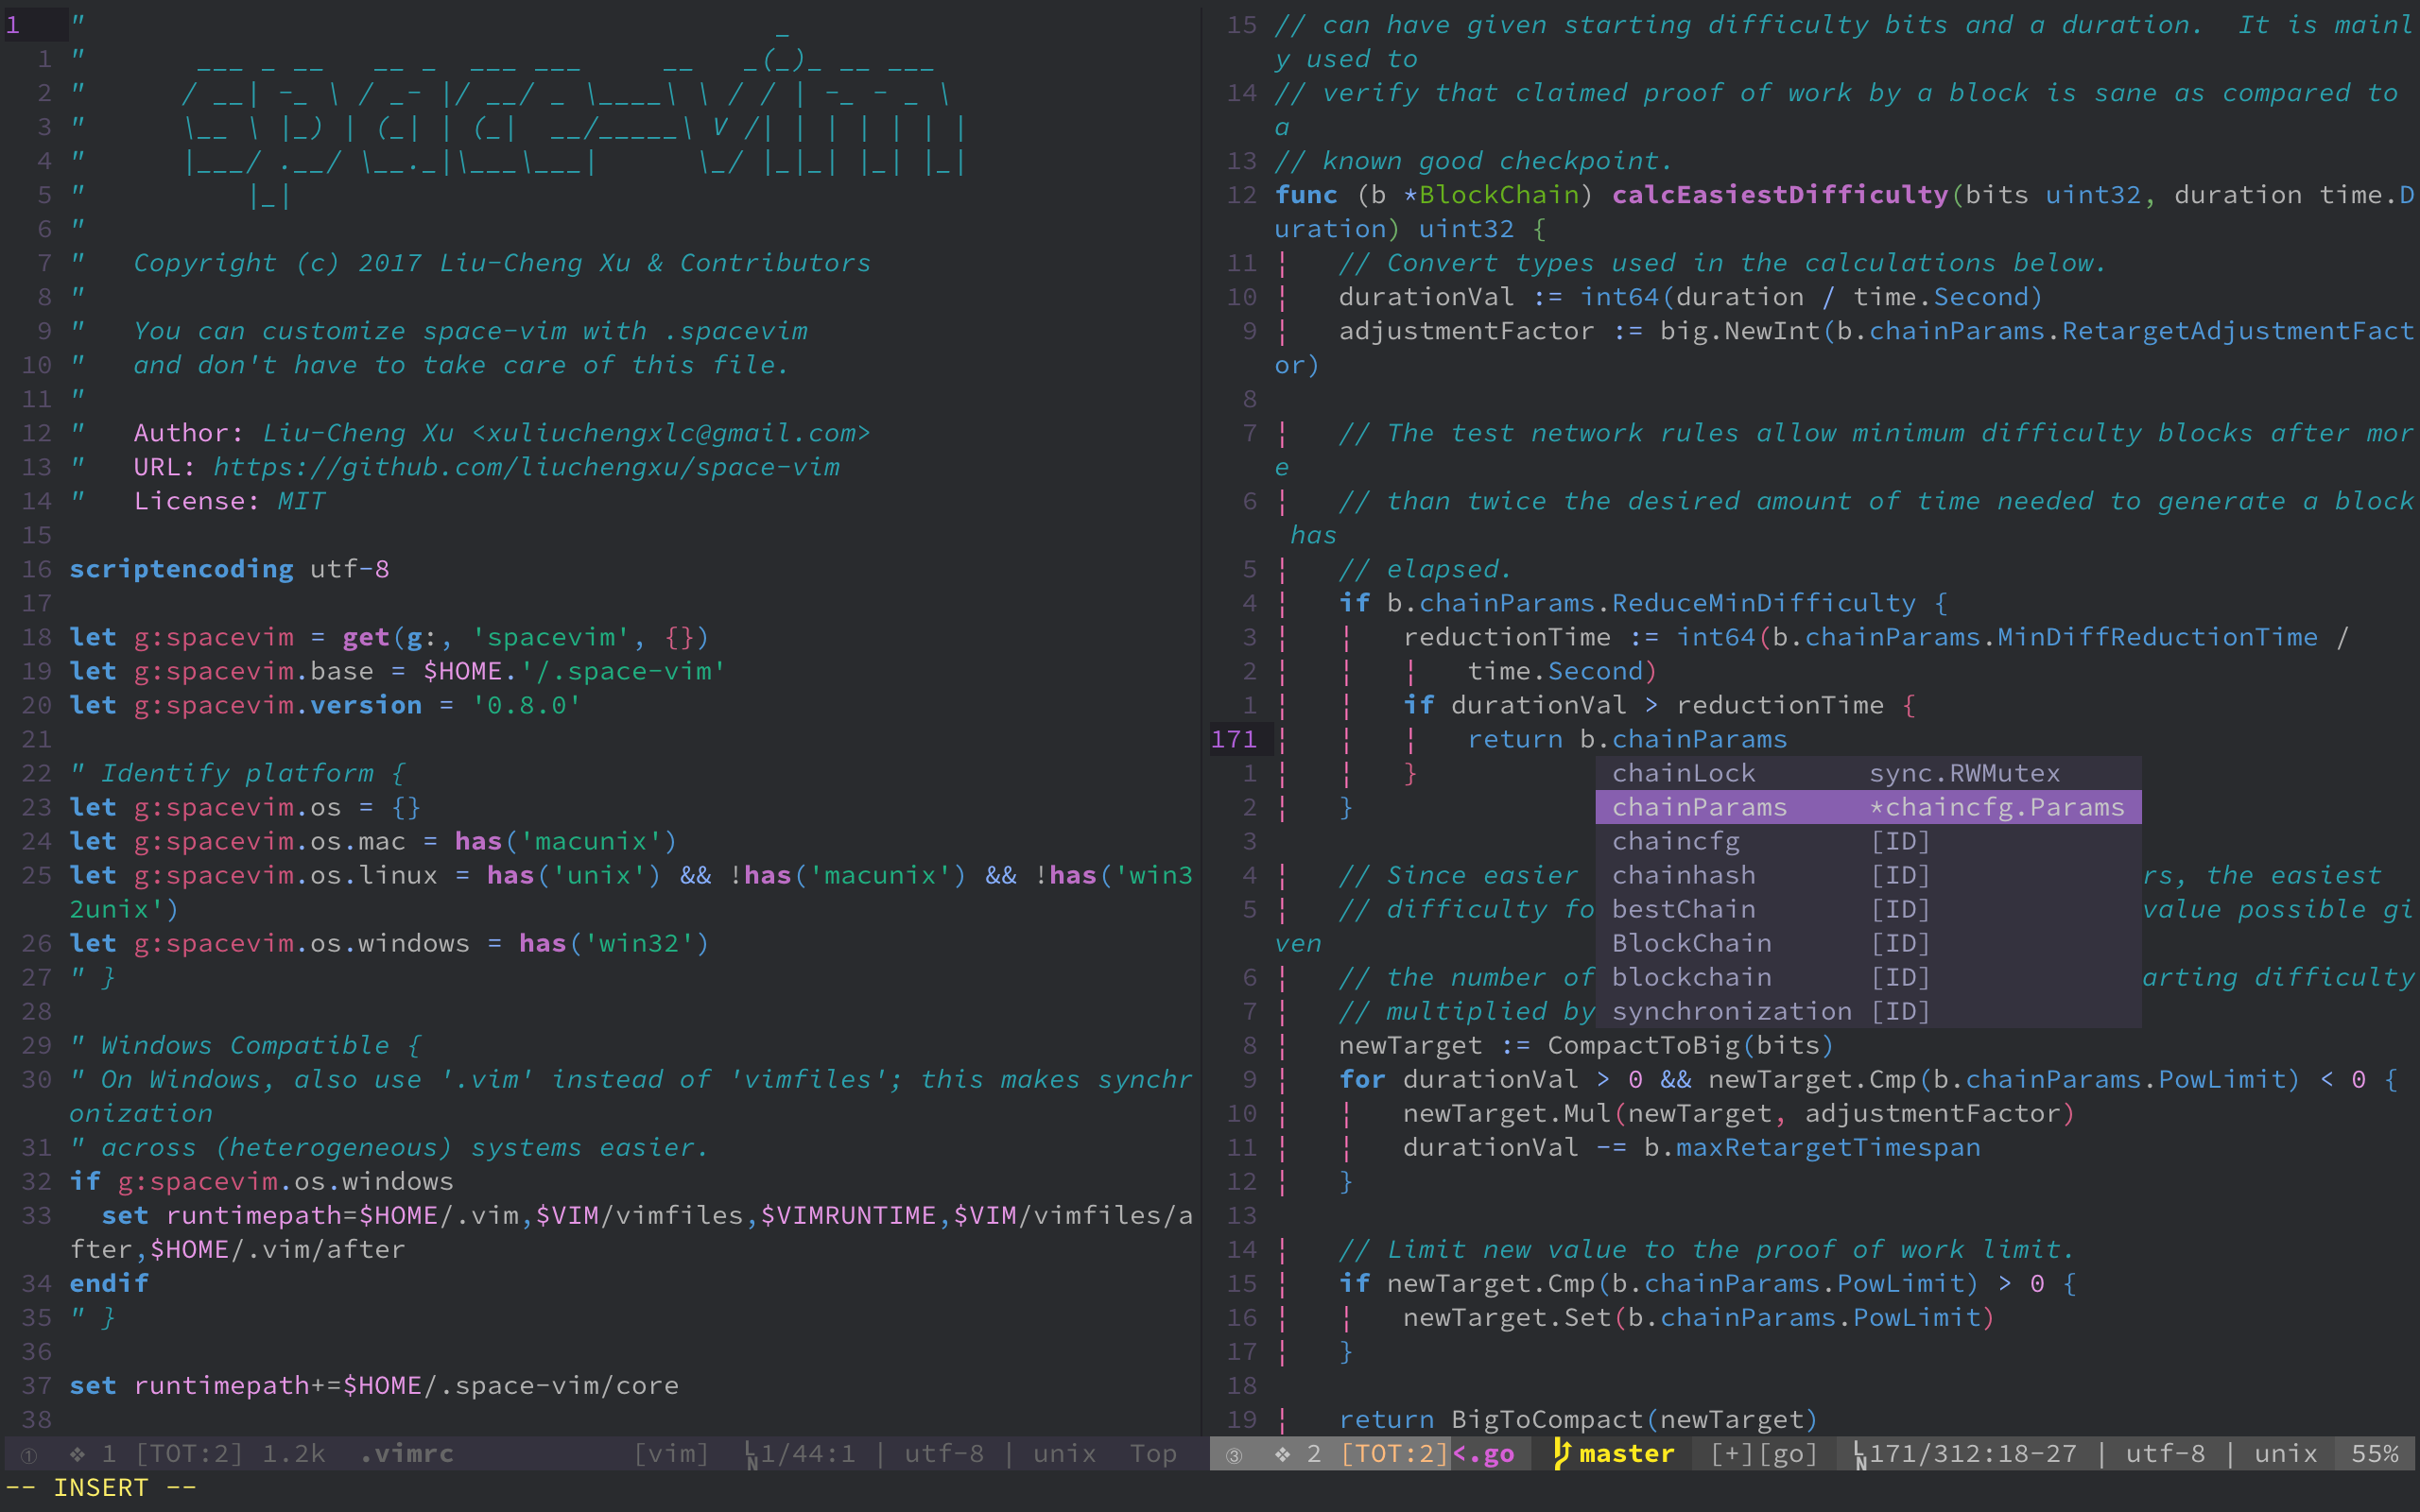
 (Terminal vim with space-vim-dark theme)
-
Beautiful interface: I have written a vim colorscheme space-vim-dark based on spacemacs-dark theme. You could also try spacemacs-theme.vim.
-
Mnemonic key bindings: commands have mnemonic prefixes like SPC b for all the buffer commands.
Meanwhile, the whole key bindings have been well adapted for vim for the lack of great plugins similar to which-key in emacs. Most key bindings are limited to no more than two keystrokes without counting
<Leader>or<LocalLeader>in, e.g. SPC x d to delete trailing whitespaces.For different language layers,
<LocalLeader>, , as default in space-vim, can be seen as the major-mode prefix in spacemacs. -
Lean and mean: no nonsense wrappers, free from being bloated.
- the novice vim users
- the vimmers who pursuit a beautiful appearance
- the users using both vim and spacemacs
If you have been a vimmer for quite a while, just pick out the part you are interested in. space-vim is well-organized due to the layers concept, you can easily find what you want. Since some guys are interested in the statusline part of space-vim, this section has been extracted as eleline.vim.
You have to satisfy some prerequisites at first:
-
vim with
+pythonor+python3feature.If
:echo has('python')or:echo has('python3')returns1, then you are done. What's more, the most recent vim version is recommended. -
git.
❗ When layers enabled at the first time, you need to run .:PlugInstall to install relevant plugins
-
curl
sh -c "$(curl -fsSL https://raw.githubusercontent.com/liuchengxu/space-vim/master/install.sh)" -
wget
sh -c "$(wget -qO- https://raw.githubusercontent.com/liuchengxu/space-vim/master/install.sh)"⚠️ For neovim, after the quick installer is done, you still need to create a symlink:ln -s ~/.space-vim/init.vim ~/.config/nvim/init.vim
-
Download vim-plug:
windows (PowerShell)
md ~\.vim\autoload
$uri = 'https://raw.githubusercontent.com/junegunn/vim-plug/master/plug.vim'
(New-Object Net.WebClient).DownloadFile($uri, $ExecutionContext.SessionState.Path.GetUnresolvedProviderPathFromPSPath("~\.vim\autoload\plug.vim"))
-
Enter your home directory, Open Git Bash by right-clicking and choosing the option
Git Bash Here. Run the following commands to download space-vim and make a symlink.git clone https://github.com/liuchengxu/space-vim.git ~/.space-vim ln -s ~/.space-vim/init.vim ~/.vimrc
-
Create
.spacevimin home directory.function! Layers() Layer 'fzf' Layer 'unite' Layer 'better-defaults' " For chinese users Layer 'chinese' endfunction function! UserInit() endfunction function! UserConfig() endfunction
-
Open vim, run
:PlugInstall.
-
Clone space-vim
git clone https://github.com/liuchengxu/space-vim.git ~/.space-vim -
Install vim-plug, refer to vim-plug installation section for more information.
-
Create a symlink.
# for vim
ln -s ~/.space-vim/init.vim ~/.vimrc

# for neovim
ln -s ~/.space-vim/init.vim ~/.config/nvim/init.vim
-
Open vim, then space-vim will automatically install the missing plugins in enabled layers. If auto-installation fails unexpectly, please try running
:PlugInstallmanually.
You can use .spacevim in your home directory to customize space-vim, where you can enable the existing layers, add your extra plugins and private configurations.
If .spacevim does not exist, vanilla vim will be loaded!
" Let vim and neovim share the same plugin directory
let g:spacevim_plug_home = '~/.vim/plugged'

" Change the background color of theme space-vim-dark (default 235)
let g:space_vim_dark_background = 234Please refer to LAYERS to take a look at the whole shipped layers.
" You can enable the existing layers in space-vim and
" exclude the partial plugins in a certain layer.
" The command Layer is vaild in the function Layers().
" Use exclude option if you don't want the full Layer,
" e.g., Layer 'better-defaults', { 'exclude': 'itchyny/vim-cursorword' }
function! Layers()

    " Default layers, recommended!
    Layer 'fzf'
    Layer 'unite'
    Layer 'better-defaults'

endfunction" Put your private plugins here, e.g., change the colorscheme.
function! UserInit()
" Space has been set as the default leader key,
" Comma has been set at the default localleader key.
" If you want to change it, uncomment and set it here.
" let g:spacevim_leader = "your leader key"
" let g:spacevim_localleader = 'your localleader key'
" Install private plugins
Plug 'morhetz/gruvbox'
endfunction" Override the existing configurations and add extras here.
function! UserConfig()
" color gruvbox
endfunctionIf have a heavy customized configuration, you can organize them in private directory with packages.vim and config.vim too, which will be loaded on startup. The private directory can be considered as either a single layer, i.e., in which you can put packages.vim and config.vim, or a set of multiple layers.
First of all, I recommend you to look through the existing key bindings via SPC ?. What's more, you definitely can not miss reading the README of better-defaults layer, which is of great importance for you to get started quickly.
For detailed instruction, please refer to the README under the certain layer enabled, or you can see config.vim and packages.vim directly.
If the README is not elaborate, sorry for that, space-vim now is in the early stages and a ton of stuff are waiting to be done.
The modular design is originally from spacemacs. The implementation of logic in space-vim is similar to vim-plug.
If you want to know more about the bootstrap of space-vim, please see bootstrap in wiki.
| Command | Description |
|---|---|
LayerStatus |
Check the status of layers |
LayerUpdate |
Update the structure of layers directory |
For the sake of a better user experience, some extra settings should be done.
echo has('termguicolors'), if 1, then you can enable GUI color in terminal vim, add this to UserConfig():
set termguicolors

" If you use vim inside tmux, see https://github.com/vim/vim/issues/993
" set Vim-specific sequences for RGB colors
let &t_8f = "\<Esc>[38;2;%lu;%lu;%lum"
let &t_8b = "\<Esc>[48;2;%lu;%lu;%lum"
For more details about true colour, please see the gist TrueColour.md.
Install the Source Code Pro or Powerline font, especially for airline Layer.
If you are running in terminal you'll need to change font settings of your terminal as well.
The simplest way to update is to reinstall it completely by rerunning the installer above. It will non-destructively upgrade to the latest version.
Alternatively, you can manually perform the following steps. If anything has changed with the structure of the configuration, you will have to create the appropriate symlinks.
cd path/to/space-vim/
git pull origin masterIf you encounter any problem or have any suggestions, please open an issue or send a PR.
Space-vim is still in beta. If you are interested, contributions are highly welcome.
I would like to thank the many people who have helped and contributed to this project. Furthermore, space-vim will never born without the following outstanding open source projects.


