-
Notifications
You must be signed in to change notification settings - Fork 0
ChrCtrl AI
Every good AI system starts with a solid foundation. Using KLEP as a character controller allows us to bridge manual input with the same decision-making framework that drives autonomous AI. By acting as the "brain" of the character controller, KLEP demonstrates:
- Dynamic Reactivity: The system can interpret and respond to input in real-time.
- Interactivity with KLEP Keys: Inputs are converted to KLEPKeys, showing how user inputs are processed similarly to AI-driven decisions.
- Process in Action: Even with a limited set of behaviors, KLEP showcases its ability to manage and react to environmental and input-driven changes.
A character controller is an ideal starting point because it offers a controlled, observable environment where human input (keyboard and mouse) is transformed into KLEPKey data and processed by executables.
To create a character controller using KLEP, you'll need:
- Ground Sensor: Detects when the agent is on the ground.
- Input Sensor: Converts mouse and keyboard inputs into KLEPKeys.
- Movement Action: Moves the character based on the keys within the KLEP system.
- Unity Character Controller: Manages the physical interactions (e.g., gravity, collisions) while KLEP handles the decision-making.
- Key Loader: Configures the expected key properties and ensures all behaviors have access to consistent data.
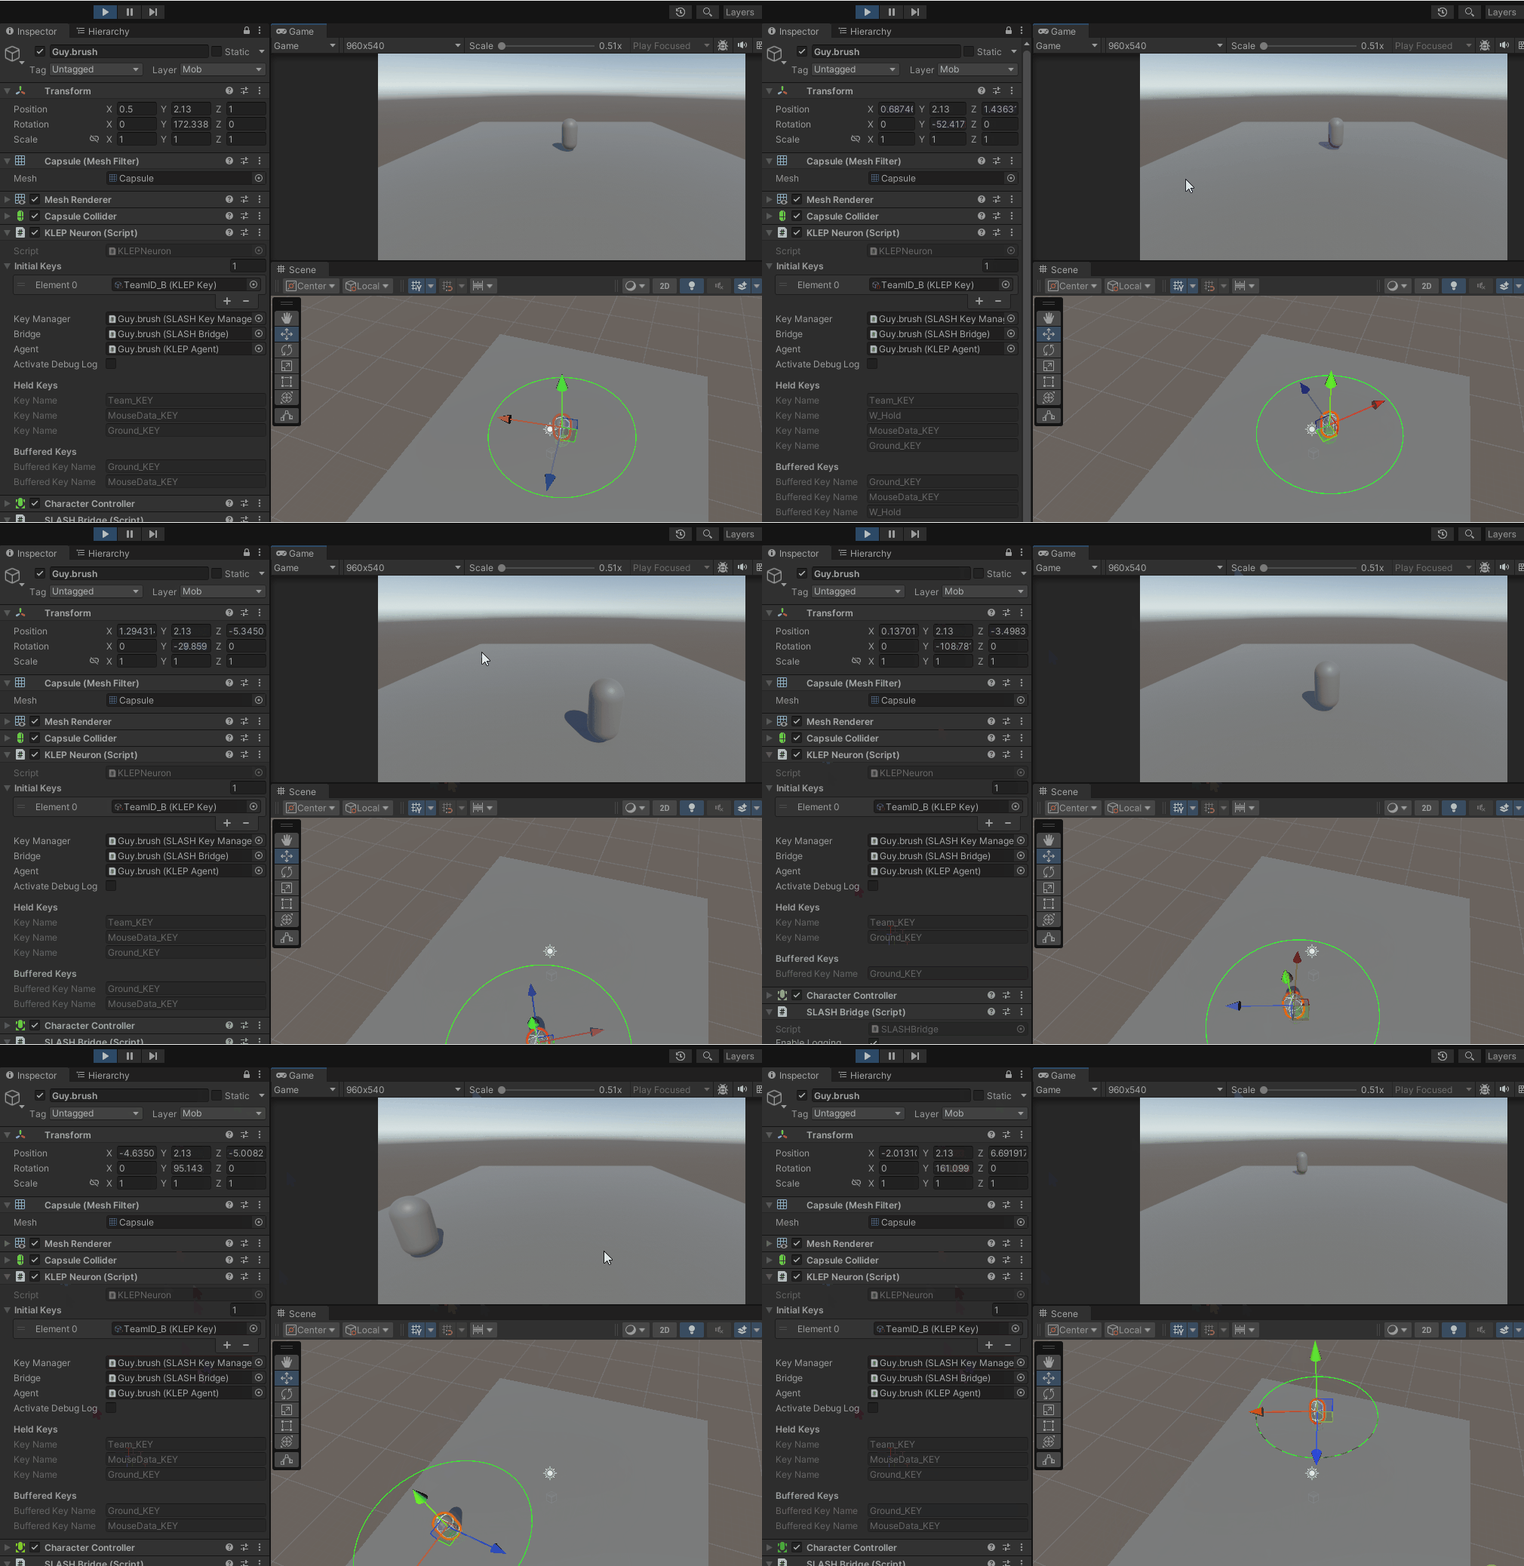
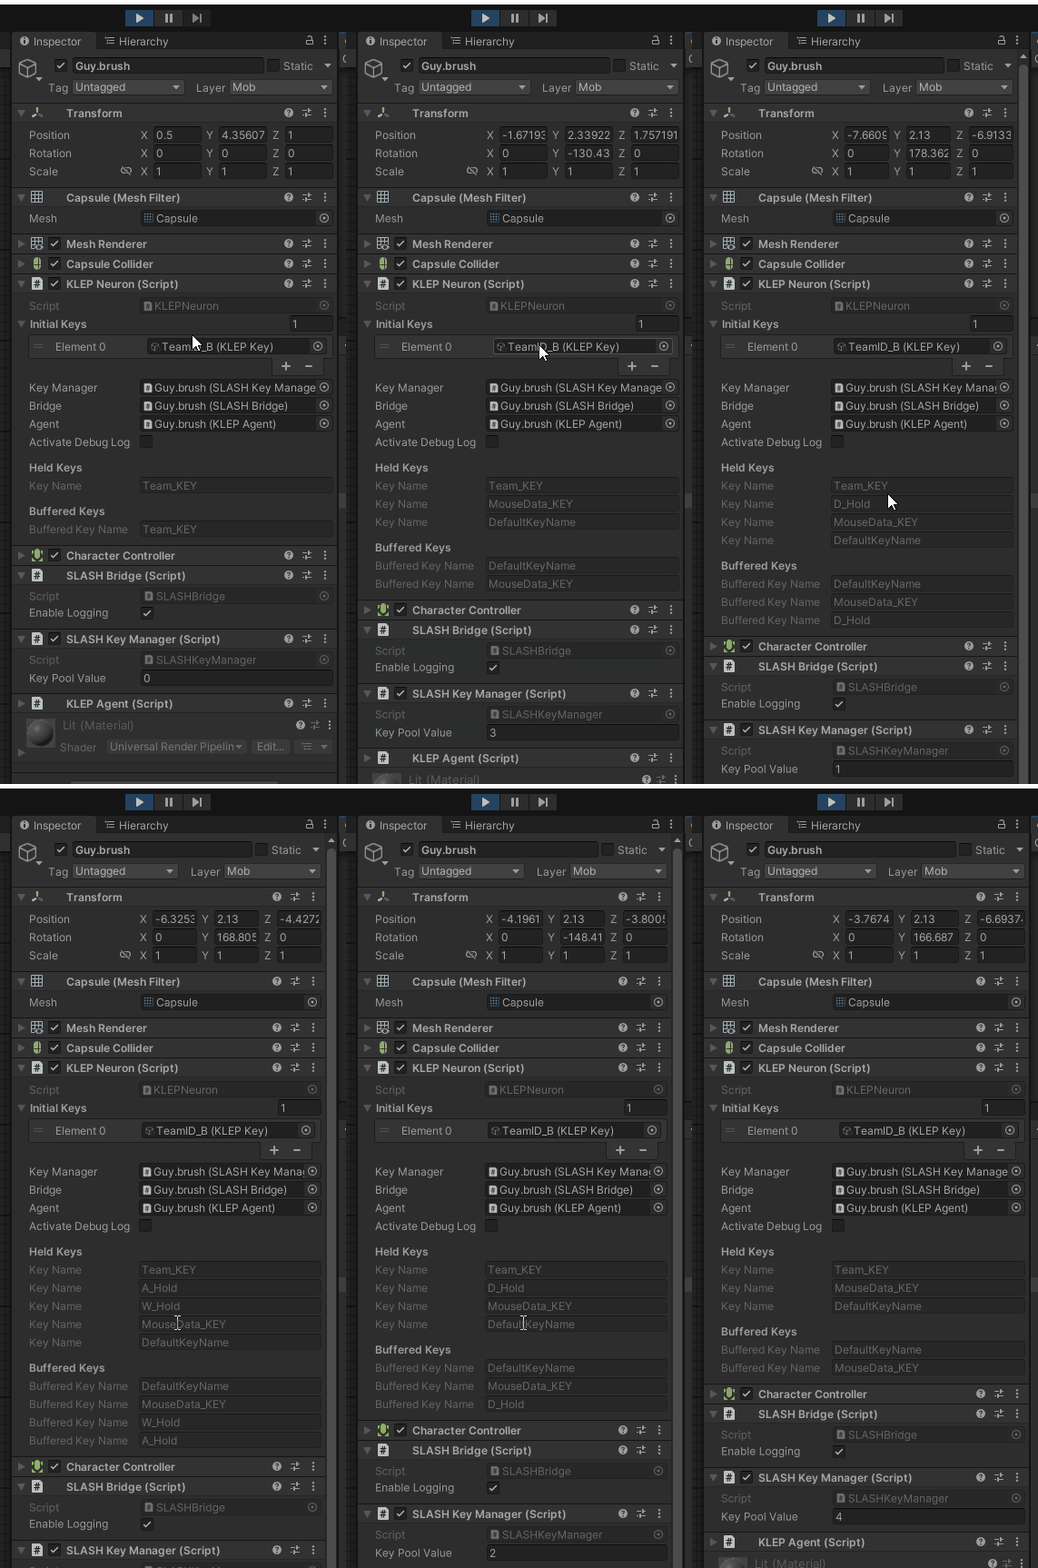
When the W key is pressed, the Input Sensor generates a W_Hold KLEPKey.
The Movement Action then interprets this key and instructs the Character Controller to move forward based on the agent's orientation.

- Create a new GameObject in your Unity scene to act as the root for the KLEP character.
- Add a Unity Character Controller component to the root object.
(Note: This handles physics interactions while KLEP handles the decision-making.)
- Create a child GameObject called KLEP under your root object.
- Under KLEP, create sub-objects for Sensors, Actions, Routers, and Goals.
(Keeping components organized will make debugging and expansion easier!)
- Attach the KLEPNeuron script to the root object.
- This transforms the object into a KLEP-enabled agent.
- Create child objects under Sensors and add:
- Ground Sensor: Assign the Key Loader, set the sensor transform to either the sensor object itself or a new child object at the base of the character.
- Input Sensor: Configure for mouse and keyboard input.
- Add a Movement Action script under the Actions object.
- Assign the Character Controller (from the root object) to the Movement Action script.
- Make sure every script has an assigned Key Loader.
- Either use the provided Key Loader or create your own (instructions below).
(🚨 Important: Not assigning a Key Loader may break the system!)
- Assign the Key Loader.
- Set the detection radius and ground layer if needed.
- This sensor should fire every frame, so no locks are needed.
- Assign the Key Loader.
- Add input events:
- Click + to add a new event.
- Select the key from the dropdown (e.g., W, Space).
- Set the event type (e.g., Continuous, Key Down, Key Up).
- For a character controller, use Continuous to ensure keys remain active while held.
- Assign the Key Loader.
- Link the Character Controller component to the Movement Action script.
- Test your setup by pressing Play in the Unity Editor.
- Your character should now move according to your input, demonstrating the full KLEP process in action.
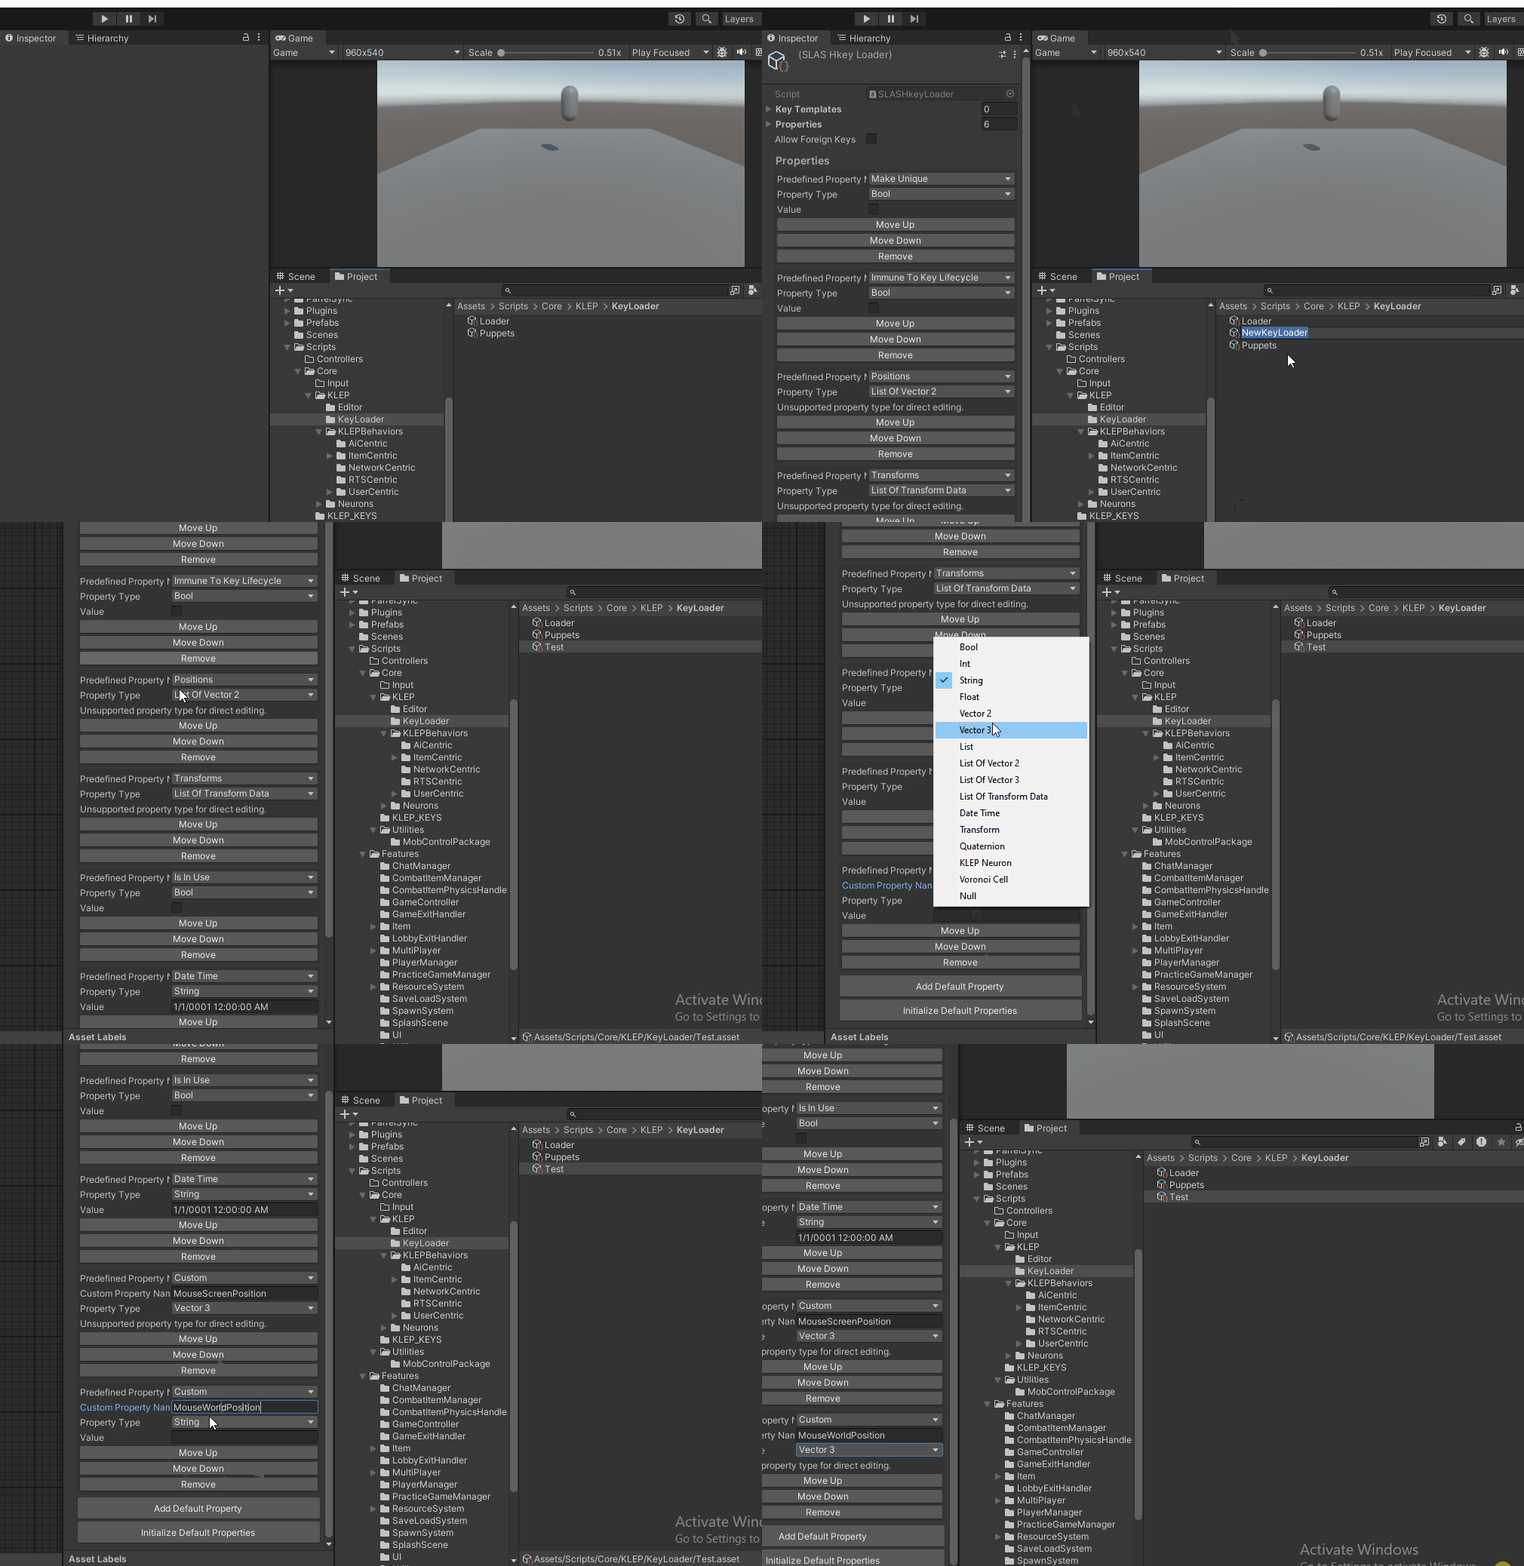
A Key Loader is essential for defining key properties. In this setup, we need it to handle MouseData_KEY properties like MouseScreenPosition and MouseWorldPosition.
- Create a Key Loader:
- Right-click in the Assets window and select KLEP > KeyLoader.
- Add Default Properties:
- Click Add Default Property.
- Configure Mouse Properties:
- In the Custom Property Name field, enter MouseScreenPosition (case-sensitive!).
- Select Vector3 as the property type.
- Repeat for MouseWorldPosition.
- Done!
- Your Key Loader is now configured to carry mouse data and ensure all executables receive the expected properties.
The Key Loader system is undergoing changes. Future updates may streamline the process and improve system stability. If you encounter issues, double-check that all scripts have valid Key Loaders assigned.
This guide walks you through setting up a KLEP Character Controller, showcasing how manual input can flow through the KLEP system, interact with KLEP Keys, and trigger executables. This is the first step in building a more complex, dynamic AI system where human input can be seamlessly replaced with autonomous decision-making.

