To run the example project, clone the repo, and run pod install from the Example directory first.
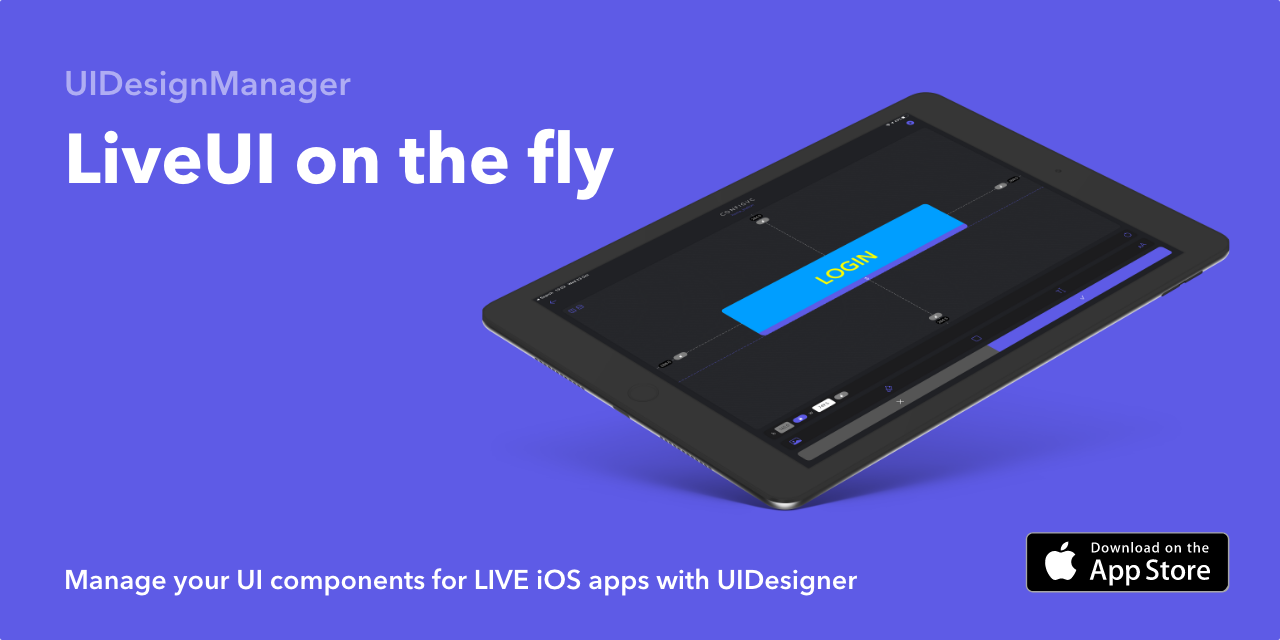
Integrate UIDesignManager with any Swift iOS application that is using UIKit or SwiftUI. After your app runs for the first time your initial configurations will be saved and linked to our servers. To manage and control the properties of the individually configured UI components you will need to download the UIDesigner app from the app store.
Set full parameters for your UI components. NOTE: Using this full parameter method in conjunction with the color parameter method is not advisable.
Constraints: set constraints programatically within the configure method. All parameters can be changed later via the UIDesigner iOS app.
NOTE: All updated UI parameters are saved on device which ensures smooth fast rendering.
# // AppDelegate.swift

UIDesignManager.set(passKey: "CHOOSE_YOUR_OWN_PASSKEY")
# You will need this to login into the UIDesigner appimport SwiftUI
import UIDesignManager
struct ContentView: View {
var body: some View {
HStack {
ZButton(name: "like_button", text: "Like", defaultBackgroundHex: "#FF0000", defaultForegroundHex: "#FFFFFF", cornerRadius: 25.0, SFIcon: "heart.fill", font: "Avenir-Black", fontSize: 15.0, width: 100.0, height: 50.0, action: self.like)
}
}
func like() {
print("liked")
}
}
struct ContentView_Previews: PreviewProvider {
static var previews: some View {
ContentView()
}
}import SwiftUI
import UIDesignManager
struct ContentView: View {
var body: some View {
HStack {
ZView(name: "red_circle", defaultBackgroundHex: "#FF0000", cornerRadius: 65, width: 130, height: 130)
}
}
}
struct ContentView_Previews: PreviewProvider {
static var previews: some View {
ContentView()
}
}import SwiftUI
import UIDesignManager
struct ContentView: View {
var body: some View {
HStack {
ZText(name: "sample_text", text: "Hello World!", defaultBackgroundHex: "clear", defaultForegroundHex: "#FFFFFF", cornerRadius: 0, SFIcon: "", font: "Avenir-Light", fontSize: 25.0, width: 300.0, height: 50.0)
}
}
}
struct ContentView_Previews: PreviewProvider {
static var previews: some View {
ContentView()
}
}let customView = ZUIView()
self.view.addSubview(customView)
customView.configure(name: "home_background", source: self, sourceParent: self.view, left: 0.0, right: 0.0, top: 0.0, bottom: 0.0, fixedWidth: nil, fixedHeight: nil, centerX: false, centerY: false)
# This will act as a fallback configuration if switched to inactive in the UIDesigner applet customImage = ZUIImageView()
self.view.addSubview(customImage)
customImage.configure(name: "home_image", source: self, sourceParent: self.view, left: 60.0, right: 60.0, top: nil, bottom: 110.0, fixedWidth: nil, fixedHeight: 150, centerX: false, centerY: false, fallbackImage: "YOUR_IMAGE")
# This will act as a fallback configuration if switched to inactive in the UIDesigner applet customTextView = ZUITextView()
customTextView.text = "This is a passage of text"
customTextView.isEditable = false
self.view.addSubview(customTextView)
customTextView.configure(name: "home_textview", source: self, sourceParent: self.view, left: 40, right: 40, top: 180, bottom: 40, fixedWidth: nil, fixedHeight: nil, centerX: false, centerY: false)
# This will act as a fallback configuration if switched to inactive in the UIDesigner applet customLabel = ZUILabel()
customLabel.text = "HEADER"
self.view.addSubview(customLabel)
customLabel.configure(name: "home_header", source: self, sourceParent: self.view, left: 40, right: 40, top: 40, bottom: nil, fixedWidth: nil, fixedHeight: 100.0, centerX: false, centerY: false)
# This will act as a fallback configuration if switched to inactive in the UIDesigner applet customButton = ZUIButton()
customButton.setTitle("HELLO", for: .normal)
self.view.addSubview(customButton)
customButton.configure(name: "home_button", source: self, sourceParent: self.view, left: 40, right: 40, top: nil, bottom: 40, fixedWidth: nil, fixedHeight: 50.0, centerX: false, centerY: false)
# This will act as a fallback configuration if switched to inactive in the UIDesigner appSet just color parameters for your UI components. NOTE: Using this color method in conjunction with the full parameter method is not advisable.
Set view: property with the view you wish to configure
Set name: property with a key name. NOTE: You can reuse the same name in multiple parts of your app. This will make changing colors on the client side much easier. eg: "primary_color" could be used to control colors for all UIButtons and UILabels.
let colorView = UIView(frame: view.bounds)
self.view.addSubview(colorView)

# UIView background color
setUIViewColor(name: "primary_color", source: self, initialColor: UIColor.red, view: colorView)let lbl = UILabel(frame: view.bounds)
self.view.addSubview(lbl)
# UILabel background color
setUILabelBgColor(name: "std_label_bg_color", source: self, initialColor: UIColor.lightGray, view: lbl)
# UILabel text color
setUILabelTextColor(name: "std_label_text_color", source: self, initialColor: UIColor.white, view: lbl)let img = UIImageView(frame: view.bounds)
self.view.addSubview(img)
# UIImageView background color
setUIImageViewColor(name: "secondary_color", source: self, initialColor: UIColor.yellow, view: img)let btn = UIButton(frame: view.bounds)
btn.setTitle("HELLO", for: .normal)
self.view.addSubview(btn)
# UIButton background color
setUIButtonBgColor(name: "secondary_color", source: self, initialColor: UIColor.lightGray, view: btn)
# UIButton title color
setUIButtonTitleColor(name: "std_btn_text_color", source: self, initialColor: UIColor.white, view: btn)let textView = UITextView(frame: view.bounds)
self.view.addSubview(textView)
# UITextView background color
setUITextViewBgColor(name: "std_textview_bg_color", source: self, initialColor: UIColor.lightGray, view: textView)
# UITextView text color
setUITextViewTextColor(name: "std_textview_text_color", source: self, initialColor: UIColor.white, view: textView)UIDesignManager is available through CocoaPods. To install it, simply add the following line to your Podfile:
pod 'UIDesignManager'ben.swift@zivato.com, =ben.swift@zivato.com
UIDesignManager is available under the MIT license. See the LICENSE file for more info.


