A quick access point configuration utility for Raspberry Pi.
-
Install a private access point on wireless-enabled Raspberry Pis.
-
One-click enable/disable the access point.
-
Easily configure basic network settings.
-
Launch the configuration tool:
bash rpi-accessp.sh -
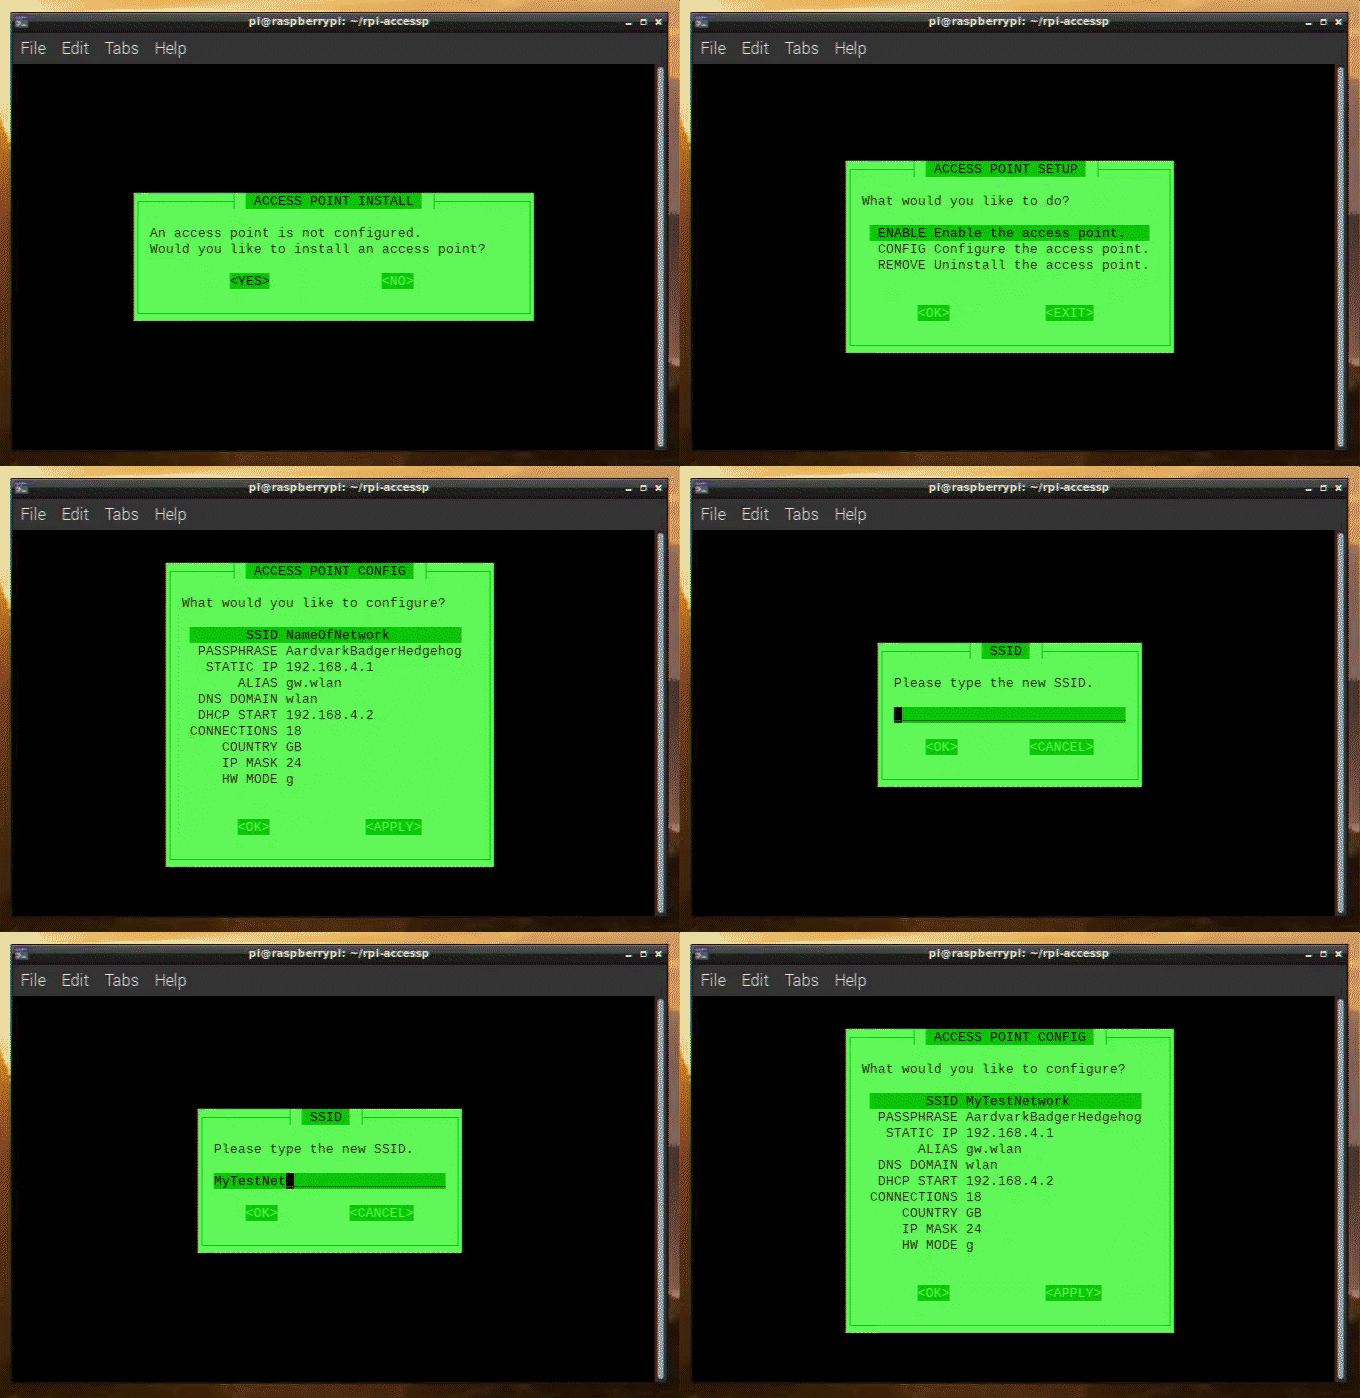
Follow the prompts to install the access point.
-
Select
CONFIGto configure your access point. -
After configuring the access point, select
APPLYand do not reboot. -
Select
ENABLEto enable the access point and reboot to apply the changes.
-
Launch the configuration tool:
bash rpi-accessp.sh -
Select
CONNECTto view the auto-guide on connecting new devices. -
Using the wireless device you want to connect, search for your Raspberry Pi's SSID.
-
Connect to the network using the passphrase you configured.
Below is a walkthrough (no audio) demonstrating the installation & configuration process.
rpi-accessp_Walkthrough_.Compressed.mp4
- Run the utility.
- Install the access point.
- Install the DHCP & DNS service.
- Install the access point service.
- Open the configuration menu.
- Edit the SSID, passphrase, alias, and country code.
- Enable the access point service.
- View the auto-generated guide for connecting new devices.
- Improve input validation.
This utility is based on the official Setting up a Raspberry Pi as a routed wireless access point Guide.
