Dockerized Octave, with X11 support. Specifically to support Coursera Machine Learning
- Install from the octave PPA so we can run the latest (v4.2.1 @ at this time.)
This is because v4 does not work with Coursera's
submit()function. - Some admin tools such as
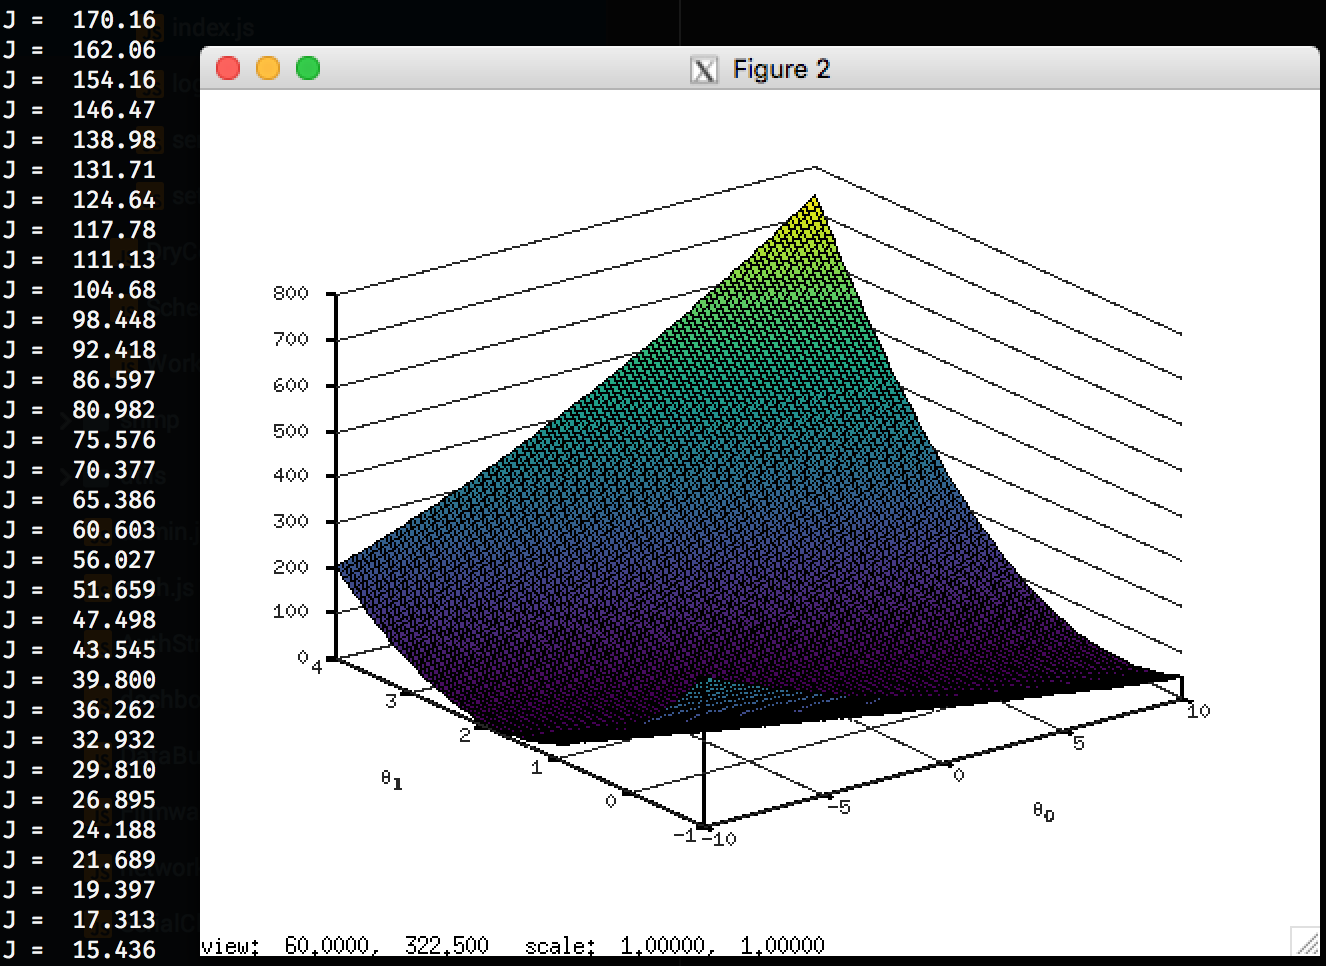
curl,sudoandvimare available. In particular,curlis required for Coursera's Machine Learning class to submit exercises. graphics_toolkit gnuplotis set by default; this allows plots to work with X11 as shown in the above image.- Default entrypoint adds
--no-guiso assume X11 is available but we want to mostly use the CLI interpreter. - The
octaveuser is configured withNOPASSWDin/etc/sudoers.d/octave history_file($OCTAVE_HISTFILE) is set to/source/.octave_historyso your CLI history will be saved between invocationsWORKDIRhas been changed to/source
To build:
docker build --compress -t thom_nic/octave:latest .

# To build with a different version of octave:
docker build --build-arg OCTAVE_VERSION=4.0.2 .

# You can also build locally without cloning this repo!!
docker build https://github.com/thom-nic/octave-docker.git#develop .
Running:
$ docker run --rm -it thom_nic/octave                                # Octave shell
$ docker run --rm -it --entrypoint bash thom_nic/octave              # Bash shell
$ docker run --rm thom_nic/octave -h                                 # Get octave help
$ docker run --rm thom_nic/octave /home/octave/example1.m arg1       # Run the example file
$ docker run --rm -v $(pwd):/source thom_nic/octave /source/myfile.m
Mount your local source folder to the container and run it inside the container.
From the octave CLI, you can also type system 'bash' to drop to a shell.
There's a very long discussion here however this is the easiest solution I've found:
First, ensure remote access and auth are enabled: Run XQuartz, open the prefs pane
and ensure Allow connections from network clients is enabled. If it was not,
you probably need to quit XQuartz after enabling that option.
Now, do the following:
open -a XQuartz
xhost + $(hostname)   # you must do this after starting xquartz!

# run your container:

docker run --rm -it \
  -e DISPLAY=$(hostname):0 \
  thom_nic/octave /home/octave/example3d.m