A practice project for learning BMAD development workflow
This is a BMAD learning sandbox - not a production application. Its purpose is to help you practice the complete BMAD development workflow without spending time on initial setup.
After cloning this repository, you can immediately start practicing:
- Creating new epics and user stories
- Implementing features with AI agents
- Writing automated tests
- Conducting code reviews
The project comes with a basic authentication system and admin dashboard as a foundation for adding new features.
https://bmad-starter-kit.surge.sh/
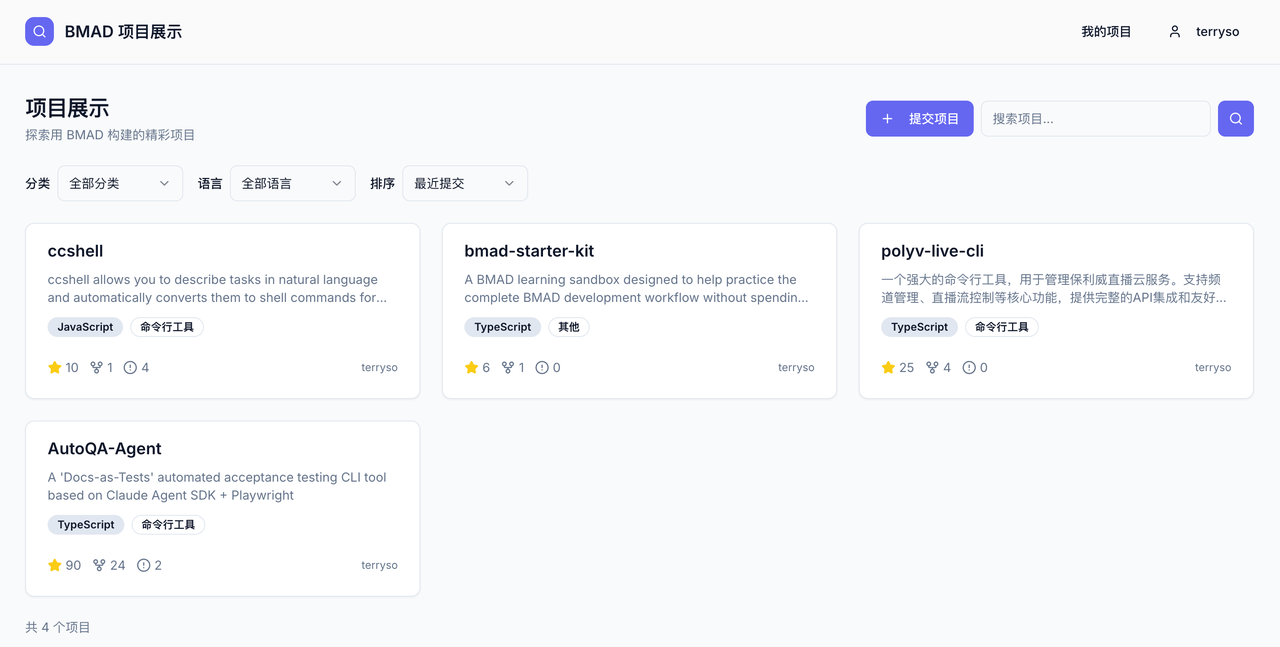
See what others have built with BMAD! The showcase features projects created by community members practicing the BMAD workflow.
Built something with BMAD? We'd love to see it! Submit your project to the showcase and inspire others. Check out the Showcase page for submission details.
# Clone the repository
git clone https://github.com/terryso/bmad-starter-kit.git
cd bmad-starter-kit

# Install dependencies
pnpm install

# Setup environment
cp apps/api/.env.example apps/api/.env
# Edit apps/api/.env with your database credentials

# Initialize database
cd apps/api
npx prisma generate
npx prisma db push
cd ../..

# Start development
pnpm dev
Visit http://localhost:8080 for the frontend, http://localhost:3000 for the backend API.
Follow these steps to practice the complete BMAD development cycle:
Use the PM agent to define a new feature epic:
/pm
I want to add a new epic implementing [your feature idea]
Example epic ideas:
- User profile management
- Email notification system
- File upload functionality
- Audit logging
- Two-factor authentication
After reviewing the epic, run sprint planning:
/sprint-planning
This generates a sprint-status.yaml file tracking all epics and stories.
Create a detailed user story:
/create-story
The agent will generate a comprehensive story document with acceptance criteria.
Review the generated story document in docs/implementation-artifacts/stories/. Make sure:
- Requirements are clear
- Technical approach is sound
- Acceptance criteria are complete
When ready, start development:
/dev-story
The agent will implement the story following project conventions.
After implementation, add test coverage:
/automate
This generates unit tests, integration tests, and e2e tests.
Review the implementation for quality:
/code-review
The agent performs an adversarial review and finds issues to fix.
Let the agent fix all identified issues and update the story status to completed.
Go back to Step 3 for the next story until all stories in the sprint are complete.
| Layer | Technology |
|---|---|
| Frontend | React 18 + Vite + shadcn/ui |
| Backend | NestJS + Prisma |
| Database | PostgreSQL |
| Auth | JWT (Access + Refresh tokens) |
- User registration and login
- JWT authentication with refresh tokens
- Role-based access control (USER/ADMIN)
- Admin dashboard with statistics
- User management (list, search, filter)
- BMAD Showcase - Browse and submit community projects built with BMAD
bmad-starter-kit/
├── apps/
│   ├── api/              # NestJS backend
│   │   └── src/modules/  # Feature modules
│   └── web/              # React frontend
│       └── src/          # Components, pages, hooks
├── packages/
│   └── shared/           # Shared types and utilities
├── docs/
│   ├── planning-artifacts/    # PRDs, architecture docs
│   └── implementation-artifacts/  # Stories, tests
├── _bmad/                # BMAD configuration
└── docs/project-context.md  # AI agent context rules
After registering via the UI, promote a user to admin:
UPDATE "user" SET role = 'ADMIN' WHERE email = 'your-email@example.com';pnpm dev # Start both frontend and backend
pnpm dev:api # Backend only (port 3000)
pnpm dev:web # Frontend only (port 8080)
pnpm build # Build all packages
pnpm lint # Run linting
pnpm test # Run all tests- Node.js >= 18.0.0
- pnpm >= 8.0.0
- PostgreSQL (local or Supabase)
- Claude Code authorized (recommended) or set
ANTHROPIC_API_KEY
Note: BMAD workflows require Claude Code subscription or API key which can be costly. You may consider using GLM Coding Plan (first month only ¥100, API call count basically unlimited) as an alternative.
This is a community learning project! If you've implemented a feature during your BMAD practice and feel it would be useful for others, feel free to submit a PR to the develop branch. After review, it will be merged and deployed to the live demo for everyone to try.
How to contribute:
- Fork the repository
- Create a feature branch:
git checkout -b feature/your-feature-name - Follow the BMAD workflow to implement your feature
- Ensure all tests pass:
pnpm test - Submit a PR to
developbranch
Happy practicing! May your AI agents serve you well.