Here I will be documenting how to deploy your nest application to AWS lambda. We will be building cloudformation stack using AWS cdk. All code can be found in GitHub repository and it will be maintained and updated as per time: github-repository So follow the steps as following:
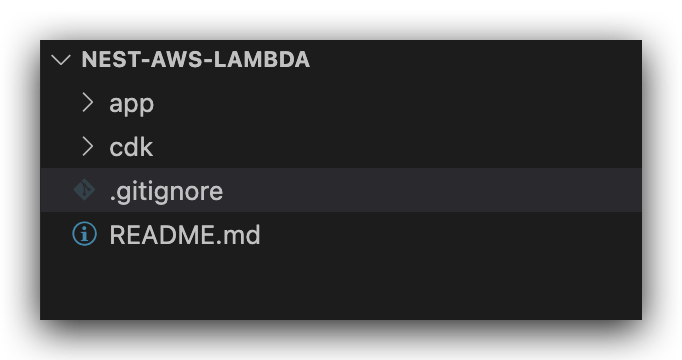
Create seperate directories to hold nestJS application and CDK application.
app directory for nestJS application cdk directory for building cloudformation stack
Now change directory to app and install nestjs cli and setup the application in app directory as shown below:
You can follow setup details on nestJS docs here:
npm i -g @nestjs/cli
nest new nests-aws-lambda
check if the application is running by running following command:
npm run start:dev
Please make sure you install class-transformer and class-validator if you get errors.
If you have not install aws-cdk already install by following commands:
npm install -g aws-cdk
Now we will be using code as infrastructure to build our cloudformation stack. So initialise the cdk application in cdk directory using following command:
cdk init --language typescript
cdk init command will create some important files in the application as shown below:
cdk/lib/cdk-stack.ts Main entry point for the application
cdk/bin/cdk.ts Defines the service stack
To check if everything is fine run the following command to check if application is able to create a cloudformation template from our code.
cdk synth
You should be able to see output on the screen as below:
Resources:
  CDKMetadata:
    Type: AWS::CDK::Metadata
    Properties:
      ...
The major part of this deployment is creating a lambda handler function which will start our nest application.
To do that we need to install @vendia/serverless-express
npm i --save @vendia/serverless-express
We will be using @vendia/serverless-express to create a serverless express application. You can read more about @codegenie/serverless-express here
create a new file lambda.bootstrap.ts in root of src directory. (app/src/bootstrap.lambda.ts)
Paste the following content in the file:
import { NestFactory } from '@nestjs/core';
import * as express from 'express';
import * as serverlessExpress from '@codegenie/serverless-express';
import { ExpressAdapter } from '@nestjs/platform-express';
import { INestApplication } from '@nestjs/common';
import { AppModule } from './app.module';

let cachedServer: any;

export const bootstrapLambda = async (
  attachPipes: (app: INestApplication<any>) => void,
) => {
  if (!cachedServer) {
    // create an express app
    const expressApp = express();

    // create an express adapter to work with nest applicaiton
    const expressAdapter = new ExpressAdapter(expressApp);

    // create a nest app using the express adapter
    const nestApp = await NestFactory.create(AppModule, expressAdapter);
    nestApp.enableCors();

    // configure nest application
    attachPipes(nestApp);

    // wait for the nest to initialise
    await nestApp.init();

    // create a serverless server using serverless express
    cachedServer = serverlessExpress.configure({ app: expressApp });

    return cachedServer;
  }

  return cachedServer;
};
Now update file called main.ts with following code:
import { NestFactory } from '@nestjs/core';
import { AppModule } from './app.module';
import { INestApplication, ValidationPipe } from '@nestjs/common';
import { bootstrapLambda } from './lambda.bootstrap';

function attachPipes(app: INestApplication<any>) {
  app.useGlobalPipes(
    new ValidationPipe({
      whitelist: true,
      transform: true,
      forbidNonWhitelisted: true,
    }),
  );
  app.enableCors();
}

if (process.env.NODE_ENV === 'local') {
  async function bootstrap() {
    const app = await NestFactory.create(AppModule);
    attachPipes(app);
    await app.listen(3000);
  }

  bootstrap();
}

const handler = async (event: any, context: any, callback: any) => {
  console.log('Event', event);
  const server = await bootstrapLambda(attachPipes);
  return server(event, context, callback);
};

module.exports.handler = handler;
Since size of our application will be much more than the lambda function limit. We will be creating docker image as code of the lambda function.
create a docker file in the root of app directory with following code:
FROM amazon/aws-lambda-nodejs

COPY . .
RUN npm install
RUN npm run build

CMD ["dist/main.handler"]
Now our nestjs application configuration is complete.
ow change directory to cdk/lib/cdk-stack.ts and add following code:
import * as cdk from "aws-cdk-lib";
import { LambdaIntegration, RestApi } from "aws-cdk-lib/aws-apigateway";
import { DockerImageCode, DockerImageFunction } from "aws-cdk-lib/aws-lambda";
import { Construct } from "constructs";
import * as logs from "aws-cdk-lib/aws-logs";
import path = require("path");

export class CdkStack extends cdk.Stack {
  constructor(scope: Construct, id: string, props?: cdk.StackProps) {
    super(scope, id, props);

    // Create a new lambda function
    const LambdaHandler = new DockerImageFunction(this, "LambdaHandler", {
      timeout: cdk.Duration.seconds(30),
      functionName: "LambdaHandler",
      code: DockerImageCode.fromImageAsset(path.join(__dirname, "../../app")),
    });

    // Create a new Log Group and Log Stream for the Lambda function
    new logs.LogGroup(this, "LambdaHandlerLogGroup", {
      logGroupName: `/aws/lambda/${LambdaHandler.functionName}`,
      retention: logs.RetentionDays.ONE_WEEK,
    });

    // Create a new api gateway
    const api = new RestApi(this, "ApiRest", {
      restApiName: "ApiRest",
      deploy: true,
      defaultMethodOptions: {
        apiKeyRequired: true,
      },
    });

    // add proxy resource to handle all api requests
    api.root.addProxy({
      defaultIntegration: new LambdaIntegration(LambdaHandler, {
        proxy: true,
      }),
    });

    //add api key to enable monitoring
    const apiKey = api.addApiKey("ApiKey");
    const usagePlan = api.addUsagePlan("ApiUsagePlan", {
      name: "ApiUsagePlan",
      apiStages: [
        {
          api,
          stage: api.deploymentStage,
        },
      ],
    });

    // // add the api key to the usage plan
    usagePlan.addApiKey(apiKey);

    // add the api key to the output
    new cdk.CfnOutput(this, "api-key", {
      value: apiKey.keyId,
      exportName: `keyId`,
    });
  }
}
Install aws cli using following documentation as per you operating system here
Mac OS users can download GUI installer from following link
After installing aws-cli configure AWS CLI using following command:
aws configure
Make sure your docker application is running and change directory to cdk
Run cdk synth to check if the cdk code is working.
To deploy application simple run following command:
cdk deploy