Docker
Binner can be hosted in a lightweight Docker linux container.
Ensure you have Docker installed in order to run docker containers on your host operating system.
-
Maintained by
Binner Community -
Where to get help
the Binner Discord, the official Wiki or GitHub Issue Tracker
Binner is a free open-source parts inventory tracking system you can run locally in Windows or Unix environments. It was created for makers (like myself), hobbyists or professionals to keep track of your electronic parts inventory.
$ docker run -p 8090:8090 --name Binner -d binnerofficial/binnerFor most installations we recommend using docker compose.
Pull the latest docker image:
$ docker pull binnerofficial/binnerand configure it:
Example compose.yml:
# Default user is admin/admin. You can change this after installation in the UI.
# access at https://localhost:8090
services:
  binner:
    container_name: Binner
    image: binnerofficial/binner:latest
    restart: always
    environment:
      BINNER_USEHTTPS: true
      BINNER_PORT: 8090
    build:
      dockerfile: ./Dockerfile
    expose:
      - 8090
    ports:
      - 8090:8090
    volumes:
      - binner-config:/config
      - binner-data:/data
      - binner-userfiles:/userfiles
      - binner-certificates:/certificates
      - binner-logs:/logs
volumes:
  binner-config:
    name: "Binner-Config"
  binner-data:
    name: "Binner-Data"
  binner-userfiles:
    name: "Binner-UserFiles"
  binner-certificates:
    name: "Binner-Certificates"
  binner-logs:
    name: "Binner-Logs"
and start the container using your compose file using:
$ docker compose upAlternatively, you can achieve the same configuration using the following CLI:
$ docker volume create Binner-Config
$ docker volume create Binner-Data
$ docker volume create Binner-UserFiles
$ docker volume create Binner-Certificates
$ docker volume create Binner-Logs
$ docker run --name Binner --restart always -e BINNER_USEHTTPS=true -e BINNER_PORT=8090 --expose 8090 -p 8090:8090 -v binner-config:/config -v binner-data:/data -v binner-userfiles:/userfiles -v binner-certificates:/certificates -v binner-logs:/logs binnerofficial/binner:latestBy default (above) Docker compose is specified to use named volumes, which will be managed by Docker. To keep a copy of Binner files on your host you can switch to using bind mounts (example below).
Before applying this configuration, you will want to first copy files from the running Binner container to your local host operating system. If the directories on your host operating system are empty the files will be overwritten/removed on the Docker container (files sync to the container). Note that the /logs mount is a symlink folder so you must use the -L option.
$ cd C:\Binner
$ docker cp Binner:/config .
$ docker cp Binner:/data .
$ docker cp Binner:/userfiles .
$ docker cp Binner:/certificates .
$ docker cp -L Binner:/logs .
Example compose.yml using bind mounts to store config/data files on host operating system:
# Default user is admin/admin. You can change this after installation in the UI.
# access at https://localhost:8090
services:
  binner:
    container_name: Binner
    image: binnerofficial/binner:latest
    restart: always
    environment:
      BINNER_USEHTTPS: true
      BINNER_PORT: 8090
    build:
      dockerfile: ./Dockerfile
    expose:
      - 8090
    ports:
      - 8090:8090
    volumes:
      - C:\Binner\config:/config
      - C:\Binner\data:/data
      - C:\Binner\certificates:/certificates
      - C:\Binner\logs:/logs
      - C:\Binner\userfiles:/userfiles
You may choose to provide your own SSL certificate or use an internally generated certificate. The internally generated certificate will be a self-signed certificate and should be added to your certificate repository on your host operating system. The location of the certificate can be specified by an environment variable BINNER_SSLCERTIFICATE or in the /config/appsettings.json settings file. The default value is /certificates/localhost.pfx.
When starting the container the service will check if an existing SSL certificate is specified. If a certificate is not specified or does not exist a new one will be generated for you. You can access the PFX certificate on the /certificates/localhost.pfx or use the public key certificate localhost.crt. The PFX certificate requires a password of password (by default) which can be specified in the settings file.
Right click on the /certificates/localhost.pfx and choose "Install PFX". Install to the Local Machine store, and use the default password "password" (or the password you specified in settings) when asked. Then choose "Place all certificates in the following store" + Browse... and select the Trusted Root Certification Authorities".
Copy the public key certificate /certificates/localhost.crt to /usr/local/share/ca-certificates and run update-ca-certificates in an elevated prompt. Note that this may differ depending on the host operating system you are using.
For more details on configuring the Docker environment please see the Binner Docker Wiki.
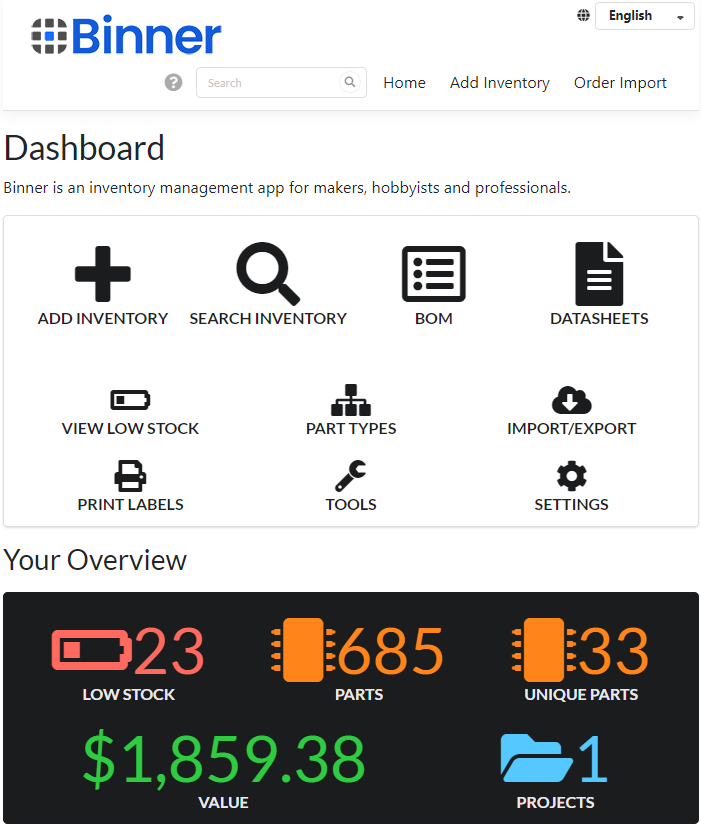
Visit https://localhost:8090 in your web browser to bring up the interface.
When using for the first time you will be prompted for a username/password, which is admin/admin.
The following environment variables can be used by your compose file to configure the running instance of Binner.
NOTE: Any environment variables set in your container will override the corresponding value in the appsettings.json configuration file.
BINNER_CONFIG:
The full path (and filename) to the application settings file. The default is
/config/appsettings.json.
BINNER_NLOGCONFIG:
The full path (and filename) to the logging settings file. The default is
/config/nlog.config.
BINNER_USEHTTPS:
True to require HTTPS, false to only support HTTP. The default is
true.
BINNER_PORT:
This is the port number Binner will listen on. The default is
8090.
BINNER_IP:
The IP the web server should bind to. Default:
*
BINNER_PUBLICURL:
The public URL used to set JWT security authentication tokens and public links. Default:
https://localhost:8090
BINNER_SSLCERTIFICATE:
The filename of the SSL certificate to load. Default on Docker:
./Certificates/binner-docker.pfx
BINNER_SSLCERTIFICATEPASSWORD:
The password of the SSL certificate to load. Default:
password
BINNER_PROVIDER:
The default provider is Binner, which uses Sqlite internally as the database provider. Supported values:
Binner,SqlServer,Postgresql,MySql, `Sqlite``
BINNER_DB_FILENAME:
When using the Binner/Sqlite database you can specify the name of the database file to use. Default is
/data/binner.db
BINNER_DB_HOST:
When using an external database server you can specify the hostname or IP of the server.
BINNER_DB_PORT:
When using an external database server you can specify the connection port of the server.
BINNER_DB_USERNAME:
The username of the external/remote database server.
BINNER_DB_PASSWORD:
The password of the external/remote database server.
BINNER_DB_CONNECTIONSTRING:
As an alternative to individual settings you can specify the full connection string of the database to connect to.
BINNER_RESOURCESOURCE:
The hostname of the CDN server to load public resources (datasheets, images) from. Default:
d6ng6g5o3ih7k.cloudfront.net
BINNER_LANGUAGE:
The language used for API requests. Default:
en. Supported values:en, br, cs, da, de, es, fi, fr, he, hu, it, ja, ko, nl, no, pl, pt, ro, sv, th, zhs, zht, bg, rm, el, hr, lt, lv, ru, sk, tr, uk
BINNER_CURRENCY:
The currency used for API requests. Default:
USD. Supported values:USD, CAD, JPY, GBP, EUR, HKD, SGD, TWD, KRW, AUD, NZD, INR, DKK, NOK, SEK, ILS, CNY, PLN, CHF, CZK, HUF, RON, ZAR, MYR, THB, PHP
BINNER_LICENSEKEY:
The license key to enable subscription based features. See https://binner.io for available subscription levels.