| layout | title | shorttitle | description | tags | permalink | sidebarpath | sidebarweight |
|---|---|---|---|---|---|---|---|
guides |
Kubernetes with Weave on CoreOS and Microsoft Azure |
Kubernetes with Weave on CoreOS and Microsoft Azure |
Using Kubernetes with Weave Net on Microsoft Azure |
ubuntu, Kubernetes, Azure, CoreOS |
/guides/platform/kubernetes/os/coreos/cloud/azure/weave-kubernetes-azure.html |
/start/kubernetes-azure |
55 |
This example demonstrates how a Weave network integrates with Google Kubernetes clusters on CoreOS in the Microsoft Azure cloud management system.
Weave is a software network optimized for visualizing and communicating with apps distributed among Docker containers. Using tools and protocols that are familiar to you, Weave's network enables you to communicate between containerized apps distributed across multiple networks or hosts quickly and efficiently.
Kubernetes is an open source container cluster manager built by Google. It allows you to manage multiple clusters of containers between hosts.
Without Weave, implementing simple networking for your app across Kubernetes clusters can be involved. Because Docker containers can only communicate with each other if they reside on the same host, individual host subnets must be privately allocated for each node. To ensure that there are no collisions on the network, some ports used by your app may also need to be mapped.
Only after private subnets are allocated and any ports mapped, will the kube-proxy, which runs on each node, be able to forward simple TCP/UDP requests to the correct containers within a pod. And if DNS is required, an extra service must also be configured.
With Weave there is no need to deploy or specify any extra services and since Weave listens on standard ports, mapping ports is also not required. Using the Weave Docker API Proxy, Weave takes care of IP management with IPAM and also Automatic Service Discovery, with the weaveDNS service which removes the requirement of having to directly configure the Docker daemon with statically allocated private subnets for each host or node.
In addition to those services, Weave provides simple to deploy encryption and is one of the few solutions that can integrate with non-containerized services, such as legacy databases, and manage those services together on a container network.
Because Weave is an integrated and dedicated container network solution, overhead costs and resource complexity is reduced. Weave in essence saves you time and money, and lets you focus on app development, rather than your infrastructure design.
In this example you will:
- Provision two VMs with CoreOS, Docker and Weave.
- Deploy a Kubernetes etcd cluster.
- Launch the guestbook example app into containers and deploy them to the cluster.
- Automatically scale the app.
- View the Weave network across hosts and pods.
This example doesn't require any programming skill and will take about 15 minutes to complete.
Ensure the following are installed and configured for your operating system:
To get started, first clone the guide directory and then change to the kubernetes/coreos/azure directory:
git clone https://github.com/weaveworks/weave-kubernetes-coreos-azure
cd guides/kubernetes/coreos/azure
Install Azure CLI.
Then, from the same directory, install the dependencies:
sudo npm installNext log into Azure and run the kubernetes script to set up the cluster:
>Note: You may have to interactively log in. Please follow the instructions presented on the screen.
./azure-login.js -u
./create-kubernetes-cluster.js
If a location error is returned after running ./create-kubernetes-cluster.js, return a list of available locations by running:
azure vm location listChoose a suitable location, and then set the location variable by running:
export AZ_LOCATION=‘<your-location>’
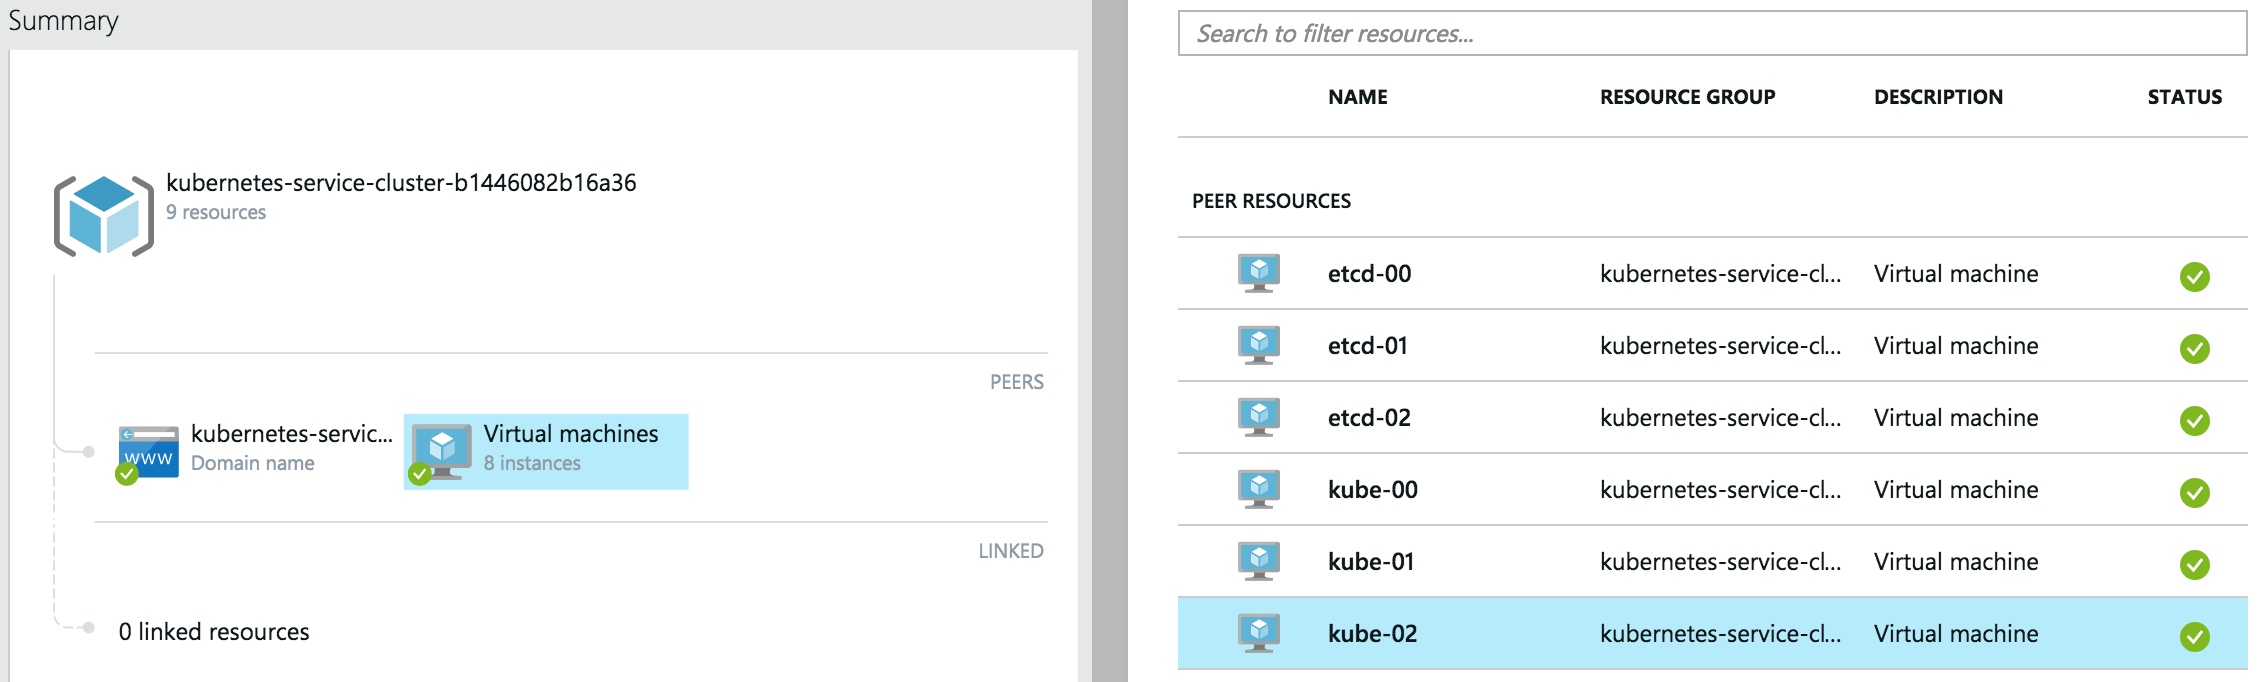
The create-kubernetes-cluster.js script provisions a cluster for production use, and creates a ring of three dedicated etcd nodes with kube-00 being the kubernetes master and the other two: kube-01 and kube-02 serving as workload nodes.
To ensure that the free tier of Azure can reproduce this example without incurring any costs, all of the VMs are single-core. Later in this guide, how to add larger VMs is also described.
Once the Azure VMs are finished setting up, you should see the following:
azure_wrapper/info: Saved SSH config, you can use it like so: `ssh -F ./output/kube_1c1496016083b4_ssh_conf <hostname>`
azure_wrapper/info: The hosts in this deployment are:
[ 'etcd-00', 'etcd-01', 'etcd-02', 'kube-00', 'kube-01', 'kube-02' ]
azure_wrapper/info: Saved state into `./output/kube_1c1496016083b4_deployment.yml`
Log on to the master node:
ssh -F ./output/kube_1c1496016083b4_ssh_conf kube-00> Note: the config file name will be different, make sure to use the one you see.
Check that the nodes are in the cluster:
core@kube-00 ~ $ kubectl get nodes

NAME LABELS STATUS
kube-01 kubernetes.io/hostname=kube-01 Ready
kube-02 kubernetes.io/hostname=kube-02 ReadyWith the cluster provisioned and running, you are ready to deploy the Guestbook App:
kubectl create -f ~/guestbook-exampleNext wait for the pods to get deployed by running this command and waiting until the STATUS changes from Unknown to Pending and finally to Running.
Depending on your network connection, downloading Docker container images on each of the nodes may take some time.
kubectl get pods --watchYou should see something similar to the following:
NAME READY STATUS RESTARTS AGE
frontend-0a9xi 1/1 Running 0 4m
frontend-4wahe 1/1 Running 0 4m
frontend-6l36j 1/1 Running 0 4m
redis-master-talmr 1/1 Running 0 4m
redis-slave-12zfd 1/1 Running 0 4m
redis-slave-3nbce 1/1 Running 0 4mWith the Kubernetes cluster deployed and running, Weave has found all three nodes. This portion was automated, and weave was installed and launched by the setup script.
To manually launch weave, all that is required is the following: weave launch, weave eval$(weave env) and weave connect <ip of host>.
For more information see "Weave -- Weaving Containers in Applications"
core@kube-00 ~ $ weave status

Version: 1.2.0

Service: router
Protocol: weave 1..2
Name: 9a:74:84:f8:a0:9e(kube-00)
Encryption: enabled
PeerDiscovery: enabled
Targets: 0
Connections: 1 (1 established)
Peers: 2 (with 2 established connections)

Service: ipam
Consensus: achieved
Range: [10.32.0.0-10.48.0.0)
DefaultSubnet: 10.32.0.0/12

Service: dns
Domain: weave.local.
TTL: 1
Entries: 0

Service: proxy
Address: unix:///var/run/weave/weave.sockTwo single-core nodes are certainly not enough for a production system. In this section you will scale the cluster by adding several larger nodes.
Open another terminal window on your machine and change to the working directory: guides/kubernetes/azure
First, set the size of new VMs:
export AZ_VM_SIZE=LargeLog into Azure using azure login and once you've been authenticated, run the scale script passing the deployment state file and then specifying the number of nodes to add:
core@kube-00 ~ $ ./scale-kubernetes-cluster.js ./output/kube_1c1496016083b4_deployment.yml 2azure_wrapper/info: Saved SSH config, you can use it like so: `ssh -F ./output/kube_8f984af944f572_ssh_conf <hostname>`
azure_wrapper/info: The hosts in this deployment are:
[ 'etcd-00',
'etcd-01',
'etcd-02',
'kube-00',
'kube-01',
'kube-02',
'kube-03',
'kube-04' ]
azure_wrapper/info: Saved state into `./output/kube_8f984af944f572_deployment.yml`Note: This step created a number of new files in the
./outputdirectory.
Return to kube-00 in the second terminal:
core@kube-00 ~ $ kubectl get nodes
NAME LABELS STATUS
kube-01 kubernetes.io/hostname=kube-01 Ready
kube-02 kubernetes.io/hostname=kube-02 Ready
kube-03 kubernetes.io/hostname=kube-03 Ready
kube-04 kubernetes.io/hostname=kube-04 Ready
You can see that two more nodes have joined. These nodes may take time to start. Check their status in the Microsoft Azure Portal
You can also see that Weave has found the new nodes and their connections:
weave status peers

22:62:e8:8e:cd:d7(kube-04)
<- 172.18.0.14:37081 d2:59:9b:01:47:00(kube-02) established
-> 172.18.0.12:6783 9a:74:84:f8:a0:9e(kube-00) established
<- 172.18.0.20:54020 ca:c7:ef:64:08:4c(kube-03) established
<- 172.18.0.13:59260 ca:50:0a:37:c0:e7(kube-01) established

9a:74:84:f8:a0:9e(kube-00)
<- 172.18.0.14:52330 d2:59:9b:01:47:00(kube-02) established
<- 172.18.0.13:49342 ca:50:0a:37:c0:e7(kube-01) established
<- 172.18.0.20:42340 ca:c7:ef:64:08:4c(kube-03) established
<- 172.18.0.21:50648 22:62:e8:8e:cd:d7(kube-04) established

d2:59:9b:01:47:00(kube-02)
-> 172.18.0.12:6783 9a:74:84:f8:a0:9e(kube-00) established
-> 172.18.0.13:6783 ca:50:0a:37:c0:e7(kube-01) established
<- 172.18.0.20:51137 ca:c7:ef:64:08:4c(kube-03) established
-> 172.18.0.21:6783 22:62:e8:8e:cd:d7(kube-04) established

ca:50:0a:37:c0:e7(kube-01)
<- 172.18.0.20:52101 ca:c7:ef:64:08:4c(kube-03) established
-> 172.18.0.21:6783 22:62:e8:8e:cd:d7(kube-04) established
-> 172.18.0.12:6783 9a:74:84:f8:a0:9e(kube-00) established
<- 172.18.0.14:34576 d2:59:9b:01:47:00(kube-02) established

ca:c7:ef:64:08:4c(kube-03)
-> 172.18.0.12:6783 9a:74:84:f8:a0:9e(kube-00) established
-> 172.18.0.13:6783 ca:50:0a:37:c0:e7(kube-01) established
-> 172.18.0.14:6783 d2:59:9b:01:47:00(kube-02) established
-> 172.18.0.21:6783 22:62:e8:8e:cd:d7(kube-04) established
Once the nodes are running and have joined the Kubernetes cluster, you can scale the number of Guestbook instances.
First, check the number of replication controllers:
core@kube-00 ~ $ kubectl get rc
ONTROLLER CONTAINER(S) IMAGE(S) SELECTOR REPLICAS
frontend php-redis kubernetes/example-guestbook-php-redis:v2 name=frontend 3
redis-master master redis name=redis-master 1
redis-slave worker kubernetes/redis-slave:v2 name=redis-slave 2
With 4 nodes running, you will scale them proportionally:
core@kube-00 ~ $ kubectl scale --replicas=4 rc redis-slave
>>>>>>> coreos/azure: Updates for 1.0
scaled
core@kube-00 ~ $ kubectl scale --replicas=4 rc frontend
scaled
Check their status:
core@kube-00 ~ $ kubectl get rc
CONTROLLER CONTAINER(S) IMAGE(S) SELECTOR REPLICAS
frontend php-redis kubernetes/example-guestbook-php-redis:v2 name=frontend 4
redis-master master redis name=redis-master 1
redis-slave worker kubernetes/redis-slave:v2 name=redis-slave 4
There are 4 instances of the front-end Guestbook app and also 4 instances of the Redis slaves. By scaling, all pods labeled name=frontend will have one set (a front-end app and their redis slave) running on a node.
core@kube-00 ~/guestbook-example $ kubectl get pods -l name=frontend
NAME READY STATUS RESTARTS AGE
frontend-0a9xi 1/1 Running 0 22m
frontend-4wahe 1/1 Running 0 22m
frontend-6l36j 1/1 Running 0 22m
frontend-z9oxo 1/1 Running 0 41sKeep in mind that there is no native Azure load-balancer support in Kubernetes 1.0. Here, however is how you can expose the Guestbook app to the outside world on the Internet.
Exit from Kube-00 and run the following script:
./expose_guestbook_app_port.sh ./output/kube_1c1496016083b4_ssh_confProduces this output:
Guestbook app is on port 31605, will map it to port 80 on kube-00
info: Executing command vm endpoint create
+ Getting virtual machines
+ Reading network configuration
+ Updating network configuration
info: vm endpoint create command OK
info: Executing command vm endpoint show
+ Getting virtual machines
data: Name : tcp-80-31605
data: Local port : 31605
data: Protcol : tcp
data: Virtual IP Address : 137.117.156.164
data: Direct server return : Disabled
info: vm endpoint show command OK
You can now access the 'Guestbook App' from anywhere via the Virtual IP displayed from the script's output above for kube-00.
If you don't wish care about the Azure bill, you can tear down the cluster. It's easy to redeploy it, as you can see.
./destroy-cluster.js ./output/kube_8f984af944f572_deployment.ymlNote: make sure you use the latest state file, since after you scaled the app, a new one was created.
As an aside you can use these scripts to deploy multiple clusters.
The purpose of this guide is to provide an out-of-the-box implementation that can ultimately be taken into production with little change. It demonstrates how to provision a dedicated Kubernetes master and etcd nodes, and then shows how to scale the cluster with ease.