Quickstart_ja
ProcessingKitを利用するためのチュートリアルガイドになります。
Xcodeを開き、Create a New Xcode projectから、iOSプロジェクトを立ち上げます。

テンプレートは Single View App を利用します。
ProcessingKitは、CarthageもしくはCocoaPodsを利用してダウンロード可能です。 このチュートリアルではCocoaPodsを利用します。
RubyGems を用いてインストールすることが可能です
$ sudo gem install cocoapodsプロジェクトファイル(例では ProcessingKitWiki というプロジェクト名)と同じ階層にPodfile というファイルを生成します。
$ ls
ProcessingKitWiki         ProcessingKitWiki.xcodeproj

$ pod init # Podfileを生成する
$ ls
Podfile                    ProcessingKitWiki
ProcessingKitWiki.xcodeproj
Podfileの中身は以下のようにします
# Uncomment the next line to define a global platform for your project
# platform :ios, '9.0'

target 'ProcessingKitWiki' do
  # Comment the next line if you're not using Swift and don't want to use dynamic frameworks
  use_frameworks!

  # Pods for ProcessingKitWiki
  pod "ProcessingKit"  # この行を追加
endpod install コマンドを用いて、ProcessingKitをインストールします。
$ pod install
Analyzing dependencies
Downloading dependencies
Installing ProcessingKit (1.2.0)
Generating Pods project
Integrating client project

[!] Please close any current Xcode sessions and use `ProcessingKitWiki.xcworkspace` for this project from now on.
Sending stats
Pod installation complete! There is 1 dependency from the Podfile and 1 total pod installed.
pod install の後にディレクトリを確認すると
$ ls
Podfile                       ProcessingKitWiki
Podfile.lock                  ProcessingKitWiki.xcodeproj
Pods                          ProcessingKitWiki.xcworkspace
.xcworkspace というファイルができているので、このファイルを開いてXcodeを立ち上げます。

Xcodeの File->New->File から新規のSwiftファイルを生成します。
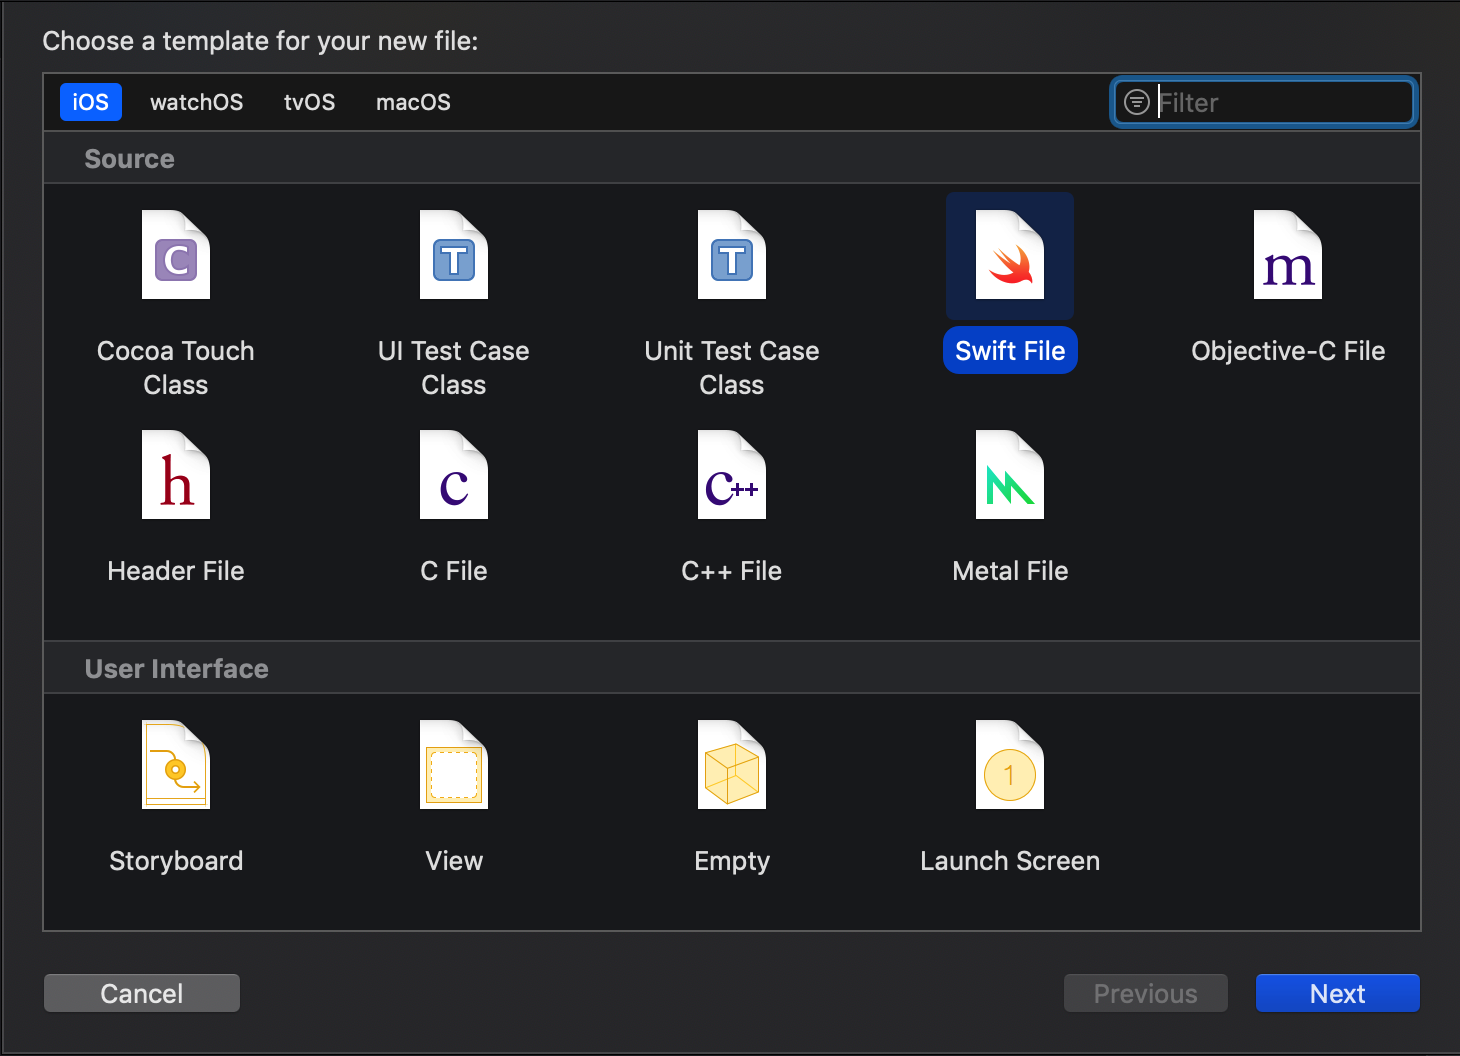
ProcessingKit をimportして、ProcessingView を継承したクラスを作成します。
import ProcessingKit

class SampleView: ProcessingView {
}
作成したクラスに setup() メソッド と draw() メソッドを実装します
import ProcessingKit

class SampleView: ProcessingView {
  func setup() {
    // setupにはViewの生成時に1度だけ実行させる処理を書きます
  }

  func draw() {
    // drawには毎フレーム実行させる処理を書きます
  }
}
半径50の赤色の円を(x: 100, y: 100)に描画します
import ProcessingKit

class SampleView: ProcessingView {
    func setup() {
        fill(255, 0, 0)
        ellipse(100, 100, 50, 50)
    }
    func draw() {

    }
}作成したSampleViewを画面に表示します。ViewController.swiftを開いて
import UIKit

class ViewController: UIViewController {

    override func viewDidLoad() {
        super.viewDidLoad()
        // Do any additional setup after loading the view, typically from a nib.

        let sampleView = SampleView(frame: self.view.frame) //この行を追加
        self.view.addSubview(sampleView) //この行を追加
    }


}上記のように、sampleView のインスタンスを生成してaddSubViewします。
XcodeからProduct->Runすると、アプリを実行できます。
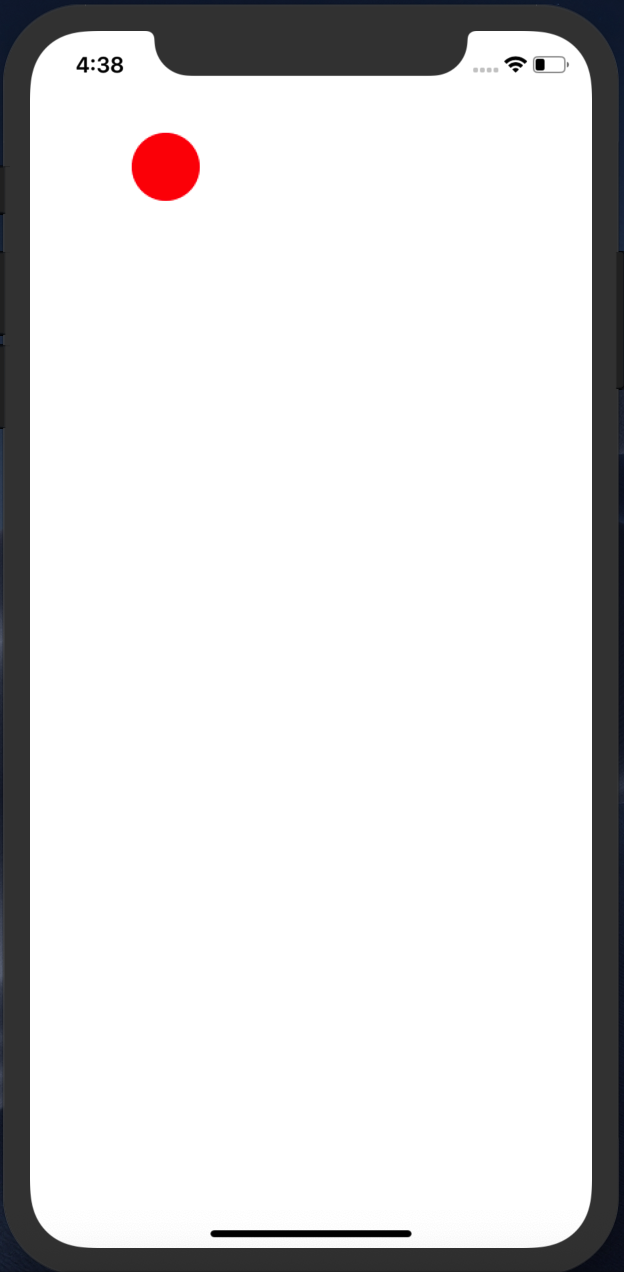
(x:100, y:100) の地点に半径50の赤い円が表示できました。