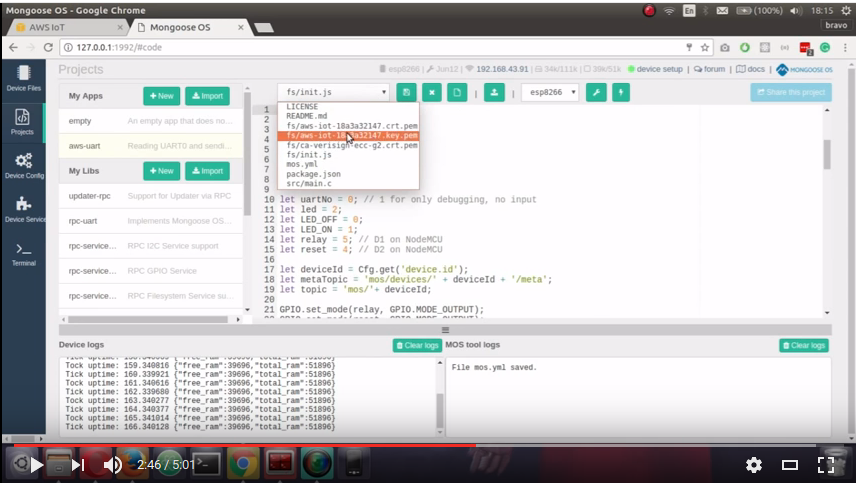
This app does two things.
- Reading UART 0 of ESP8266 and sending it to AWS IoT
- Sending device metadata and two pins state to AWS IoT
- Install and start mos tool
- Switch to the Project page, find and import this app(if available otherwise follow the steps below), build and flash it:
- Clone this repo
git clone https://github.com/mongoose-os-apps/aws-uart - Go into the directory
aws-uartand runmos build --arch esp8266( Change the arch respectively ) - After that, you should see a build directory in the current directory which will have the
fw.zipbinary - Run
mos flashwhich flashes the current build - Run
mos consoleand check
- You can do this via mos tool UI or use command
mos wifi WIFI_NAME WIFI_PASSWORD
Note that mos talks to the device using RPC mechanism.
RPC can talk over serial (uart), http, mqtt. By default, mos talks via uart.
but aws-uart example takes over uart, therefore mos RPC does not work.
You need to use another RPC channel - for example websocket. Therefore,
update mos.yml, put your wifi credentials there, then build/flash,
see what IP address is assigned to your board, and start mos as
mos --port ws://IP_ADDRESS/rpc.
- You can do this via mos tool UI or use command
mos aws-iot-setup --aws-iot-policy mos-default - Create a thing in AWS IoT and you are done
- Test this by going into AWS IoT MQTT test Console by subscribing to
mos/#with QoS 1