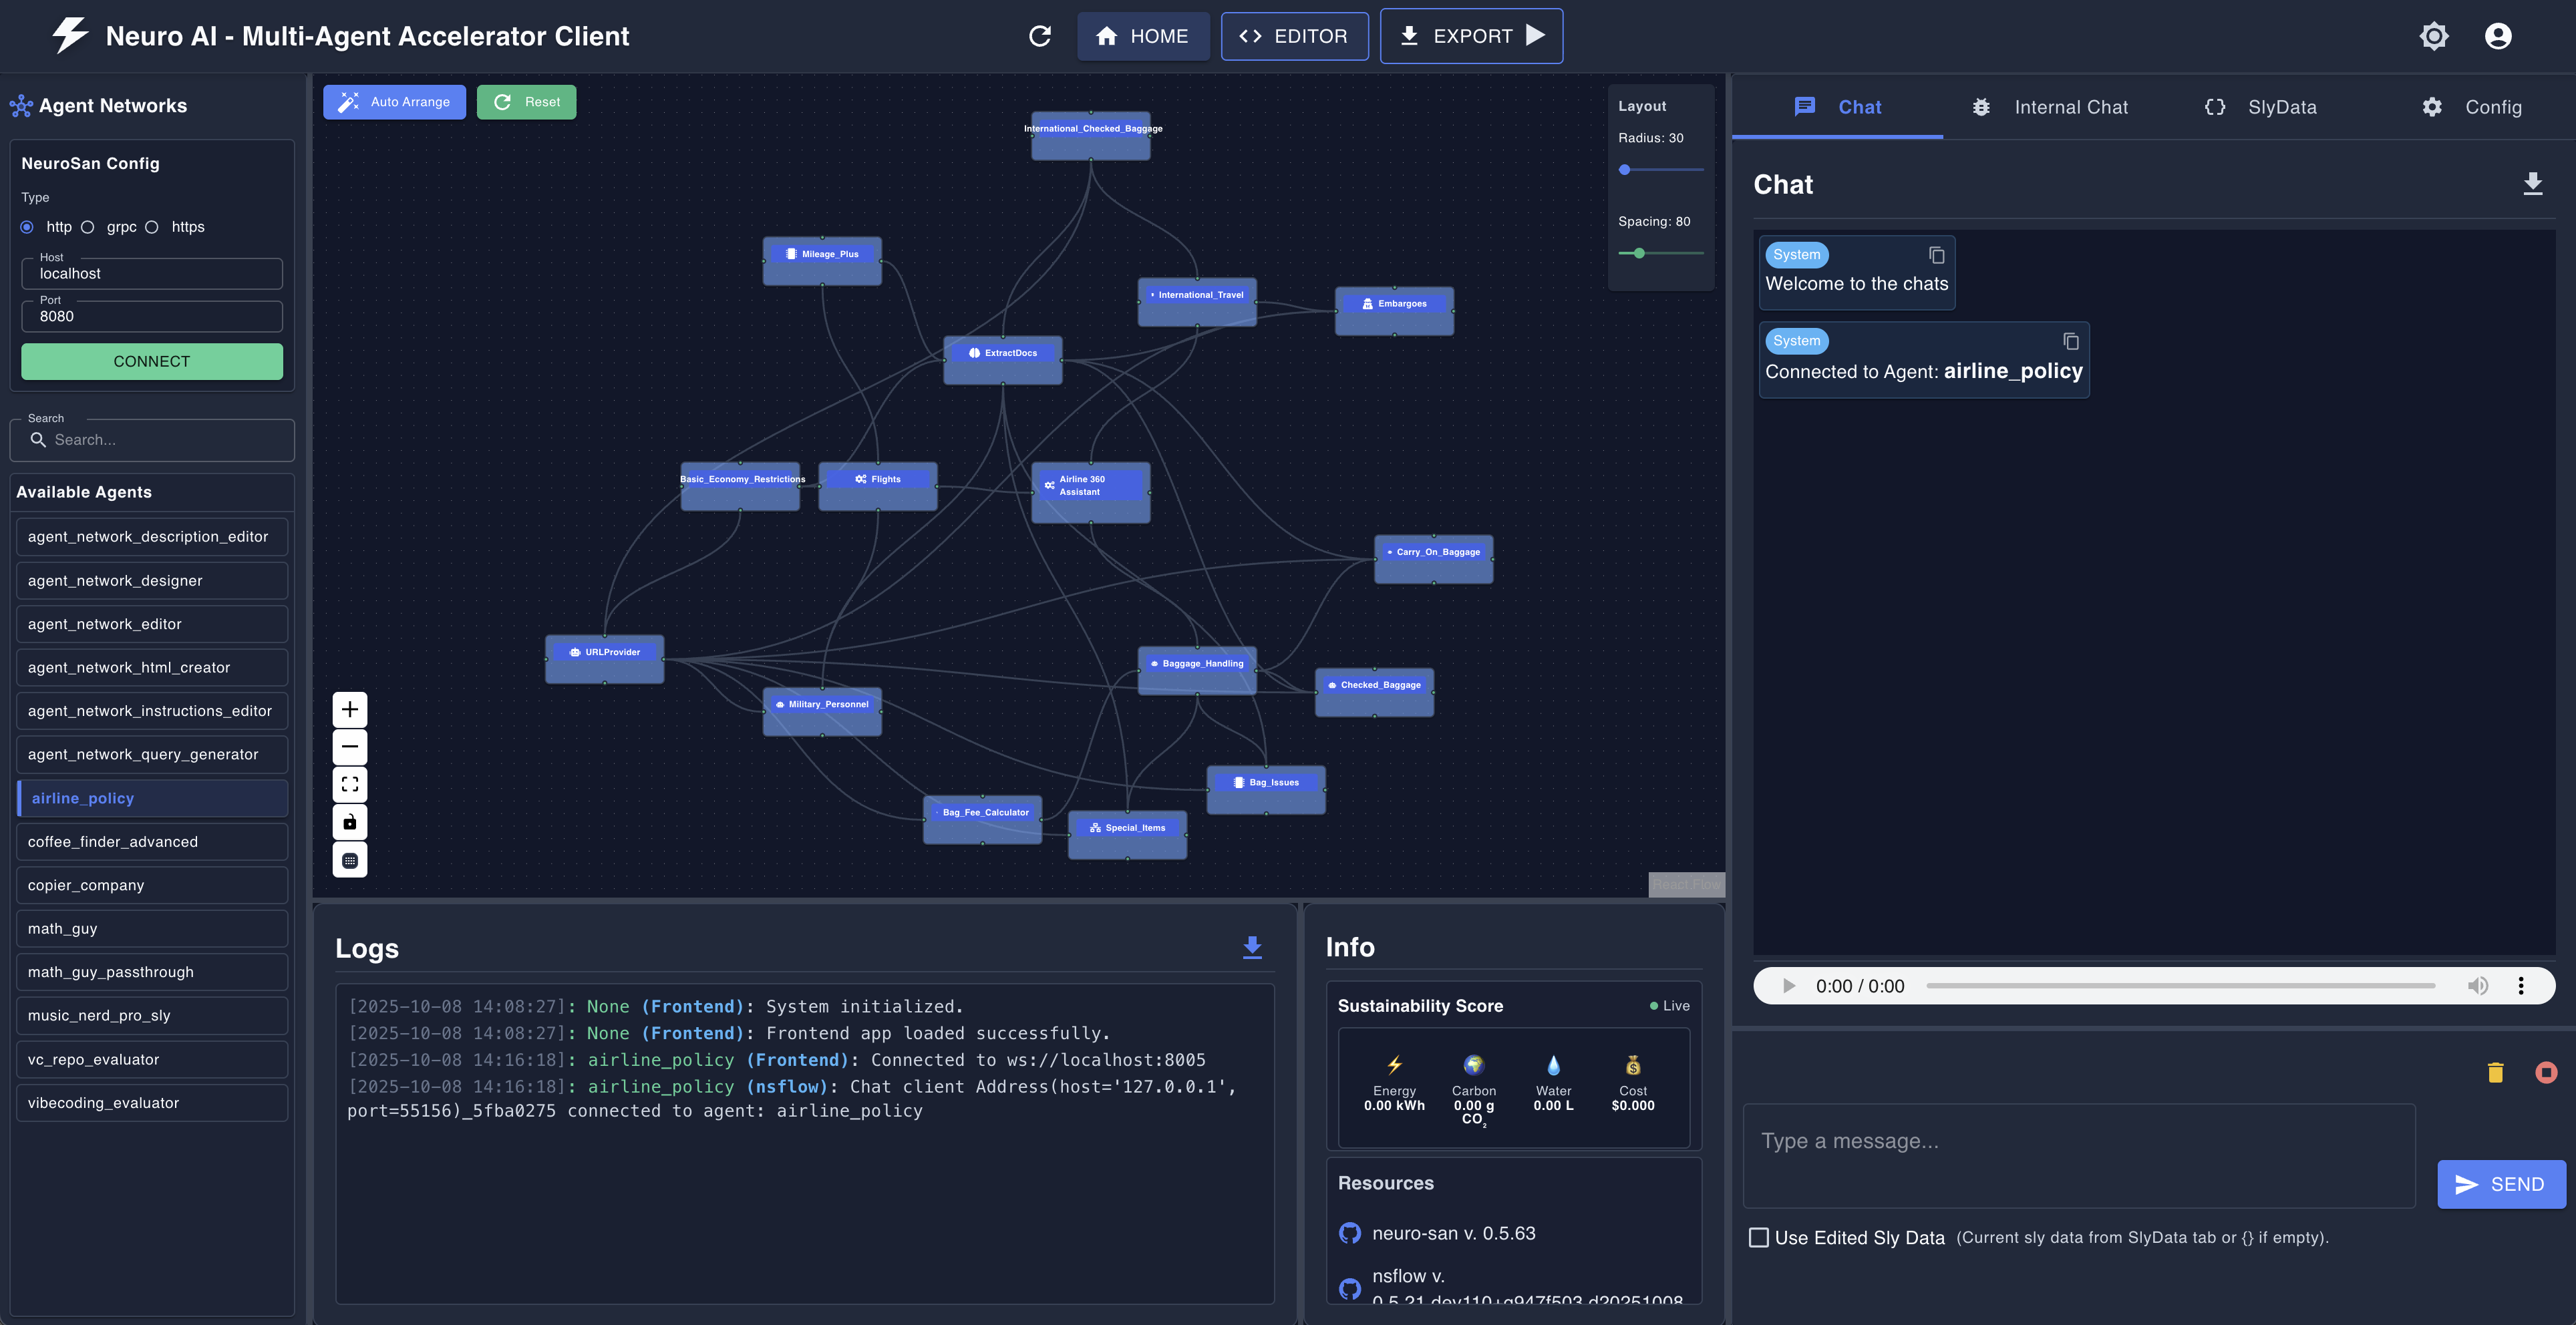
nsflow is a react-based developer-oriented client that enables users to explore, visualize, and interact with smart agent networks. It integrates with NeuroSan for intelligent agent-based interactions.
nsflow can be installed and run in two different ways:
To simplify execution, nsflow provides a CLI command to start both the backend and frontend simultaneously.
python -m venv .venv
source .venv/bin/activatepip install nsflowpython -m nsflow.runBy default, this will start:
- backend (FastAPI + NeuroSan) here:
http://127.0.0.1:4173/docsorhttp://127.0.0.1:4173/redoc - frontend (React) here:
http://127.0.0.1:4173
If you want to contribute, ensure you have the necessary dependencies installed: To start the frontend and backend separately, follow these steps:
git clone https://github.com/leaf-ai/nsflow.git
cd nsflow- Make sure you have python (preferably Python 3.12) installed.
python -m venv .venv
source .venv/bin/activate
pip install -r requirements.txt
pip install -r requirements-dev.txt
-
From the root start Backend:
python -m nsflow.run --dev
-
Start Frontend:
- Ensure that you have Node.js (with Yarn) installed.
- Follow the instructions to setup the frontend here: ./nsflow/frontend/README.md
- On another terminal window
cd nsflow/frontend; yarn install
yarn dev
-
By default:
- backend will be available at:
http://127.0.0.1:8005 - frontend will be available at:
http://127.0.0.1:5173
- backend will be available at:
- To build the Frontend
sh build_scripts/build_frontend.sh
Note: The above script's output should show that ./nsflow dir contains a module prebuilt_frontend
- To build and test the wheel locally
sh build_scripts/build_wheel.sh