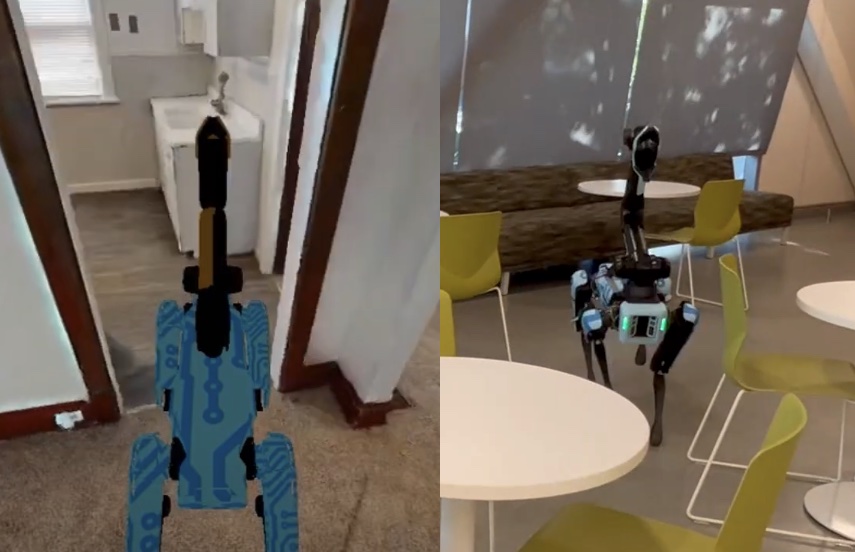
Pictured above: a policy trained with kinematic navigation, navigating in the real-world upon deployment.
You must have mamba installed. If you don't have it, you could use conda as a drop-in replacement instead, but installation will take much longer.
- Create the conda environment:
conda_env_name=robot_nav

# Mamba is used for much, much faster installation.
# PLEASE VERIFY THAT THE PYTORCH AND CUDA VERSION IS CORRECT FOR YOUR SYSTEM HERE:
# https://pytorch.org/get-started/previous-versions/
conda create -n $conda_env_name python=3.9 -y
mamba install -n $conda_env_name \
  habitat-sim=0.2.4 withbullet headless pytorch=1.12.1 cudatoolkit=11.3 \
-c pytorch -c nvidia -c conda-forge -c aihabitat -y- Install this repo and habitat-lab:
# Install this repo
conda activate $conda_env_name
pip install -e .

# Then, install habitat-lab
git clone --branch v0.2.4 git@github.com:facebookresearch/habitat-lab.git
cd habitat-lab
pip install -e habitat-lab
pip install -e habitat-baselines
- Download the 3D scenes (does not include navigation episodes, only meshes):
MATTERPORT_TOKEN_ID=<FILL IN FROM YOUR ACCOUNT INFO IN MATTERPORT>
MATTERPORT_TOKEN_SECRET=<FILL IN FROM YOUR ACCOUNT INFO IN MATTERPORT>
DATA_DIR=</path/to/robot-nav/data>

# Ensure that the data directory exists (and create it if it doesn't)
mkdir -p $DATA_DIR

# Download HM3D 3D scans (scenes_dataset)
python -m habitat_sim.utils.datasets_download \
  --username $MATTERPORT_TOKEN_ID --password $MATTERPORT_TOKEN_SECRET \
  --uids hm3d_train_v0.2 \
  --data-path $DATA_DIR &&
python -m habitat_sim.utils.datasets_download \
  --username $MATTERPORT_TOKEN_ID --password $MATTERPORT_TOKEN_SECRET \
  --uids hm3d_val_v0.2 \
--data-path $DATA_DIR - If you are using Spot, its URDF can be downloaded from habitat-sim:
python -m habitat_sim.utils.datasets_download \
  --uids hab_spot_arm \
--data-path $DATA_DIR To generate episodes, run the following command to understand how to specify the arguments, then run it with the appropriate arguments:
python -um robot_nav.generate_episodes -hBefore you start training, your /path/to/robot-nav/data directory should look like this:
data
├── datasets
│   └── pointnav
│       ├── gibson  # only necessary if training with Gibson scenes
│       │   └── v1
│       │       ├── train
│       │       │   ├── content
│       │       │   │   └── *.json.gz
│       │       │   └── train.json.gz
│       │       └── val
│       │           ├── content
│       │           │   └── *.json.gz
│       │           └── val.json.gz
│       └── hm3d  # only necessary if training with HM3D scenes
│           └── v1
│               ├── train
│               │   ├── content
│               │   │   └── *.json.gz
│               │   └── train.json.gz
│               └── val
│                   ├── content
│                   │   └── *.json.gz
│                   └── val.json.gz
├── robots
│   └── hab_spot_arm  # only necessary if training with Spot with arm
│       ├── meshes
│       │   ├── arm0.link_el0.obj
│       │   ├── arm0.link_el1.obj
│       │   ├── arm0.link_fngr.obj
│       │   └── ...
│       └── urdf
│           ├── hab_spot_arm.urdf
│           └── spot_arm.urdf
└── scene_datasets
    ├── gibson  # only necessary if training with Gibson scenes
    │   ├── *.glb
    │   └── *.navmesh
    └── hm3d  # only necessary if training with HM3D scenes
        ├── train
        │   ├── 00000-kfPV7w3FaU5
        │   │   ├── kfPV7w3FaU5.basis.glb
        │   │   ├── kfPV7w3FaU5.basis.navmesh
        │   │   ├── kfPV7w3FaU5.glb
        │   │   ├── kfPV7w3FaU5.obj
        │   │   └── ...
        │   └── ...
        ├── val
        │   ├── 00800-TEEsavR23oF
        │   │   ├── TEEsavR23oF.basis.glb
        │   │   ├── TEEsavR23oF.basis.navmesh
        │   │   ├── TEEsavR23oF.glb
        │   │   ├── TEEsavR23oF.obj
        │   │   └── ...
        │   └── ...
        ├── hm3d_annotated_basis.scene_dataset_config.json
        └── hm3d_basis.scene_dataset_config.json
Here is an example command for training a policy:
python -um robot_nav.run \
    --config-path=../ \
--config-name=ver_hm3d_robot_nav If you use this code in your research, please cite our paper:
@inproceedings{truong2022kin2dyn,
    title={Rethinking Sim2Real: Lower Fidelity Simulation Leads to Higher Sim2Real Transfer in Navigation},
    author={Joanne Truong and Max Rudolph and Naoki Yokoyama and Sonia Chernova and Dhruv Batra and Akshara Rai},
    booktitle={Conference on Robot Learning (CoRL)},
    year={2022}
}