Let this guide be the auth + database speed run from the heavens to get your ideas underway ASAP, today. We’ll be developing this full stack system with React.js on the frontend, although the process is analogous for Next.js apps too, and Firebase on the backend because they handle all the heavy logic lifting and they have a phenomenal free tier for both authentication and with the Firestore NoSQL database. You can deploy your projects live today, for free, and you won’t incur any costs until you’re already making absolute bank!
Square one, al principio, we begin by creating a React.js project with Vite. It’s a rudimentary process; you simply run this command in your terminal!
npm create vite@latest my-fullstack-react-app -- --template react
Phew, that was easy. Now we can go ahead and open our project inside of your code editor!
Then we'll quickly need to install firebase as an NPM dependancy for our project by running the following command in our terminal:
npm i firebase
The next task on our list is to create the following files:
/firebase.js/src/context/AuthContext.jsx/.env/src/components/Login.jsx/src/components/Dashboard.jsx
The firebase.js file can contain the following code:
import {initializeApp} from 'firebase/app'
import {getAuth} from 'firebase/auth'
import {getFirestore} from 'firebase/firestore'

// Your web app's Firebase configuration
const firebaseConfig = {
  apiKey: import.meta.env.VITE_APIKEY,
  authDomain: import.meta.env.VITE_AUTHDOMAIN,
  projectId: import.meta.env.VITE_PROJECTID,
  storageBucket: import.meta.env.VITE_STORAGEBUCKET,
  messagingSenderId: import.meta.env.VITE_MESSAGINGSENDERID,
  appId: import.meta.env.VITE_APPID
};

// Initialize Firebase
const app = initializeApp(firebaseConfig);

export const auth = getAuth(app)
export const db = getFirestore(app)
This code initializes Firebase in our React.js codebase in addition to also initializing and then exporting our Firebase authentication & database so that they may be accessed elsewhere within our projects.
The AuthContext.jsx component is ever so slightly more complex:
import React, { useContext, useState, useEffect } from 'react'
import { auth, db } from '../../firebase'
import { signInWithEmailAndPassword, createUserWithEmailAndPassword, signOut, onAuthStateChanged } from 'firebase/auth'

const AuthContext = React.createContext()

export function useAuth() {
    // create a useAuth hook to access the context throughout our app
    return useContext(AuthContext)
}

export function AuthProvider({ children }) {
    // create the auth wrapper component for our application
    // could optionally define a userData state and add to context
    const [currentUser, setCurrentUser] = useState(null)


    function signup(email, password) {
        return createUserWithEmailAndPassword(auth, email, password)
    }

    function login(email, password) {
        return signInWithEmailAndPassword(auth, email, password)
    }

    function logout() {
        return signOut(auth)
    }

    useEffect(() => {
        const unsubscribe = onAuthStateChanged(auth, user => {
            // This is where you could fetch generic user data from firebase
            setCurrentUser(user)
        })
        return unsubscribe
    }, [])

    const value = {
        currentUser,
        signup,
        logout,
        login
    }

    return (
        <AuthContext.Provider value={value}>
            {children}
        </AuthContext.Provider>
    )
}
This component has two functions, one that creates an auth hook that we can use to access the auth state throughout our application, and the second is an auth wrapper component with which we will encapsulate our entire application.
We also define some logic that monitors the auth state, so that our application is responsive to the users different authentication states. Three functions are defined to demonstrate the primary authentication methods, however more can be created in the same vein. Finally, we pass both the auth status and methods down as a context to our entire app, allowing them to be accessed from within any component.
The users login state is cleverly stored in cookies so even if the page is refreshed, the authentication state can be maintained for a period of time without the user having to sign in again!
To keep our application secure, we save our keys within a .env file. The file can be initialized as follows:
VITE_APIKEY=
VITE_AUTHDOMAIN=
VITE_PROJECTID=
VITE_STORAGEBUCKET=
VITE_MESSAGINGSENDERID=
VITE_APPID=
We will soon fill out the actual key values in here to then be accessed within the firebase.js file.
Now we need to initialize a Login component to handle the users sign-in and sign-up functionalities:
import React, { useState } from 'react'
import { useAuth } from '../context/AuthContext'

export default function Login() {
    const [createAccount, setCreateAccount] = useState(false)
    const [userCreds, setUserCreds] = useState({ email: '', password: '' })

    const { signup, login } = useAuth()

    function updateEmail(e) {
        setUserCreds({ ...userCreds, email: e.target.value })
    }

    function updatePassword(e) {
        setUserCreds({ ...userCreds, password: e.target.value })
    }

    function handleSubmit(e) {
        e.preventDefault()
        // prevents signup if form not completed
        if (!userCreds.email || !userCreds.password) { return }

        if (createAccount) {
            // recommended to add password regex check in here
            console.log('Registering')
            signup(userCreds.email, userCreds.password)
        } else {
            console.log('Logging in')
            login(userCreds.email, userCreds.password)
        }
    }

    return (
        <div>
            <input placeholder='Email' value={userCreds.email} onChange={(e) => {
                updateEmail(e)
            }}></input>
            <input placeholder='Password' type='password' value={userCreds.password} onChange={(e) => {
                updatePassword(e)
            }}></input>
            <button onClick={handleSubmit}>
                <p>Submit</p>
            </button>
            <button onClick={() => setCreateAccount(!createAccount)}>
                <p>{createAccount ? 'Sign In' : 'Sign Up'}</p>
            </button>
        </div>
    )
}
And we cleverly access both methods by calling the useContext() hook and destructuring the methods from within! In the component JSX we create two input fields for the email and password respectively, a button to submit the form, and a button to swap between the registration and login states.
And finally, we can display a dashboard component for anyone who is logged in :P
import React from 'react'
import { doc, increment, serverTimestamp, setDoc } from "firebase/firestore";
import { useAuth } from '../context/AuthContext'
import { db } from '../../firebase';

export default function Dashboard() {
    const { logout, currentUser } = useAuth()

    async function handleIncrement() {
        const userRef = doc(db, 'users', currentUser.uid);
        await setDoc(userRef, { counter: increment(1), timestamp: serverTimestamp() }, { merge: true });
    }

    return (
        <div>
            <p> hello world & welcome to the dashboard</p>
            <button onClick={handleIncrement}>Increment database</button>
            <button onClick={logout}>Logout</button>
        </div>
    )
}
The dashboard also has an increment counter to demonstrate how we can modify information in the database specific to the user by connecting the two via the users ID. Additionally, it contains a logout function for when the user wishes to logout from their account.
You can read more about CRUD operations with Firebase/Firestore here:
With all our components and files created, we can quickly make a modification to our app.jsx component so that it renders the login component for unauthenticated users, and the dashboard for those logged in already.
import { useAuth } from './context/AuthContext'
import Login from './components/Login'
import Dashboard from './components/Dashboard'

function App() {
  const { currentUser } = useAuth()
  return (
    <div>
      {currentUser ? (
        <Dashboard />
      ) : (
        <Login />
      )}
    </div>
  )
}

export default App
This very simple app component accesses the currentUser state using the auth context and conditionally renders either our dashboard or login component depending on whether or not a user is found!
Our main.jsx receives a very simple update, simply wrapping the app in the new context:
import React from 'react'
import ReactDOM from 'react-dom/client'
import App from './App.jsx'
import { AuthProvider } from './context/AuthContext.jsx'

ReactDOM.createRoot(document.getElementById('root')).render(
  <React.StrictMode>
    <AuthProvider>
      <App />
    </AuthProvider>
  </React.StrictMode>,
)
Finally, we can provision some firebase resources to manage our authentication and database utilities within the cloud (not to mention it’s free for a solid amount of usage)!
If we visit the following page and click Get Started, we’ll be taken to our developer console:
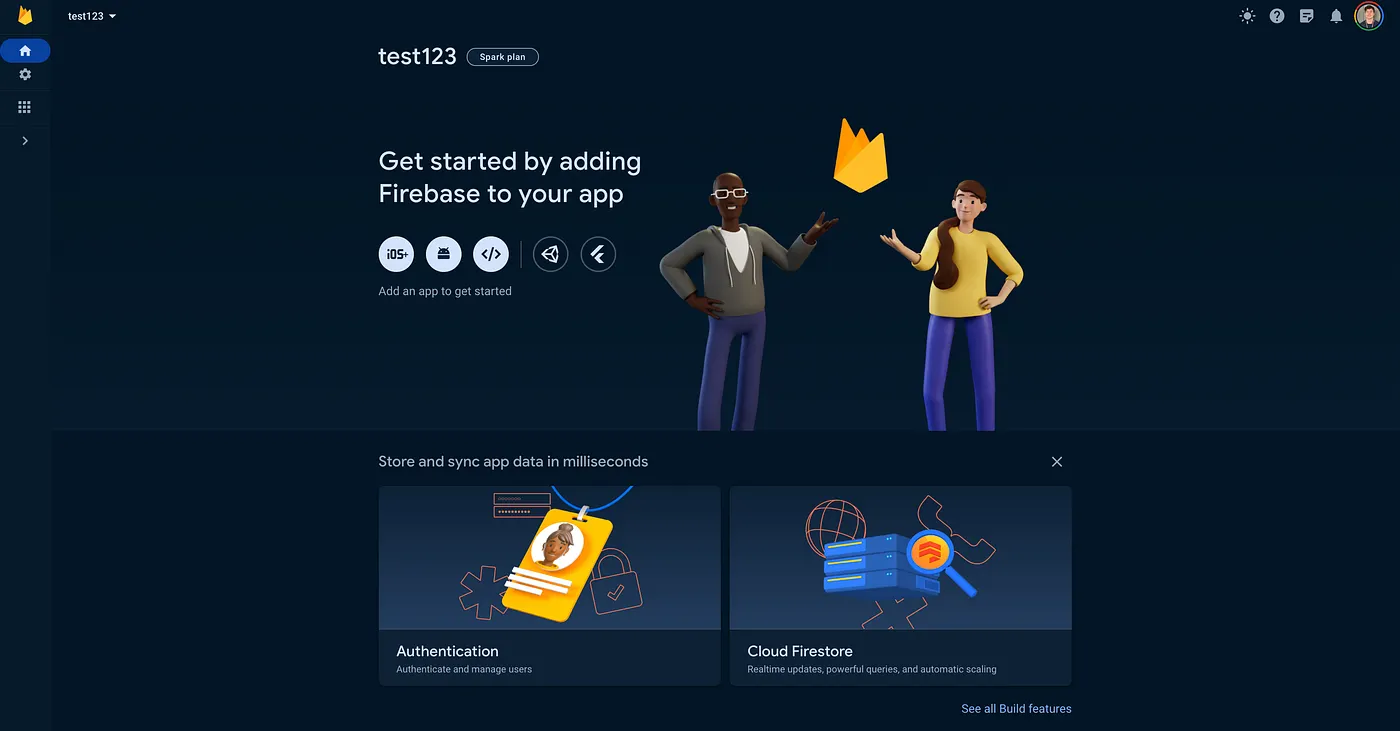
From here, we’ll hit Add Project, give our project a name, optionally opt for googles analytics, and finally be taken through to the dashboard for our new project. It should look a bit as follows!
Now we can finish the setup by following these steps:
- From here, we’ll first select Authentication.
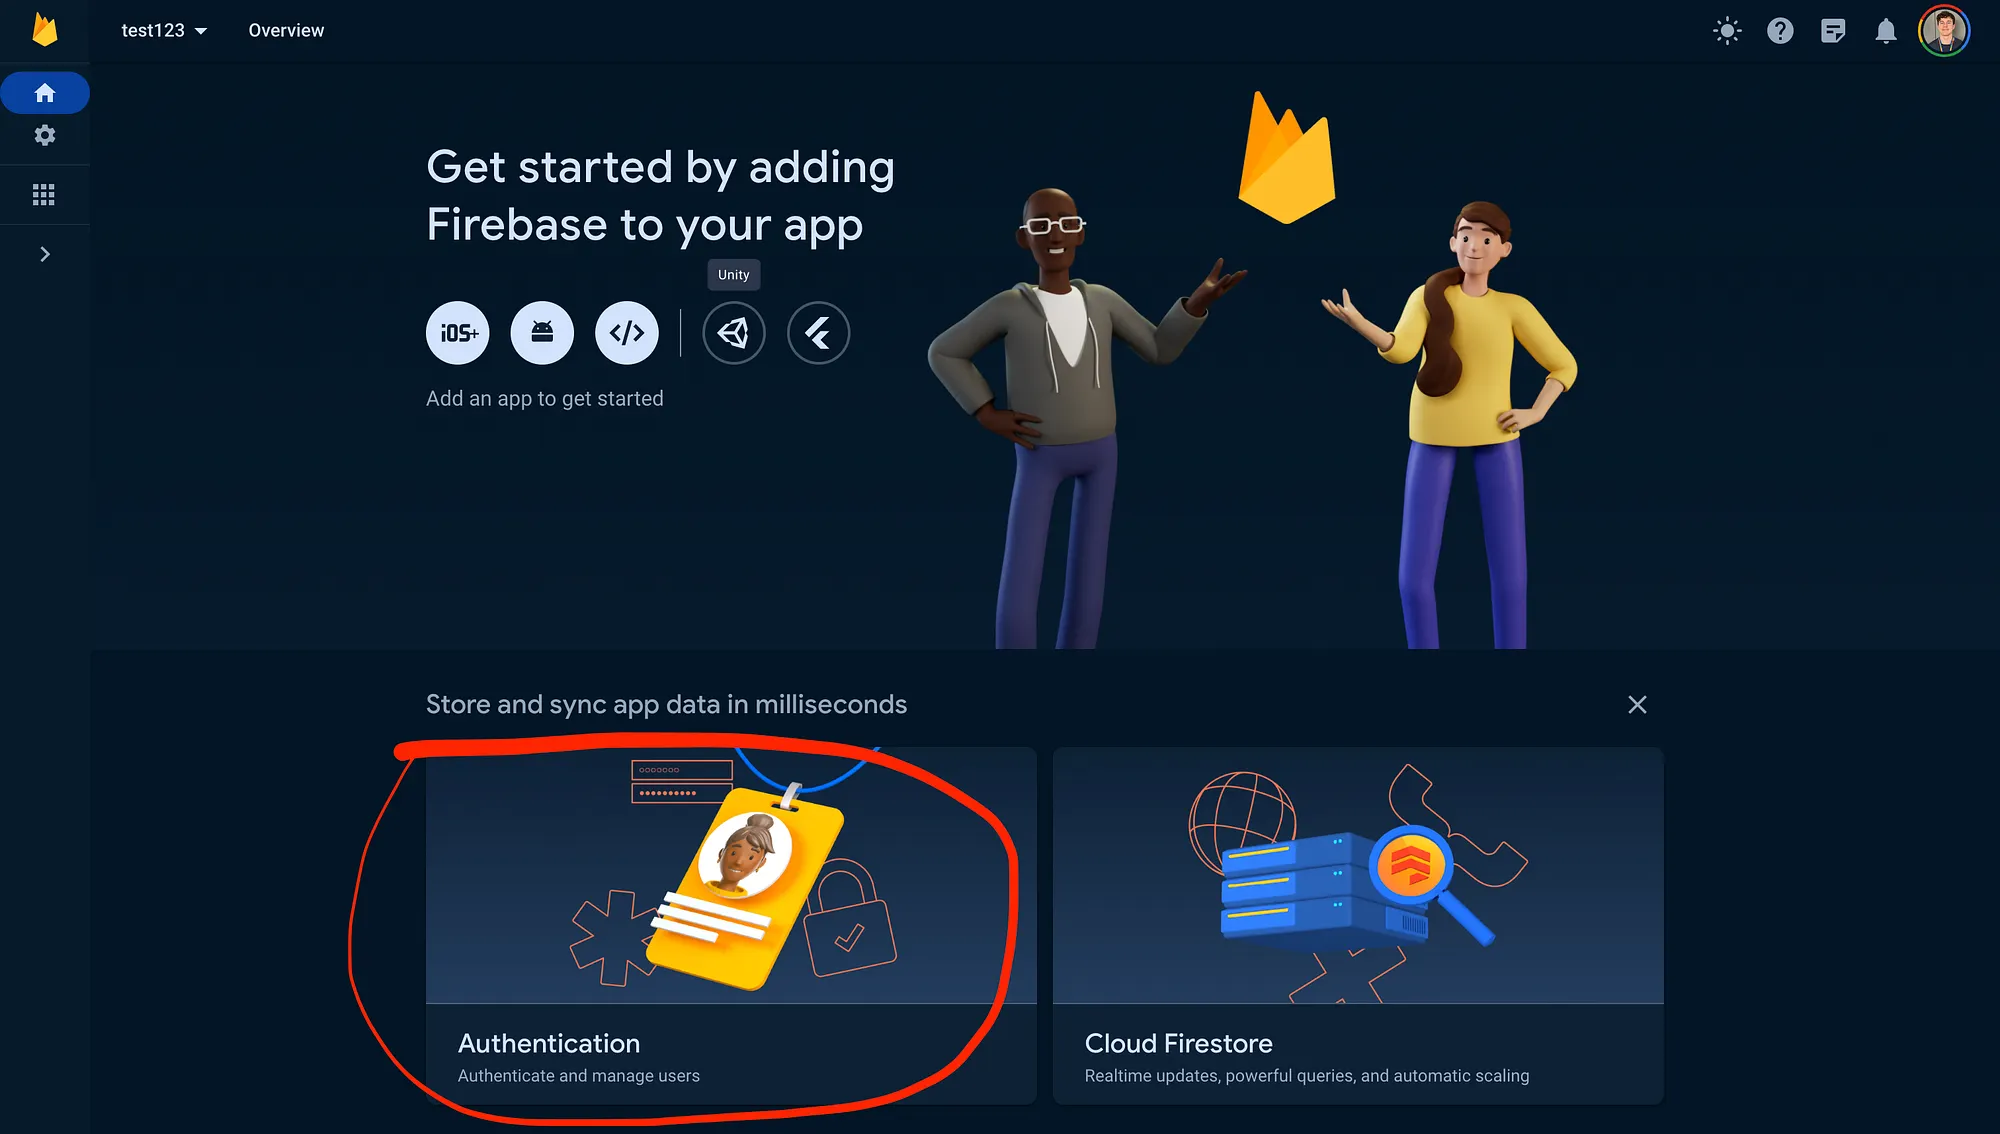
-
Hit Get Started on the following page.
-
Select Email/Password to enable authentication with email and password.
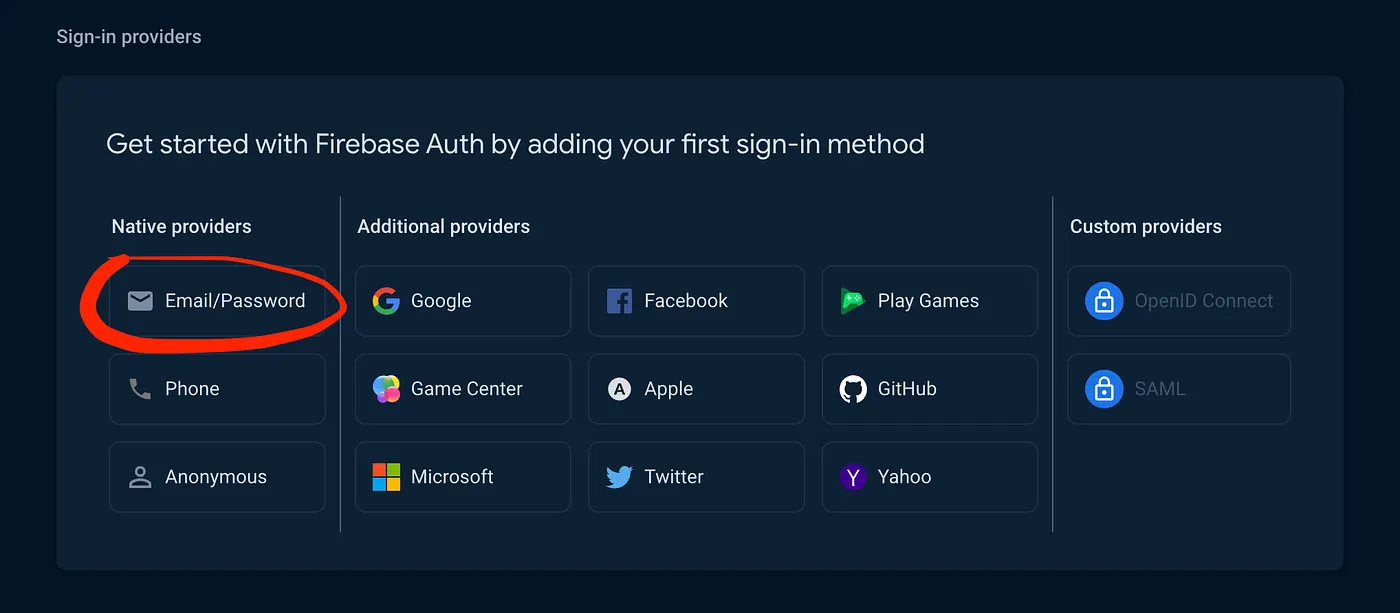
- Enable Email/Password and hit save.

That should do it to configure Firebase authentication. Now we initialize the database!
- Select Cloud Firestore from the home dashboard.

- From here we’ll create a database. The only thing you need to consider is your location database if you’re extremely concerned about latency. Then hit Next.
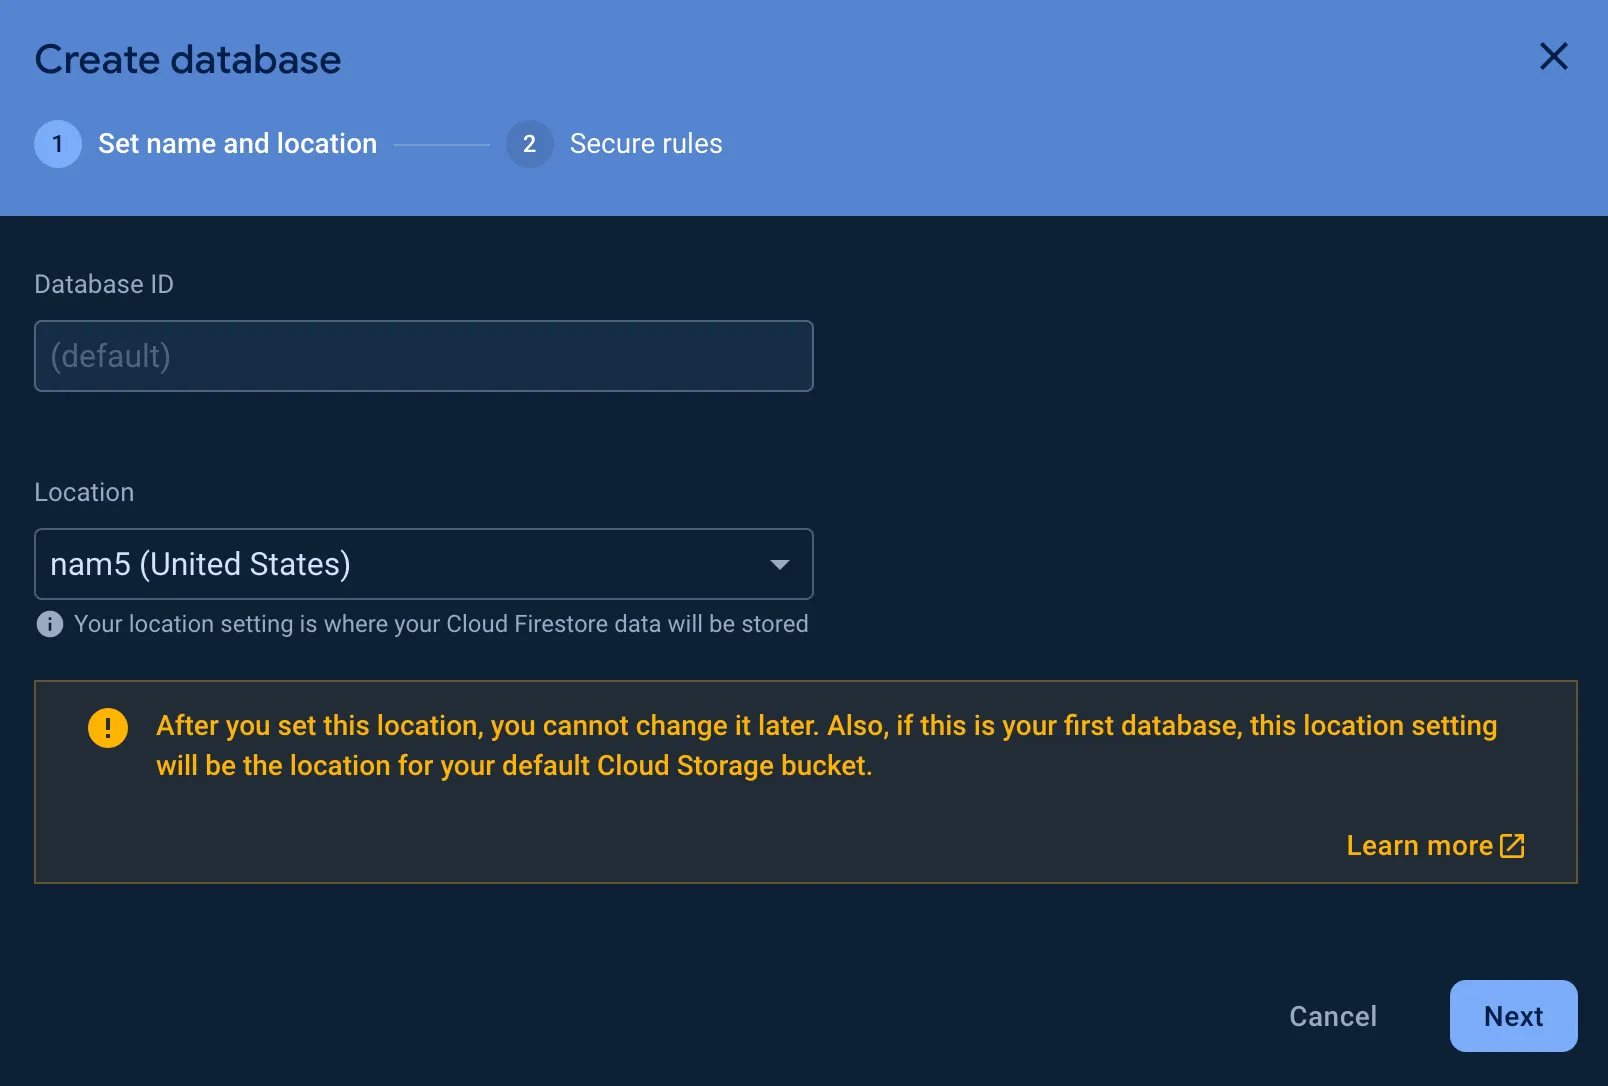
- Now we set the database to Test Mode to ensure that the read and write options are open.

- And now, back to the dashboard to configure our Firebase project for a web application. Select the web option.

- From here, create an app name and hit Register app.
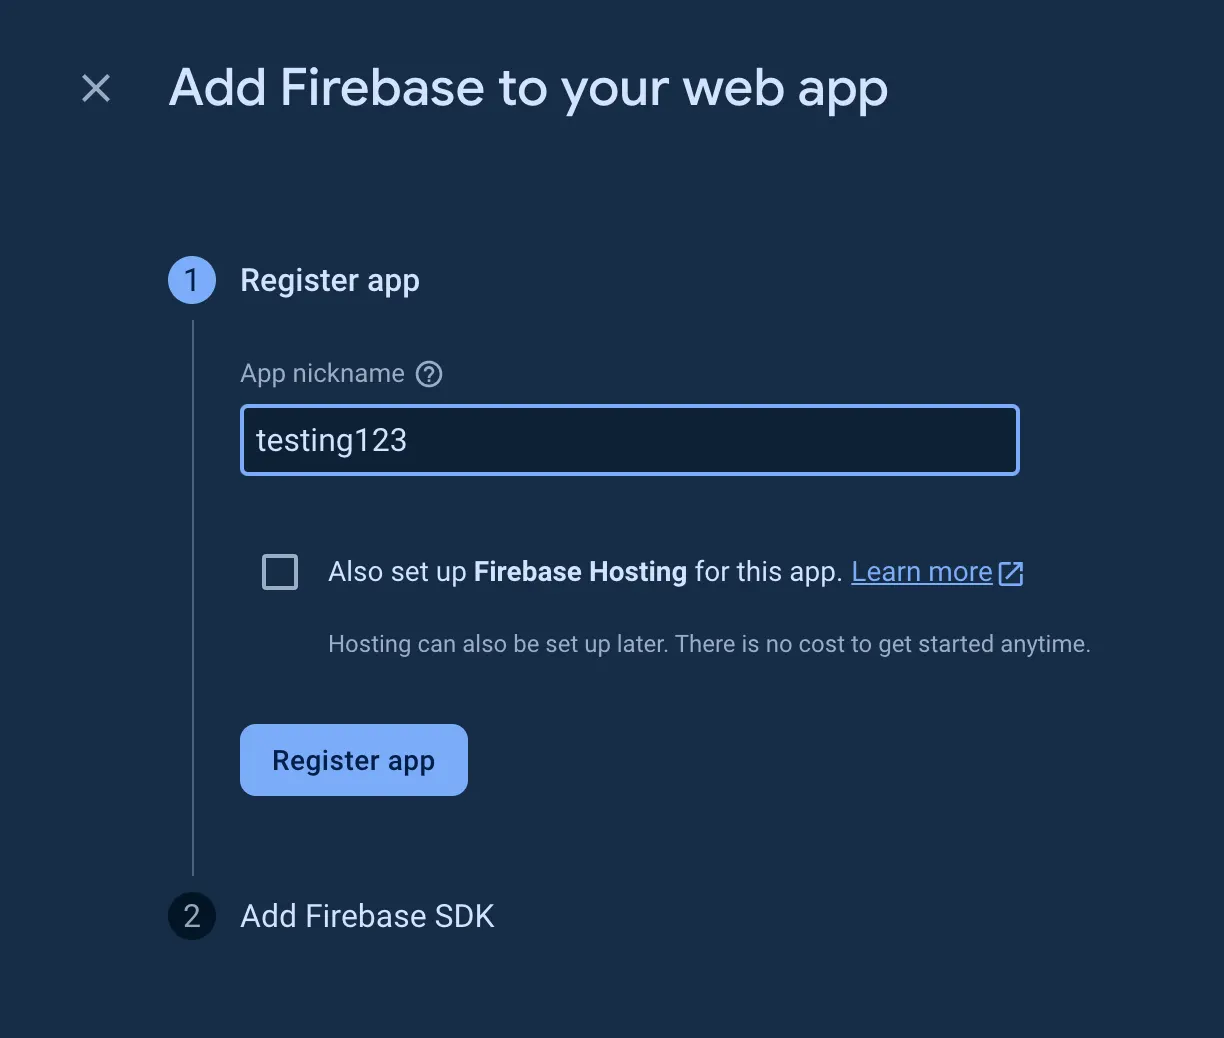
- And finally, you’ll be directed to the config screen that will present you with all your valuable keys to be inserted into your
.envfile in the React codebase.
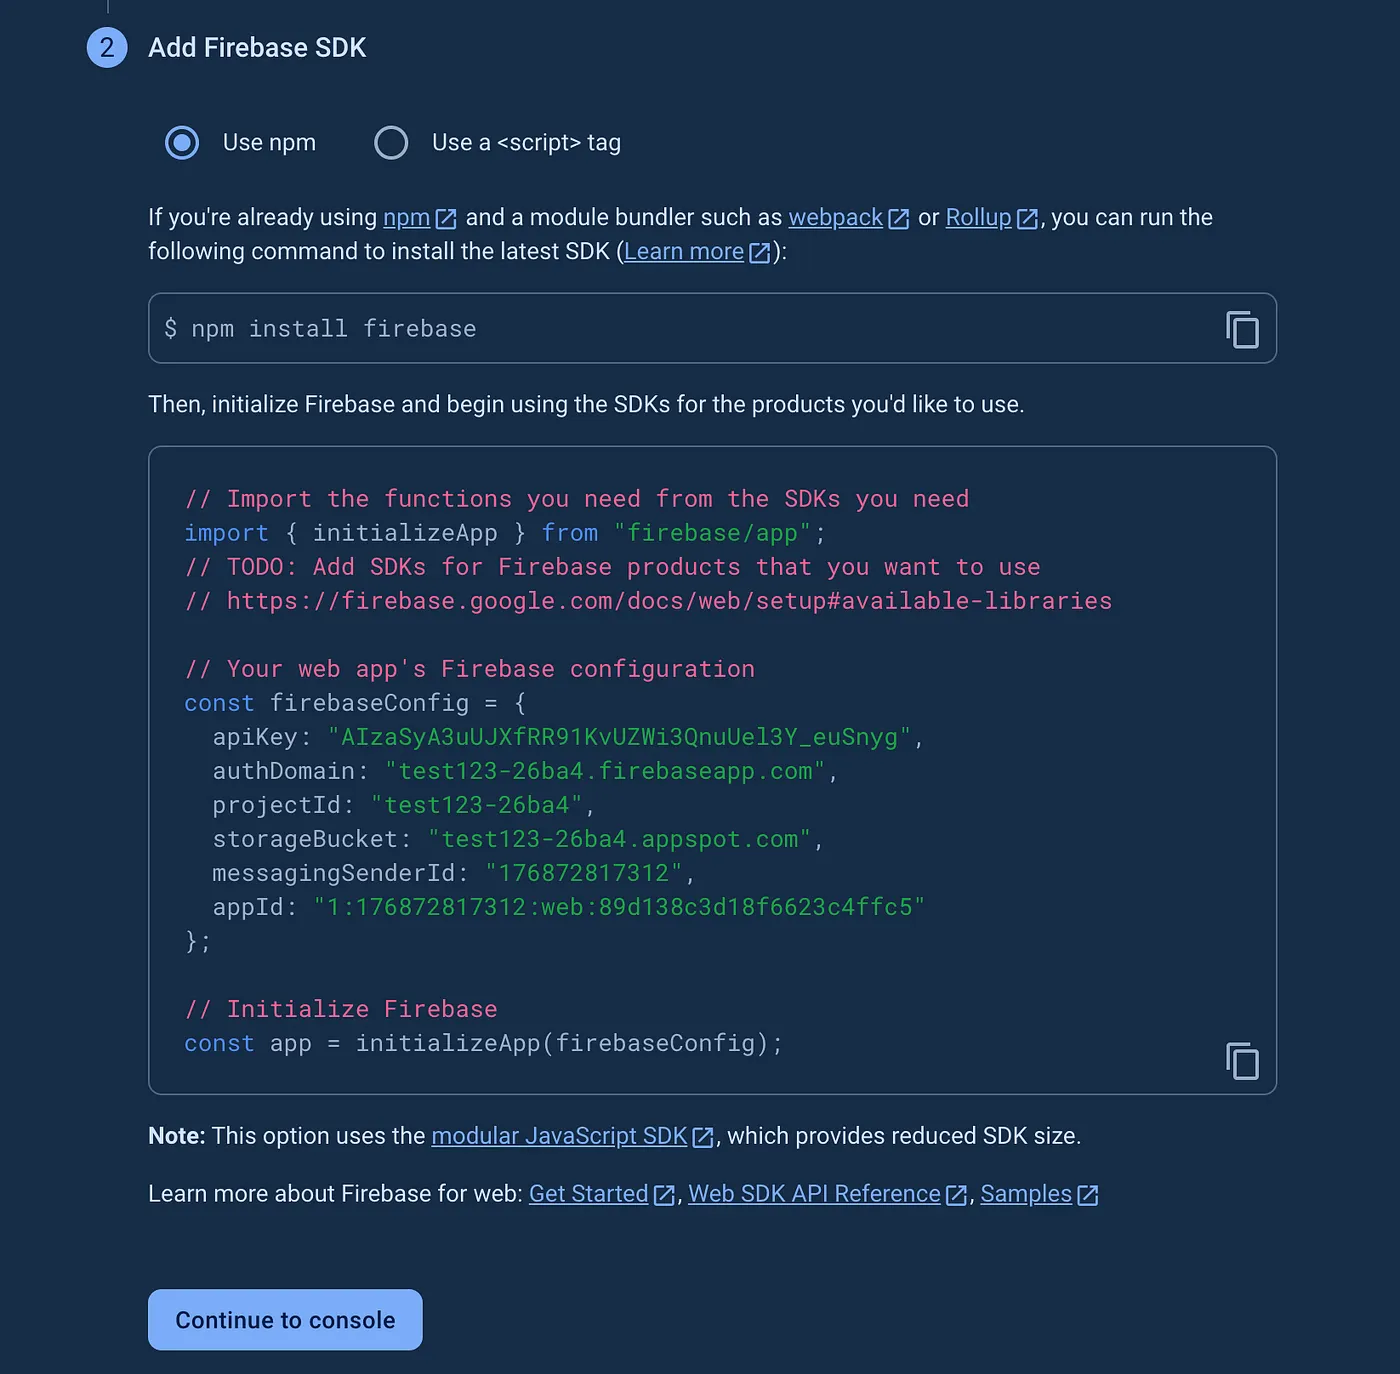
Now that we have access to the keys required for our project, we can enter them into our .env file so that it looks as follows:
VITE_APIKEY=AIzaSyA3uUJXfR1241241KvUZWi3QnuUel3Y_euSnyg
VITE_AUTHDOMAIN=test123–22ba3.firebaseapp.com
VITE_PROJECTID=test123–22ba3
VITE_STORAGEBUCKET=test123–22ba3.appspot.com
VITE_MESSAGINGSENDERID=176123123817312
VITE_APPID=1:176123123817312:web:89asdklj8123klj8asdf6623c4ffc5
For any opportunist out there, I’m afraid the project has been deleted which will invalidate these keys :P
And finally, our project is ready for action. We can run our app using the following terminal command:
npm run dev
And boot it up on http://localhost:5173 !
From there you should be able to register an account, and once logged in, hit the increment button. To confirm your application is working, inspect the Firestore console from the Firebase home page and you should see your user data incremented along with a timestamp.
And that’s it! Congratulations on completed the React.js + Firebase Authentication & Database speed run. May your full stack projects be secure and manage loads of user data :P