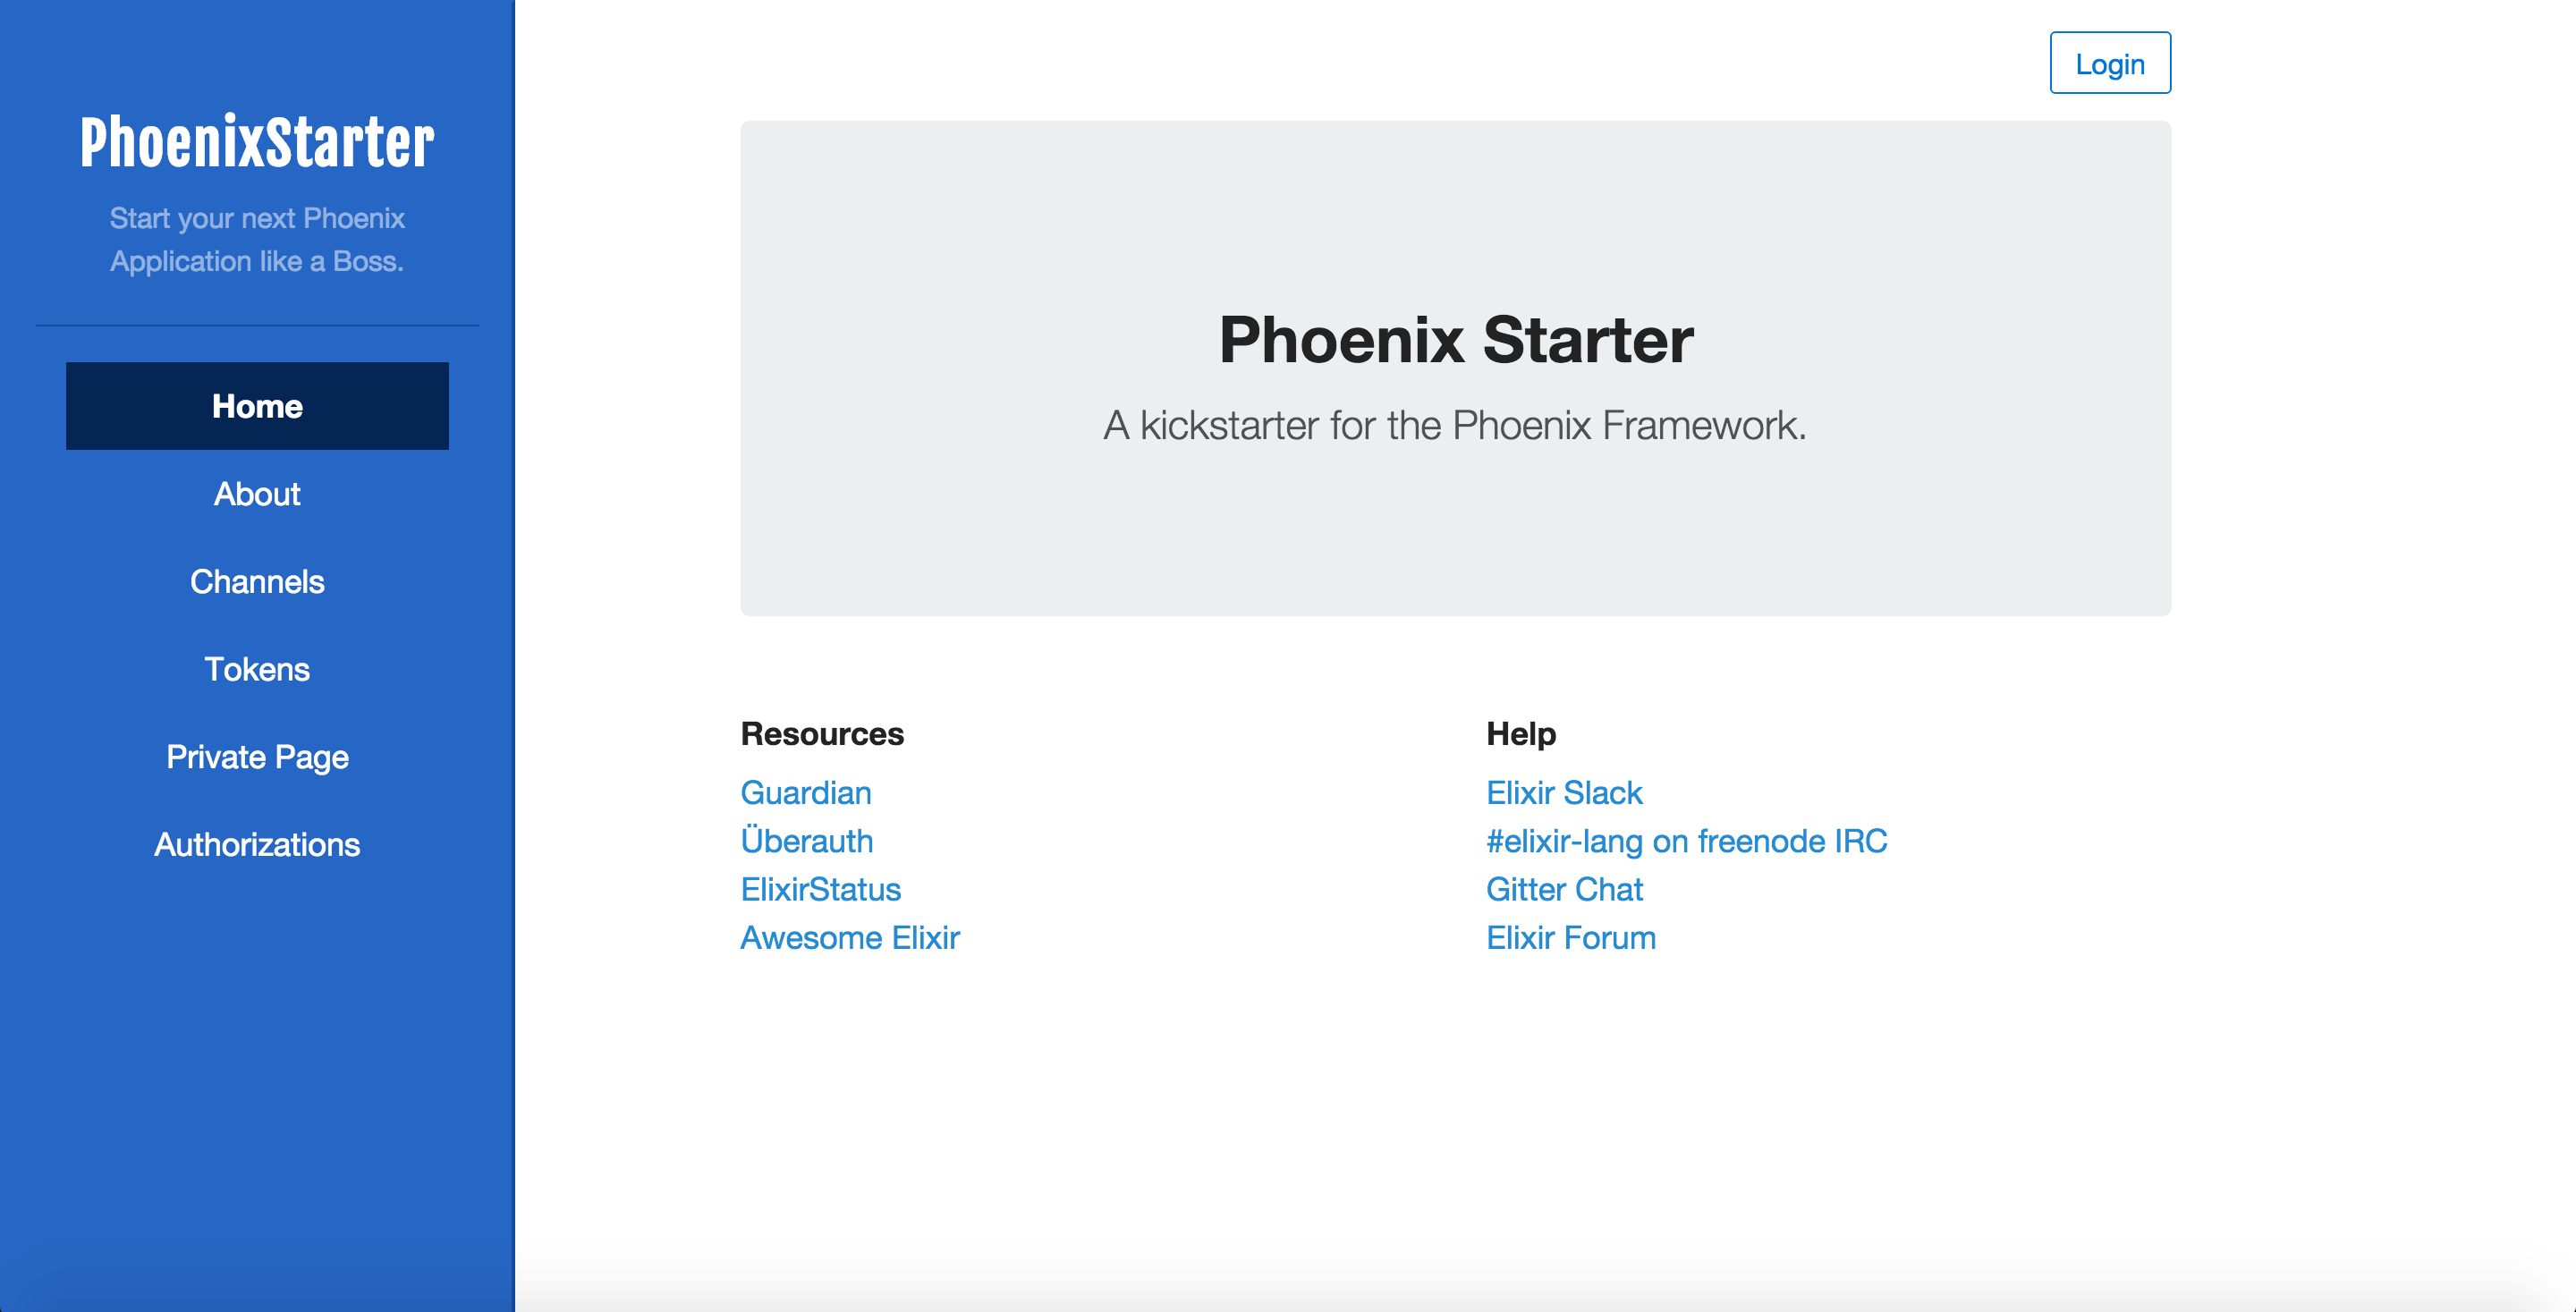
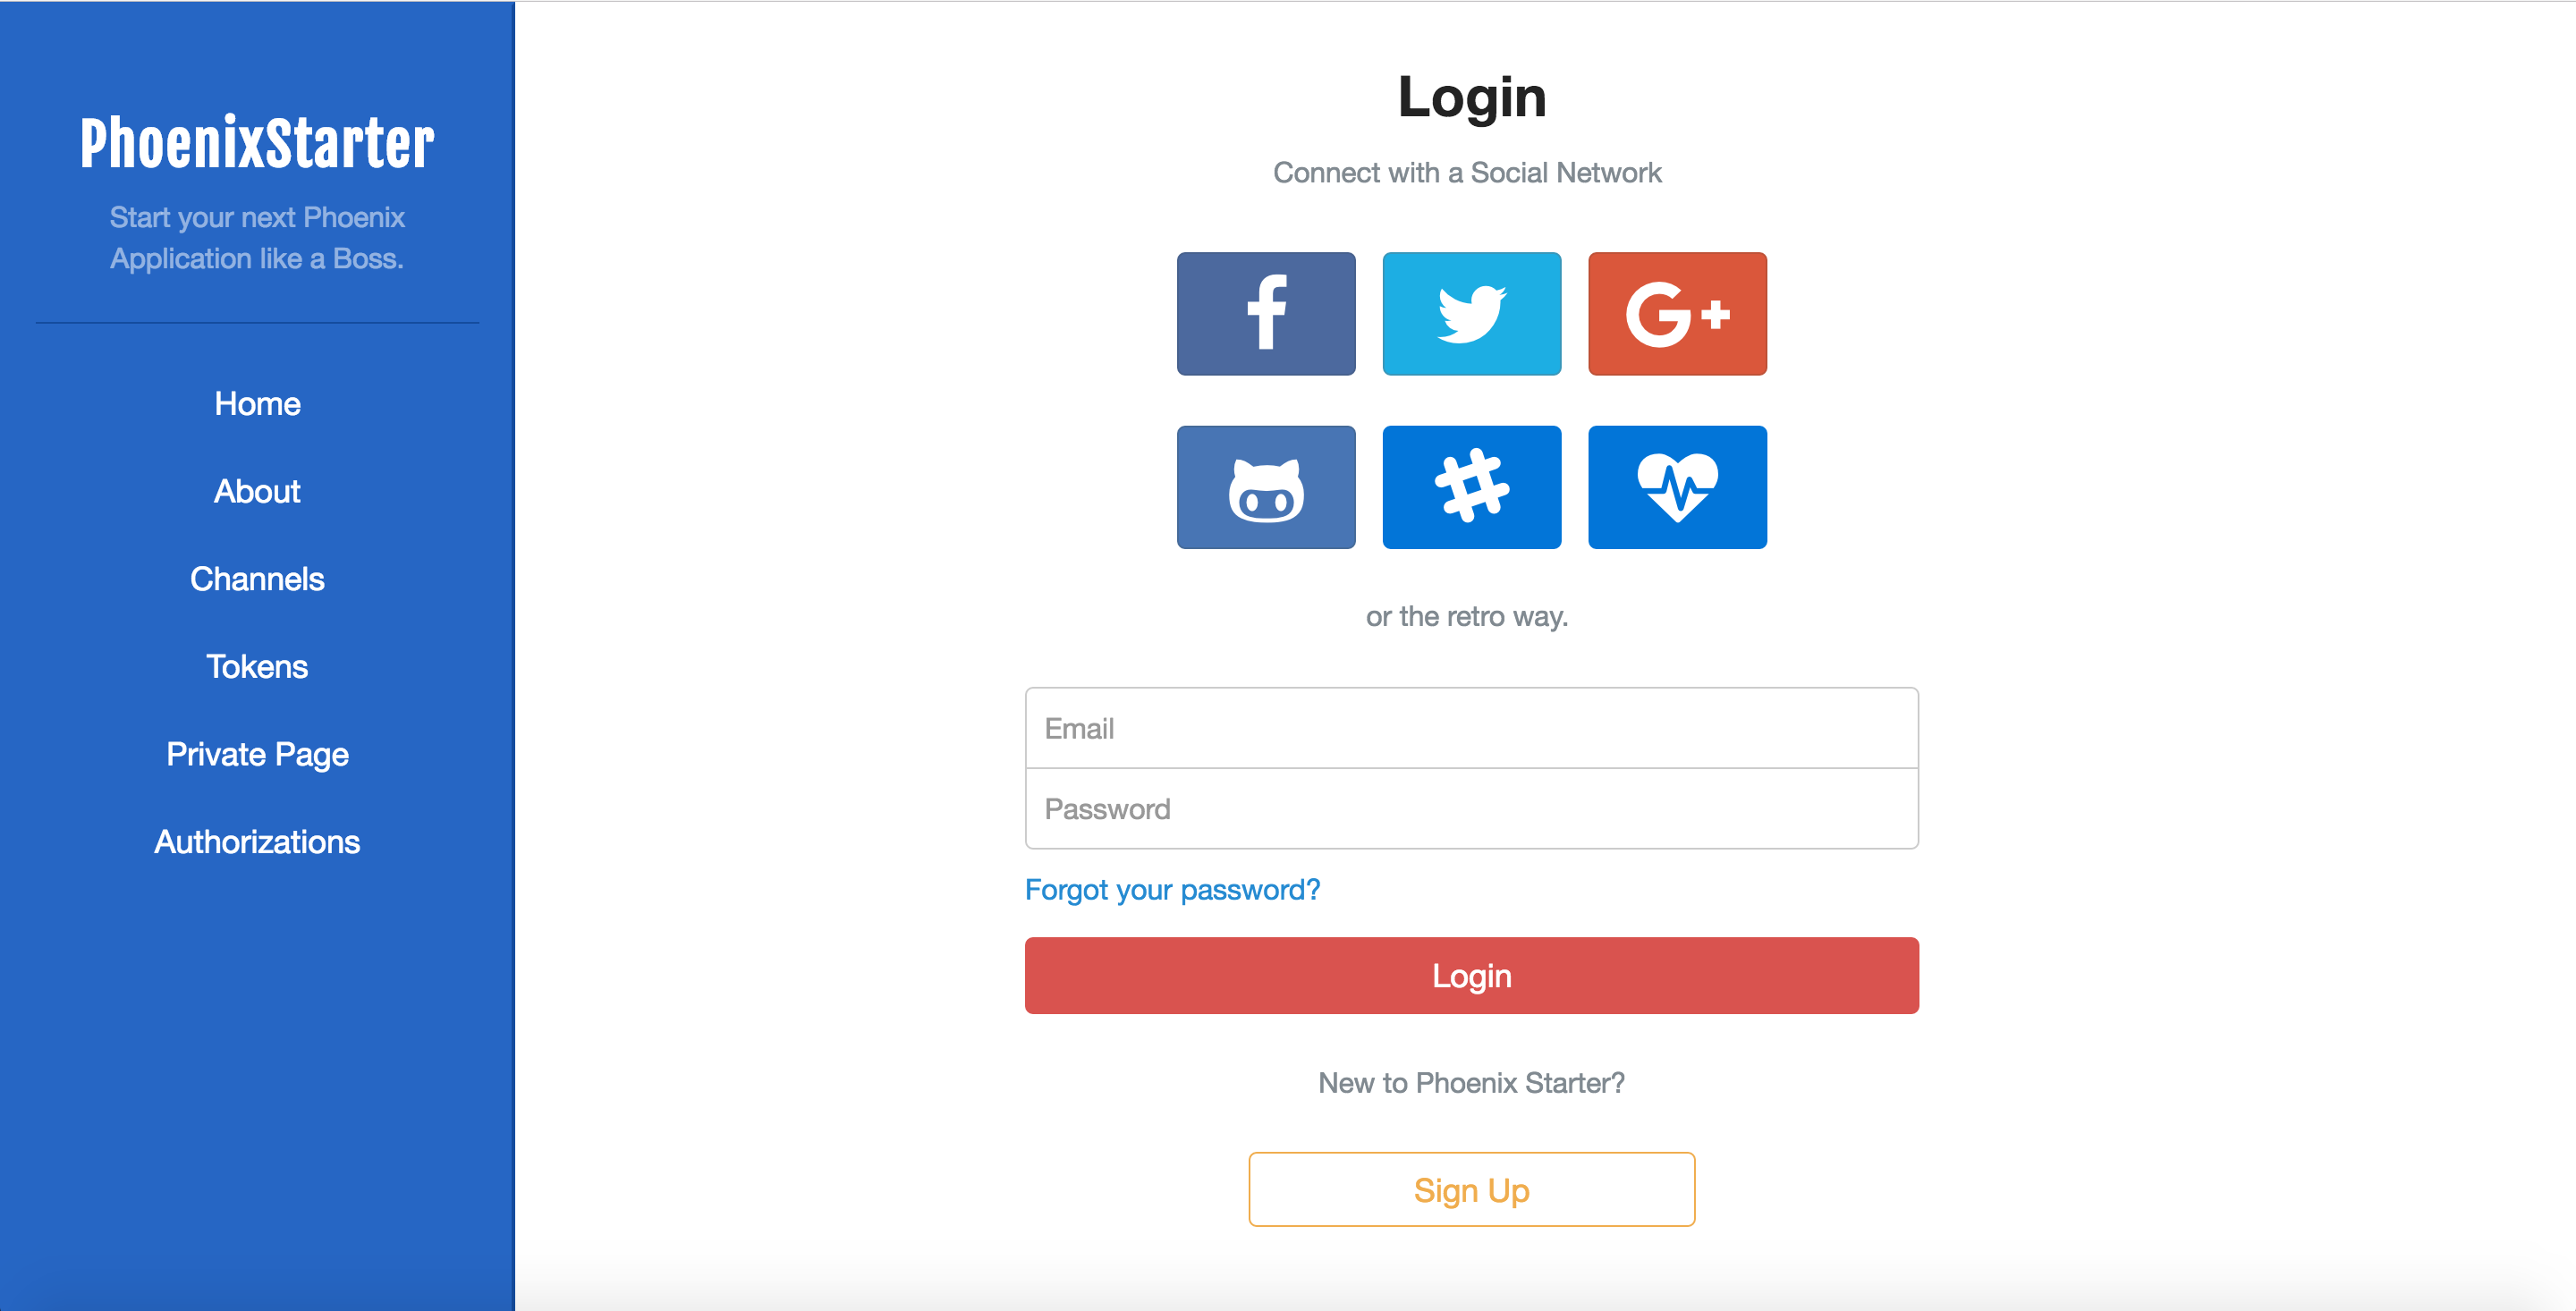
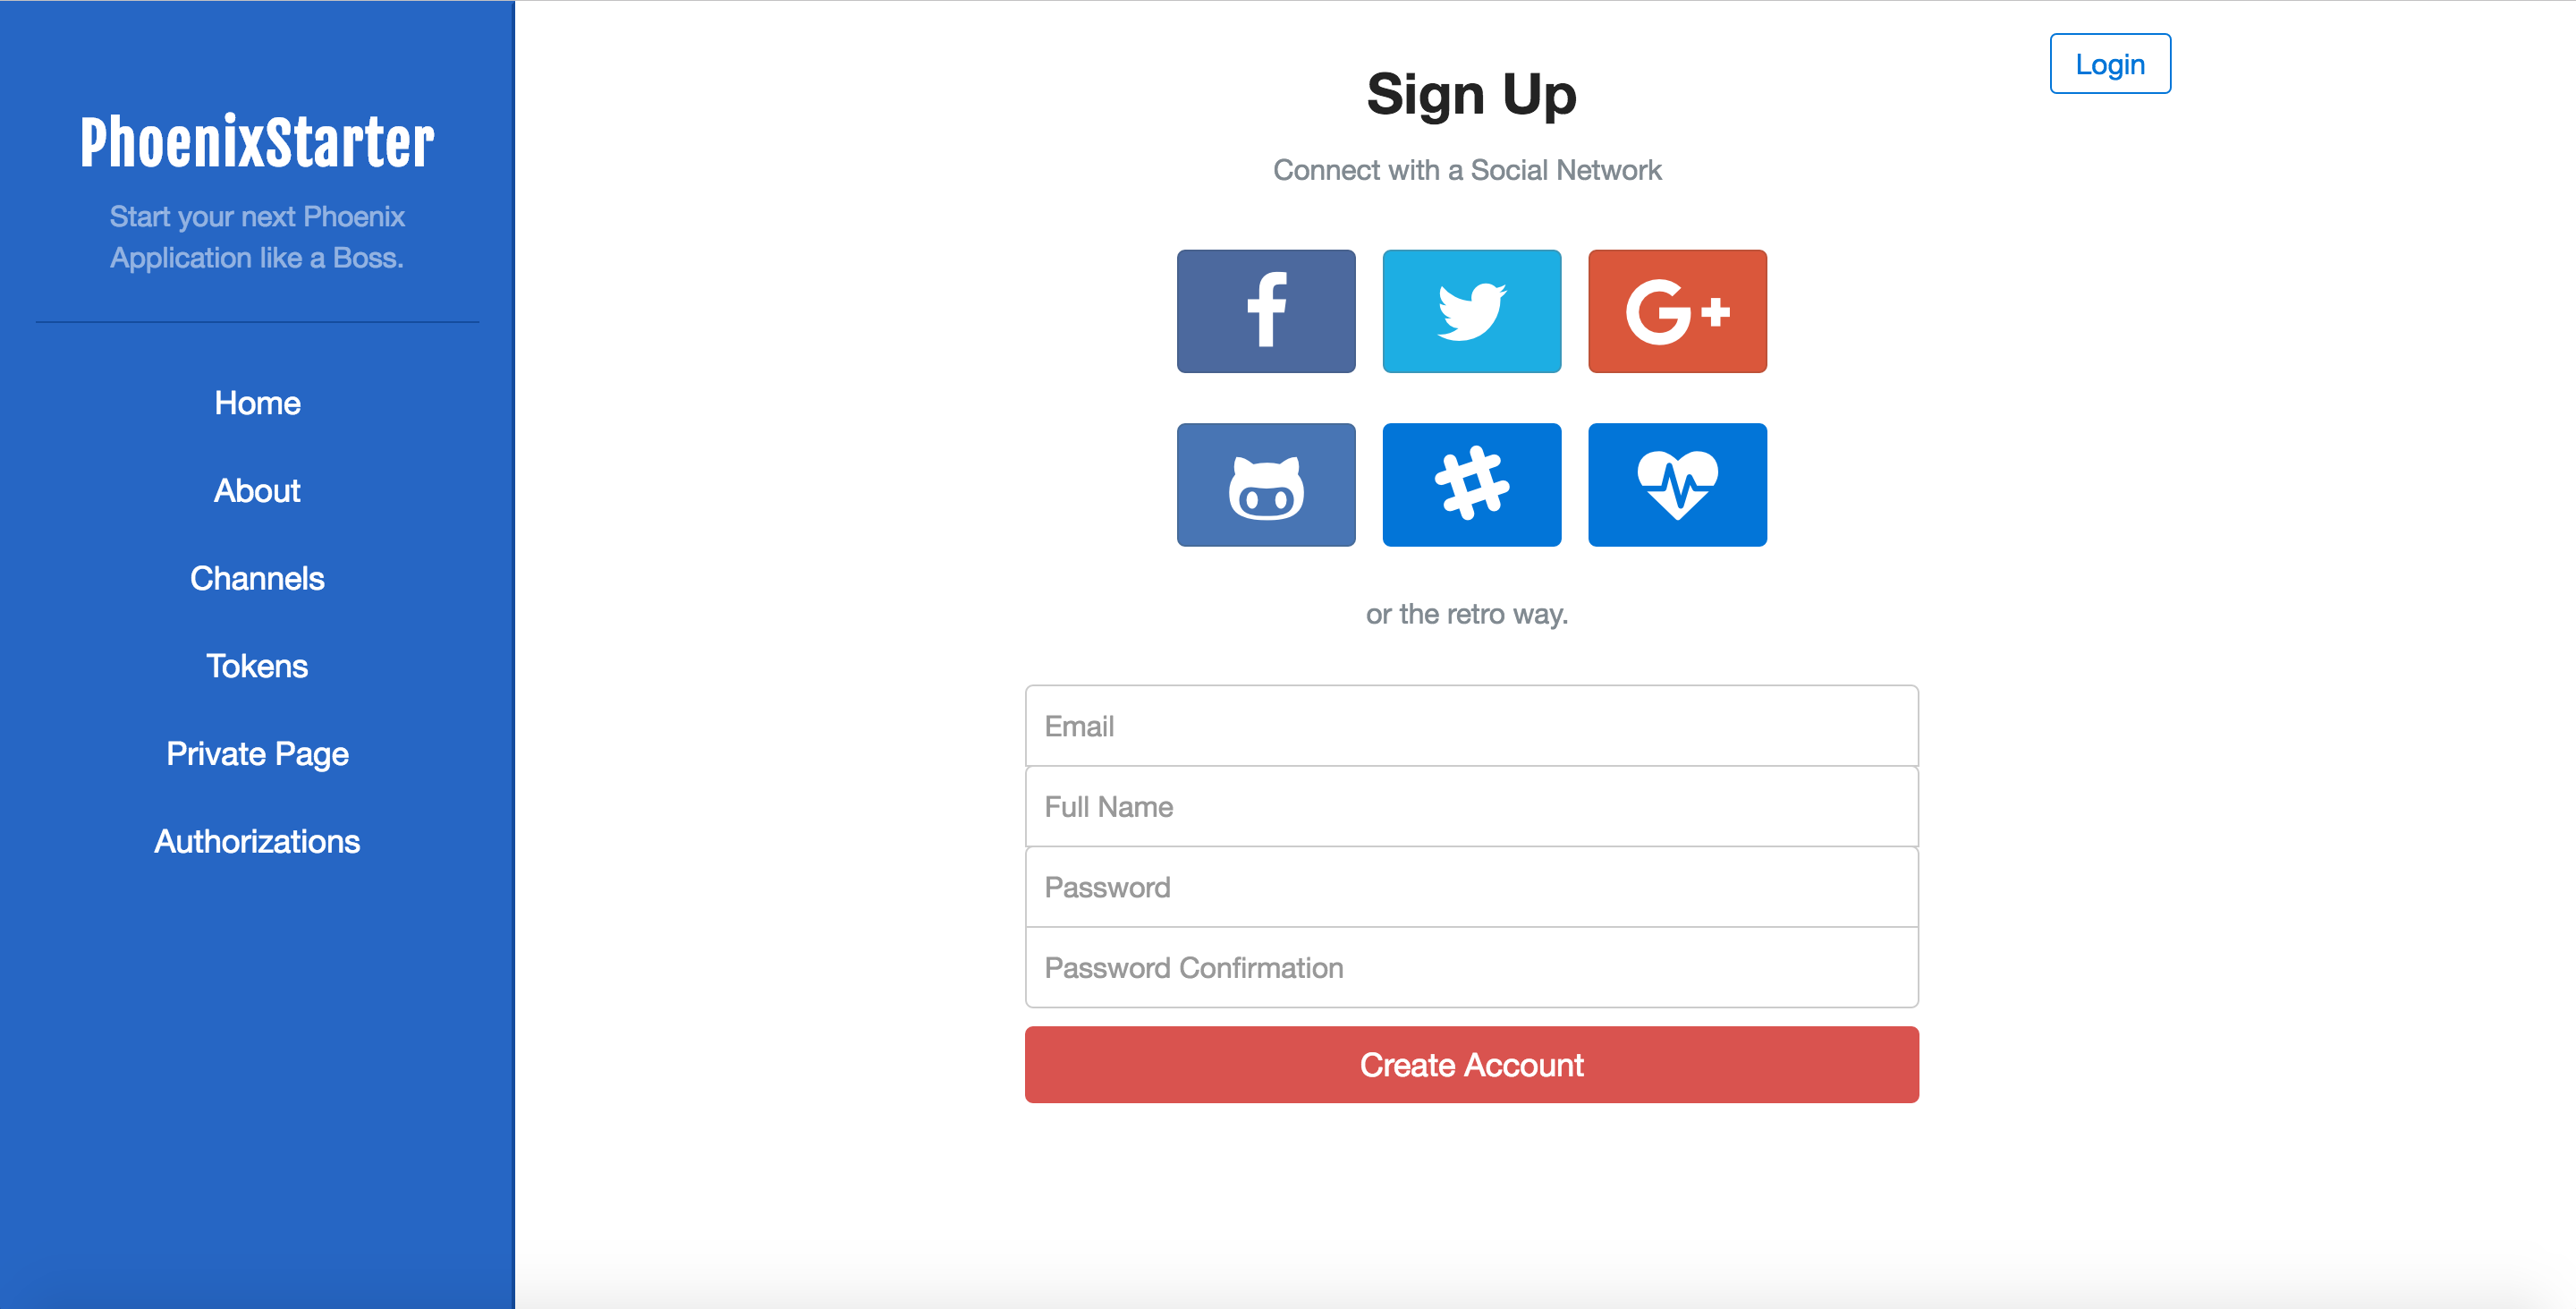
Live Demo: Phoenix Starter Demo
A boilerplate for Phoenix Framework web applications. Inspired by Sahat's Hackathon Starter
If you have attended any hackathons in the past, then you know how much time it takes to get a project started: decide on what to build, pick a programming language, pick a web framework, pick a CSS framework. A while later, you might have an initial project up on GitHub and only then can other team members start contributing. Or how about doing something as simple as Sign in with Facebook authentication? You can spend hours on it if you are not familiar with how OAuth 2.0 works.
My primary focus is on simplicity and ease of use. Another goal is to be as generic and reusable as possible to cover most use cases of starter web apps. A SaaS solution for a feature should be considered higher priority before writing your own solution (i.e. Cloudinary for Avatar Uploads). In the worst case you can use this as a learning guide for your projects, if for example you are only interested in Sign in with Github authentication and nothing else.
- Features
- Prerequisites
- Getting Started
- Obtaining API Keys
- Project Structure
- List of Packages
- Useful Tools and Resources
- Recommended Design Resources
- Recommended Hex Libraries
- Recommended Client-side Libraries
- Pro Tips
- FAQ
- Deployment
- Changelog
- Contributing
- License
-
Local Authentication using Email and Password.
-
OAuth 2.0 Authentication via Facebook, Google, GitHub, Slack.
-
OAuth 1.0a Authentication via Twitter.
-
Flash notifications.
-
MVC Project Structure.
-
Sass stylesheets (auto-compiled via Brunch).
-
Bootstrap 4.
-
Contact Form (powered by Mailgun, Sendgrid or Mandrill).
-
CSRF protection.
-
User Account Management
- Avatar Image Upload with (Gravatar/Identicon fallback).
- Upload Avatar via link or File Upload.
- Delete Avatar.
- Edit Avatar.
- Profile Details.
- Change Password.
- Password Confirmation.
- Forgot Password.
- Reset Password.
- Link multiple OAuth strategies to one account.
- Delete strategies linked to an account.
- Delete Account.
- Avatar Image Upload with (Gravatar/Identicon fallback).
-
Admin Account Management (via ExAdmin)
- Manage Users.
- Manage Application Settings.
-
Mailers
- Reset Password.
- Confirm Password.
- Welcome.
- Delete Account.
- Postgresql
- Erlang
- Elixir
- Phoenix
- Foreman
- Heroku Toolbelt
- Command Line Tools
Mac OS X: Xcode (or OS X 10.9+:
xcode-select --install)Windows: Visual Studio
Ubuntu /
Linux Mint:
sudo apt-get install build-essentialFedora:
sudo dnf groupinstall "Development Tools"OpenSUSE:
sudo zypper install --type pattern devel_basis
Note: If you are new to Elixir or Phoenix, I recommend to watch Elixir Conf 2014 - Rise of the Phoenix screencast by Confreaks, talk by Chris McCord that introduces Phoenix.
The easiest way to get started is to clone the repository:
# Get the latest snapshot
git clone --depth=1 https://github.com/iNeedThis/phoenix-starter.git myproject

# Change directory
cd myproject

# Create an .envrc from the .envrc.example provided and fill in the blanks.
cp .envrc.example .envrc

# Get phoenix dependencies & Install NPM dependencies
mix deps.get && npm install

# Create Database & migrate
source .envrc && mix ecto.setup

# Run Project
./startTo use any of the included APIs or OAuth authentication methods, you will need to obtain appropriate credentials: Client ID, Client Secret, API Key, or Username & Password. You will need to go through each provider to generate new credentials.
- Visit [Google Cloud Console](https://cloud.google.com/console/project) - Click on the **Create Project** button - Enter *Project Name*, then click on **Create** button - Then click on *APIs & auth* in the sidebar and select *API* tab - Click on **Google+ API** under *Social APIs*, then click **Enable API** - Next, under *APIs & auth* in the sidebar click on *Credentials* tab - Click on **Create new Client ID** button - Select *Web Application* and click on **Configure Consent Screen** - Fill out the required fields then click on **Save** - In the *Create Client ID* modal dialog: - **Application Type**: Web Application - **Authorized Javascript origins**: http://localhost:3000 - **Authorized redirect URI**: http://localhost:3000/auth/google/callback - Click on **Create Client ID** button - Copy and paste *Client ID* and *Client secret* keys into `.env`Note: When you ready to deploy to production don't forget to
add your new url to Authorized Javascript origins and Authorized redirect URI,
e.g. http://my-awesome-app.herokuapp.com and
http://my-awesome-app.herokuapp.com/auth/google/callback respectively.
The same goes for other providers.
- Visit [Facebook Developers](https://developers.facebook.com/) - Click **My Apps**, then select **Add a New App* from the dropdown menu - Select **Website** platform and enter a new name for your app - Click on the **Create New Facebook App ID** button - Choose a **Category** that best describes your app - Click on **Create App ID** button - In the upper right corner click on **Skip Quick Star** - Copy and paste *App ID* and *App Secret* keys into `.env` - **Note:** *App ID* is **clientID**, *App Secret* is **clientSecret** - Click on the *Settings* tab in the left nav, then click on **+ Add Platform** - Select **Website** - Enter `http://localhost:3000` under *Site URL*
Note: After a successful sign in with Facebook, a user will be redirected back to home page with appended hash #_=_ in the URL. It is not a bug. See this Stack Overflow discussion for ways to handle it.
- Go to [Account Settings](https://github.com/settings/profile) - Select **Applications** from the sidebar - Then inside **Developer applications** click on **Register new application** - Enter *Application Name* and *Homepage URL* - For *Authorization Callback URL*: http://localhost:3000/auth/github/callback - Click **Register application** - Now copy and paste *Client ID* and *Client Secret* keys into `.env` file
- Sign in at [https://apps.twitter.com/](https://apps.twitter.com/) - Click **Create a new application** - Enter your application name, website and description - For **Callback URL**: http://127.0.0.1:3000/auth/twitter/callback - Go to **Settings** tab - Under *Application Type* select **Read and Write** access - Check the box **Allow this application to be used to Sign in with Twitter** - Click **Update this Twitter's applications settings** - Copy and paste *Consumer Key* and *Consumer Secret* keys into `.env` file
- Go to https://sendgrid.com/user/signup - Sign up and **confirm** your account via the *activation email* - Then enter your SendGrid *Username* and *Password* into `.env` file
- Go to http://www.mailgun.com - Sign up and add your *Domain Name* - From the domain overview, copy and paste the default SMTP *Login* and *Password* into `.env` file
- Go to http://mandrill.com - Sign up and add your *Domain Name* - From the dashboard, click on *Get SMTP credentials* - Copy and paste the default SMTP *Login* and *Password* into `.env` file
| Name | Description |
|---|---|
| config/config.exs | Config settings for all environemnts. |
| config/dev.exs | Development environment settings. |
| priv/migrations/.exs | Database migrations. |
| priv/seeds.exs | Seed your project with data. |
| test/ | Test Framework. |
| web/channels/ | Channels. |
| web/controllers/ | Controllers. |
| web/models/ | Models. |
| web/views/ | Views. |
| web/templates/ | Templates. |
| web/auth/ | Authentication files for Guardian + Ueberauth. |
| web/static/ | Static assets (fonts, css, js, img). |
| **web/router.ex | Define your application routes. |
| mix.exs | Your application external library dependencies. |
| package.json | Your Frontend dependencies. |
| Procfile | Process Management for Foreman and Heroku. |
| Procfile.dev | Process Management for Development Environment. |
| .travis.yml | Travis CI integration. |
| .envrc.example | Your API keys, tokens, passwords and database URI. |
| Package | Description |
|---|---|
| phoenix | Productive. Reliable. Fast. A productive web framework. |
| phoenix_ecto | Integration between Phoenix & Ecto. |
| phoenix_html | Phoenix.HTML functions for working with HTML strings and templates. |
| phoenix_live_reload | Provides live-reload functionality for Phoenix. |
| cowboy | Small, fast, modular HTTP server written in Erlang. |
| guardian | Elixir Authentication framework. |
| guardian_db | DB tracking for token validity. |
| ueberauth | An Elixir Authentication System for Plug-based Web Applications. |
| ueberauth_identity | An Ueberauth strategy for basic username/password. |
| ueberauth_github | An Ueberauth strategy for Github authentication. |
| ueberauth_slack | An Ueberauth strategy for Slack authentication. |
| ueberauth_google | An Ueberauth strategy for Google authentication. |
| ueberauth_facebook | An Ueberauth strategy for Facebook authentication. |
| ueberauth_twitter | An Ueberauth strategy for Twitter authentication. |
| ueberauth_fitbit | An Ueberauth strategy for Fitbit authentication. |
| comeonin | Password hashing (bcrypt, pbkdf2_sha512) library for Elixir. |
| ex_admin | ExAdmin is an auto administration package for the Phoenix Framework |
- Awesome Elixir - A curated list of amazingly awesome Elixir and Erlang libraries, resources and shiny things.
- JavaScripting - The Database of JavaScript Libraries
- JS Recipes - JavaScript tutorials for backend and frontend development.
- JavascriptOO - A directory of JavaScript libraries with examples, CDN links, statistics, and videos.
- Favicon Generator - Generate favicons for PC, Android, iOS, Windows 8.
- Code Guide - Standards for developing flexible, durable, and sustainable HTML and CSS.
- Bootsnipp - Code snippets for Bootstrap.
- UIBox - Curated HTML, CSS, JS, UI components.
- Bootstrap Zero - Free Bootstrap templates themes.
- Google Bootstrap - Google-styled theme for Bootstrap.
- Font Awesome Icons - It's already part of the Hackathon Starter, so use this page as a reference.
- Colors - A nicer color palette for the web.
- Creative Button Styles - awesome button styles.
- Creative Link Effects - Beautiful link effects in CSS.
- Medium Scroll Effect - Fade in/out header background image as you scroll.
- GeoPattern - SVG background pattern generator.
- Trianglify - SVG low-poly background pattern generator.
- Poison - An incredibly fast, pure Elixir JSON library
- Decimal - Arbitrary precision decimal arithmetic for Elixir.
- Ex Cloudinary - Image uploads for Cloudinary.
- Arc - Flexible file upload and attachment library for Elixir.
- Framework7 - Full Featured HTML Framework For Building iOS7 Apps.
- InstantClick - Makes your pages load instantly by pre-loading them on mouse hover.
- NProgress.js - Slim progress bars like on YouTube and Medium.
- Hover - Awesome CSS3 animations on mouse hover.
- Magnific Popup - Responsive jQuery Lightbox Plugin.
- jQuery Raty - Star Rating Plugin.
- Headroom.js - Hide your header until you need it.
- X-editable - Edit form elements inline.
- Offline.js - Detect when user's internet connection goes offline.
- Alertify.js - Sweet looking alerts and browser dialogs.
- selectize.js - Styleable select elements and input tags.
- drop.js - Powerful Javascript and CSS library for creating dropdowns and other floating displays.
- scrollReveal.js - Declarative on-scroll reveal animations.
- When installing an NPM package, add a --save flag, and it will be automatically
added to
package.jsonas well. For example,npm install --save moment.
Instead of using /config/prod.secret.exs I have used:
System.get_env("ENV_VARIABLE")
Throughout the project, in order to make the deploying simple and keep all
necessary environment variables in one location, I used an .envrc file that
will need to be sourced each time you run the project in development and when
testing
$ source .envrc
$ mix test
Note: There is a Procfile.dev available in the root of the project. it will
auto source your .envrc and run mix phoenix.server for you.
Once you are ready to deploy your app, you will need to create an account with a cloud platform to host it. These are not the only choices, but they are my top picks. From my experience, Heroku is the easiest to get started with, it will automatically restart IF it ever crashes..., zero-downtime deployments and custom domain support on free accounts.
- Download and install [Heroku Toolbelt](https://toolbelt.heroku.com/) - In terminal, run `heroku login` and enter your Heroku credentials - From *your app* directory run `heroku create` - Run `heroku addons:create postgresql`. This will set up the Postgresql add-on and configure the `DATABASE_URI` environment variable in your Heroku app for you. - Lastly, do `git push heroku master`. Done!Note: To install Heroku add-ons your account must be verified.
- Revive Project & Update dependencies.
- Initial Commit of Project
If something is unclear, confusing, or needs to be refactored, please let me know. Pull requests are always welcome, but due to the opinionated nature of this project, I cannot accept every pull request. Please open an issue before submitting a pull request.
The MIT License (MIT)
Copyright (c) 2016 Michael Cloutier
Permission is hereby granted, free of charge, to any person obtaining a copy of this software and associated documentation files (the "Software"), to deal in the Software without restriction, including without limitation the rights to use, copy, modify, merge, publish, distribute, sublicense, and/or sell copies of the Software, and to permit persons to whom the Software is furnished to do so, subject to the following conditions:
The above copyright notice and this permission notice shall be included in all copies or substantial portions of the Software.
THE SOFTWARE IS PROVIDED "AS IS", WITHOUT WARRANTY OF ANY KIND, EXPRESS OR IMPLIED, INCLUDING BUT NOT LIMITED TO THE WARRANTIES OF MERCHANTABILITY, FITNESS FOR A PARTICULAR PURPOSE AND NONINFRINGEMENT. IN NO EVENT SHALL THE AUTHORS OR COPYRIGHT HOLDERS BE LIABLE FOR ANY CLAIM, DAMAGES OR OTHER LIABILITY, WHETHER IN AN ACTION OF CONTRACT, TORT OR OTHERWISE, ARISING FROM, OUT OF OR IN CONNECTION WITH THE SOFTWARE OR THE USE OR OTHER DEALINGS IN THE SOFTWARE.


