This is a sports event management platform built as a Turborepo project with a React (Vite) frontend and a NestJS backend. It serves as a step towards my internship at redlight.dev. The platform is designed specifically for Redlight employees to create, manage, and participate in sports events, with features like user roles, event registration, and event search.
These were the core functional requirements for this project:
- ✅ Create new sports events (e.g., Football Matches, Ping Pong Tournament)
- ✅ List existing events
- ✅ Show details of an existing event
- ✅ Update an existing event
- ✅ Delete an existing event
- ✅ Search for events
- ✅ Register participants (employees) to events
- ✅ List participants of a given event
- ✅ Mark an event as completed or cancelled
- ✅ User authentication
- ✅ Make the mentioned entities soft deletable
Additional features I could choose to do (all of the ideas got implemented) beyond the core functionality:
-
✅ Define different user roles:
- Admin: Can create, update, and delete events (including those created by others) and manage participants.
- Participant: Can browse, register for events, create and manage their own events, and view participants.
-
✅ Prevent overbooking of events (limit registrations based on max capacity).
-
✅ Filters for sport type, location, and date.
-
✅ Event image upload functionality.
-
✅ Email notifications for event registration (mock or real).
-
✅ Export events to calendar formats (ICS or Google Calendar).
Here are the additional features I implemented to improve the project beyond the required scope:
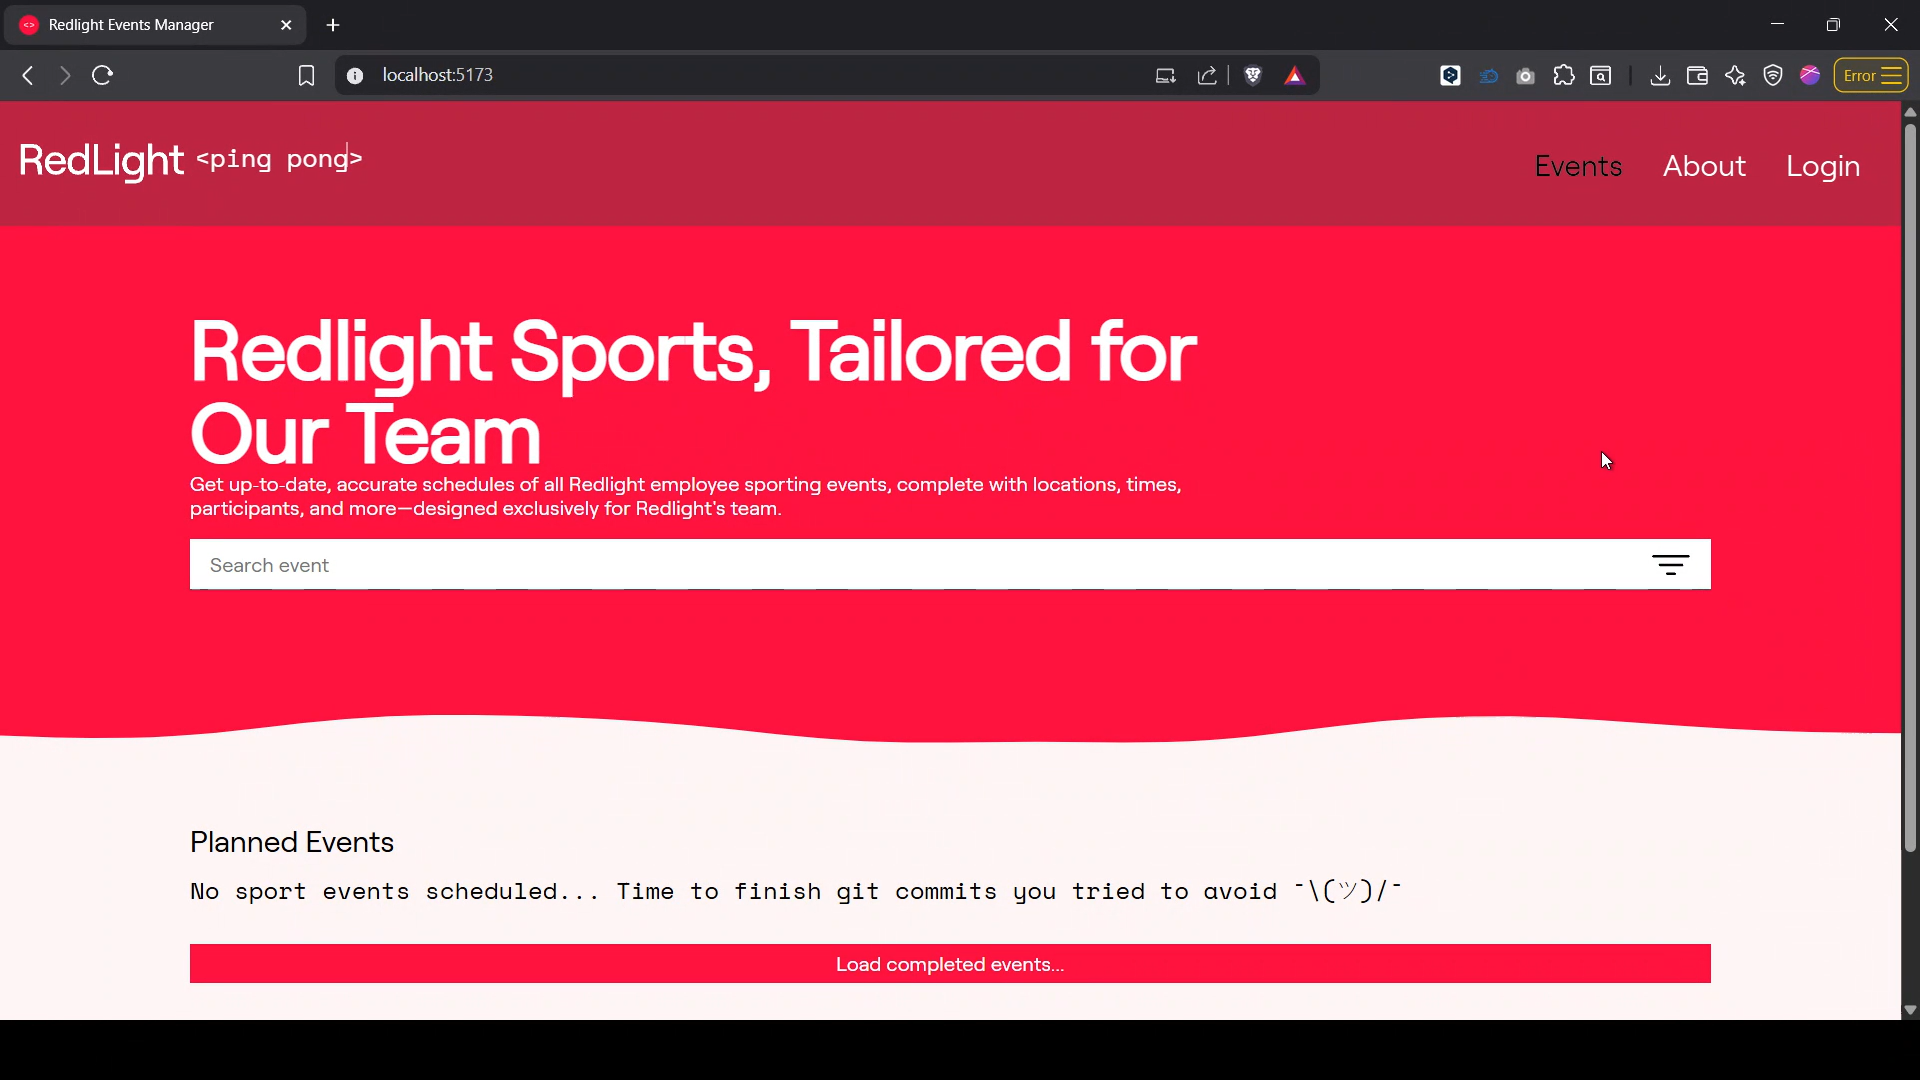
- 🎨 Design fully based on redlight.dev — logos, fonts, and visual style match Redlight’s branding.
- 👥 Guest access to events without registration.
- 🔐 Encryption on passwords
- 📅 Automatic event completion based on date.
- 🗺️ 3D map background for events without images.
- 🚫 User banning functionality for admins.
- 🔄 Admin-controlled user role changes.
- 🔒 Default admin determined by
.envemail (cannot be banned or demoted). - 📋 Participant management page for admins to manage users (ban or change roles).
- 📄 Dedicated "About" page explaining the project and design decisions.
- 📝 Markdown support for event descriptions instead of plain text.
- 📍 Auto-location selection with OpenStreet API (point on map for location picking).
Here’s the technology stack I used for this project:
- React
- TypeScript
- Vite
- NestJS
- Prisma
- PostgreSQL
- Turborepo
- Prettier
- ESLint
- Class-Validator
- Swagger & OpenAPI
- Swagger UI
- OpenAPI Generator
- Mailersend
- Node.js
- Yarn (or swap to
npm/pnpm) - PostgreSQL (ensure it’s running and reachable)
/
├─ apps/
│  ├─ web/     ← React + Vite
│  └─ api/      ← NestJS + Prisma
At the root of your Turborepo:
git clone https://github.com/iDarkQ/redlight-events-manager.git
cd redlight-events-manager-main
yarn install
Yarn workspaces will hoist and install everything in one go.
Create a .env file in each of apps/api and apps/web. Fill in the values as follows:
# Database & Auth
DATABASE_URL="postgresql://<user>:<pass>@<host>:5432/<db>?schema=public"
JWT_SECRET="<your_jwt_secret>"
DEFAULT_ADMIN="idarkq.dev@gmail.com"

# Mailersend (email service)
MAILERSEND_SECRET="<your_mailersend_api_key>"
MAILERSEND_SENDER_EMAIL="<sender@example.com>"
MAILERSEND_TEMPLATE_ID="<your_template_id>"

# Frontend URLs (for CORS, redirects, etc.)
LOCAL_FRONTEND_URL="http://localhost:5173"
FRONTEND_URL="https://redlight.dev"

# Debugging
DEBUG=true# Mapbox (or other public APIs)
VITE_MAPBOX_PUBLIC_TOKEN="<your_mapbox_token>"
# Backend endpoints
VITE_LOCAL_BACKEND_URL="http://localhost:8084"
VITE_BACKEND_URL="https://redlight.dev"
# Debug
VITE_DEBUG=true-
Generate the Prisma client (reflects your schema in code):
cd apps/api yarn prisma generate -
Run database migrations (applies any new schema changes):
yarn prisma migrate dev --name init
- Use a descriptive name instead of
initfor subsequent migrations (e.g.add-users-table).
- Use a descriptive name instead of
-
(Optional) If you ever pull new migrations from source control:
yarn prisma migrate deploy      # applies pending migrations
yarn prisma generate            # regenerates the client
At the root of the project
yarn devNestJS and React will watch your files and restart on changes.
- ✅ Backend running on
http://localhost:8084 - ✅ Frontend running on
http://localhost:5173
- CORS errors? Make sure your backend’s
LOCAL_FRONTEND_URLmatches your actual frontend origin. - Prisma client missing? Always run
yarn prisma generateafter changingschema.prisma. - Env vars not picked up? Double‑check you restarted your server after editing the
.envfiles.
- Manual testing of API endpoints via Swagger UI.
- Postman collections for more complex workflows.
- Auth flow tests using JWT tokens.
- Manual UI testing for all user flows.
- Form validation checks (especially for complex forms).
- API integration testing using OpenAPI-generated types.
- UI responsiveness and visual tests on different screen sizes.
- All folders use kebab-case for naming consistency.
- Components follow single responsibility principle—no component exceeds 500 lines of code.
- Reusable components are modularized and separated logically.
- Commits follow Conventional Commits (e.g.,
refactor(scope): message). - Backend & frontend are separated cleanly inside Turborepo apps.
- Shared packages (e.g., types, configs) are located in
/packages.
One of the first challenges I faced was making sure there would always be at least one admin in the system—someone who could promote users or manage the platform. Initially, I considered creating a "sudo" user whose email would be stored in .env. However, this approach had flaws: what if the user wanted to transfer the role but lost access to their account? Or what if you needed to change the email later? I wanted a solution that didn’t require modifying the database manually.
In the end, I introduced a default admin mechanism—an email stored in .env. This user automatically receives admin privileges on login and cannot be banned or demoted. If the leadership ever needs to change, you simply update the email in .env. This solution avoids database edits and keeps admin control easy to manage.
In NestJS, it’s common to use Prisma objects as entities. However, I preferred a different approach for better maintainability. By using DTOs (Data Transfer Objects), I could leverage NestJS utilities like OmitType, PartialType, and PickType to reuse fields across multiple DTOs while keeping API docs consistent with @ApiProperty. This eliminated duplication—especially for validation rules, examples, and documentation—and made the code easier to maintain and extend.
Originally, I stored all DTOs in a shared Turborepo package, allowing me to reuse types across the backend and frontend. However, this broke down with enums—specifically, enums from Prisma didn’t align with the shared DTOs’ enums, causing type conflicts.
After exploring solutions, I decided to integrate OpenAPI Generator. Now, I generate frontend types directly from my OpenAPI spec, ensuring that types (including enums) always match between frontend and backend. This approach gave me accurate, strongly-typed APIs without having to manually sync types.
Initially, I considered using Base64-encoded strings for image uploads because it seemed simple. However, I quickly realized it’s inefficient and not scalable for larger apps. I also learned about solutions like AWS S3 buckets.
For this project, I opted for a simpler yet scalable method: storing images on the backend’s local storage under /static/uploads. The process works like this:
- User uploads an image → it gets stored in a
tmpfolder. - When the event is created, the app validates that the uploaded image exists, then moves it from
tmpto a permanent folder. - Temporary images get automatically cleared every 12 hours.
This system keeps file management simple, avoids bloating the database, and ensures only valid images are saved permanently.
To enhance the look of events without images, I implemented a 3D map background. My first attempt used Google's satellite preview, but the loading time was over 5 seconds—too slow for a smooth UX.
I switched to Mapbox, which offered lightweight 3D maps with building outlines and fast loading (around 2.5 seconds). However, even 2.5 seconds can feel sluggish. To solve this, I added a loading animation that covers the screen while the map loads. This animation only appears the first time an event is viewed, ensuring a smoother experience without frustrating wait times.
While the basic 3D map was functional, I wanted to add a more dynamic touch. I implemented a smooth orbiting camera around the event location to make the background feel alive and engaging.
This required learning Mapbox’s camera API and customizing rotations and transitions, but the result is a subtle, looping animation that greatly enhances visual appeal without affecting performance.
Plain text descriptions often feel limiting, especially for events where formatting, links, or emphasis can improve readability. That’s why I chose to use Markdown for event descriptions.
Markdown gives users flexibility to style their event info naturally—whether it’s highlighting important details, adding bullet points, or inserting links. It’s simple to use, yet powerful enough to enrich the content.
For the design, I initially considered popular component libraries like Shadcn or Ant Design. However, since this project was specifically tailored for Redlight Sports Events, I decided to directly base the design on Redlight.dev.
This allowed me to maintain visual consistency with Redlight’s branding and saved me from excessive customization work. Using a prebuilt UI kit would have required overriding many components just to replicate Redlight’s style, so designing from scratch made more sense here.
Previously, I handled authentication by building a custom session system, storing tokens in the database and manually managing sessions.
For this project, I decided to simplify things by adopting JWT (JSON Web Tokens). This allowed me to:
- Eliminate the need for a sessions table.
- Easily validate users with token-based auth.
- Improve scalability, since JWTs work well in distributed environments.
It also gave me hands-on experience with a widely-used industry standard for secure token-based authentication.
Initially, I considered defining all sport types in a static Prisma enum:
enum SportType {
  FOOTBALL
  BASKETBALL
  ...
}
However, I realized this approach has major downsides:
- Users can’t create events for less common sports without modifying the schema.
- Filtering becomes bloated with irrelevant sports.
Instead, I implemented dynamic sport types:
- When creating an event, users can either select an existing sport type (from past events) or define a new one.
- Filters only show sport types that already exist in events, making them context-aware and relevant.
- No schema updates are needed to add new sports.
While this approach introduces some risks—like duplicate sport types—it can be improved by adding admin approval for new types. Overall, it keeps the platform flexible and user-friendly.
These websites heavily inspired my design decisions:
- O-Sports — Sports event designs & UX patterns.
- React Google Maps — Map-based visualizations.
- Haikei — For wave backgrounds and creative SVG shapes.
- Redlight.dev — Core branding and design language (primary design reference).