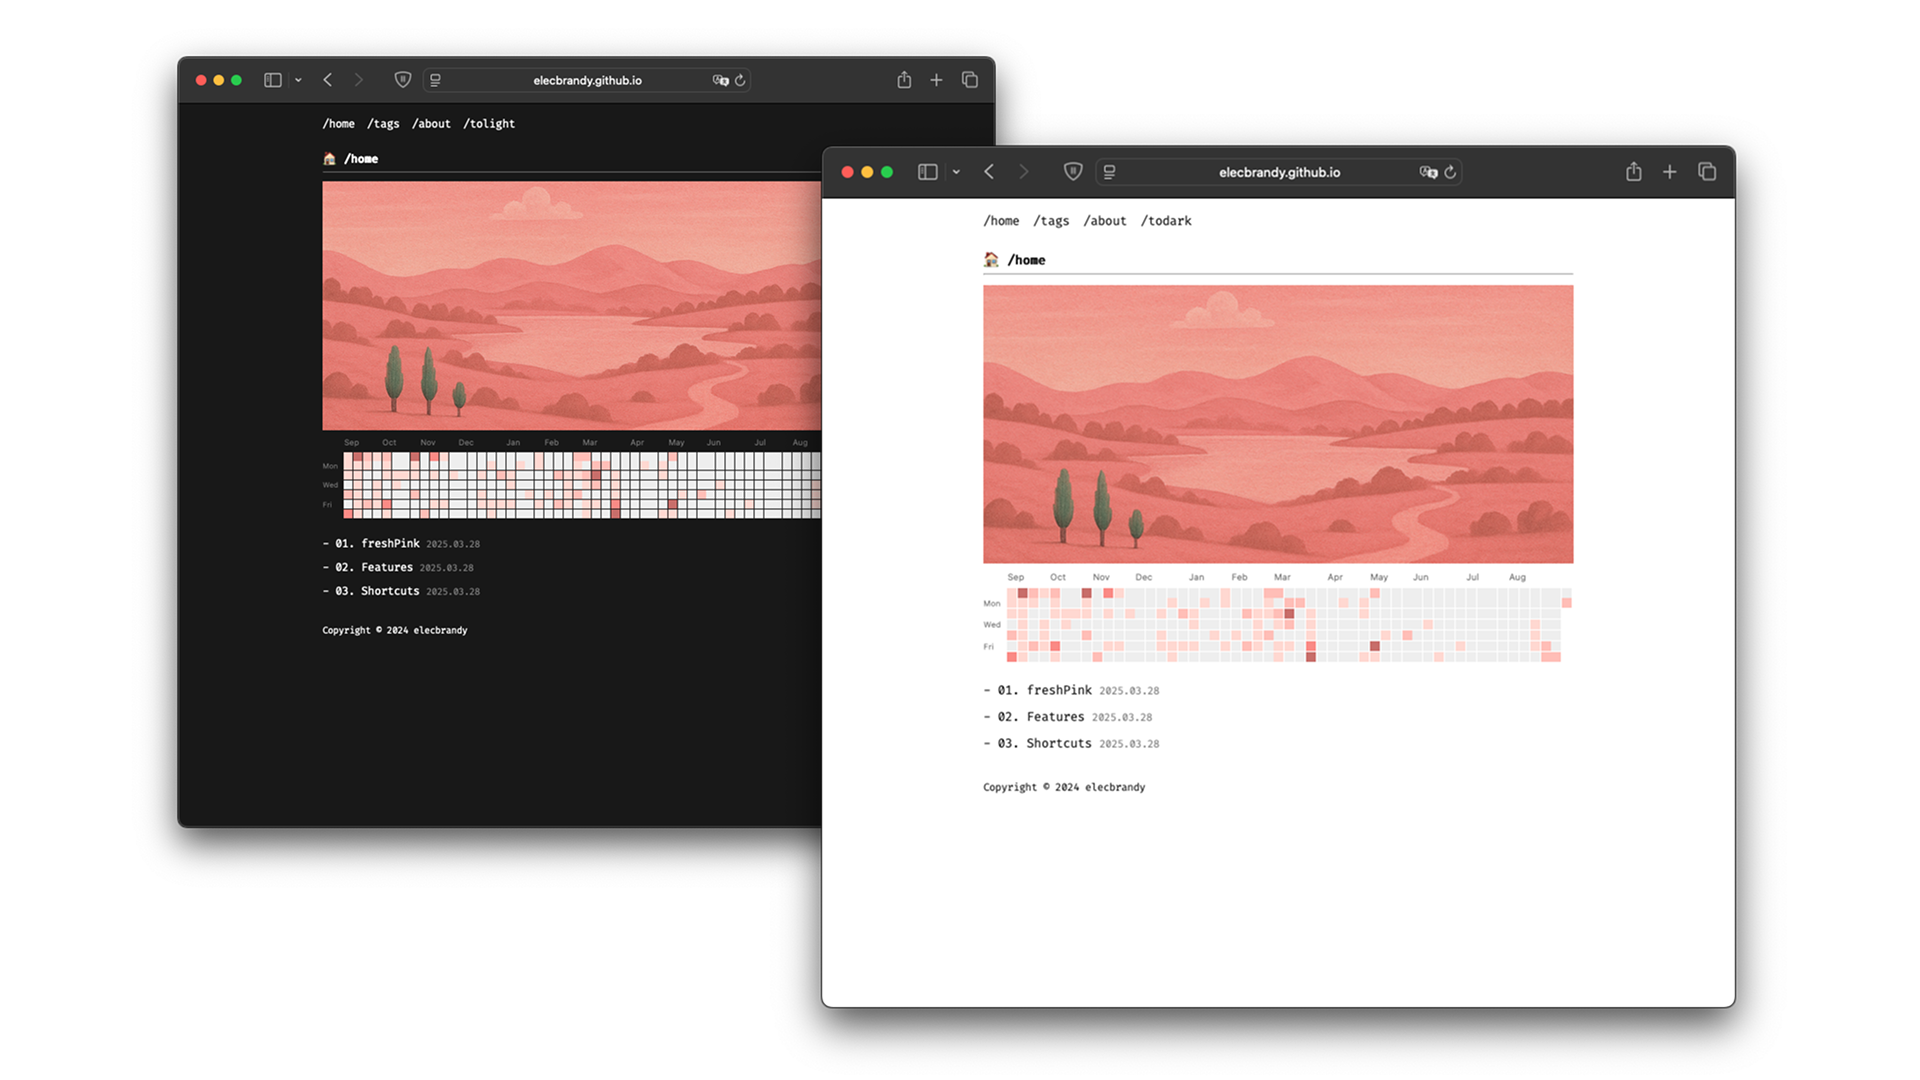
Welcome to the freshPink theme! A clean and minimalist theme for Hugo, designed to give your blog a fresh look.
Note
Hugo v0.110+ extended
The navigation bar can now be dynamically modified, and the header can be freely configured through the hugo.toml file!
First, you need to create a folder for your new section's content.
- Go to your project's
content/directory. - Create a new folder named after your section. For example, to create a "Projects" page, make a folder called
content/projects. - You can add Markdown files (
.md) inside this new folder to fill it with content. (Using_index.mdis common for the main page of a section).
Next, open your hugo.toml file and add a new menu entry. This will make the "Projects" link appear in your site's navigation.
Add the following block to your hugo.toml -> projects menu (new!)
[[menus.main]]
name = 'Home'
pageRef = '/'
weight = 10

[[menus.main]]
name = 'TAGS'
pageRef = '/tags/'
weight = 20

[[menus.main]]
  name = 'PROJECTS'
  pageRef = '/projects/'
weight = 50name: The text that will show up in the menu.pageRef: The URL for the link. This must match the folder you created in step 1.weight: This controls the order of your menu items. A higher number (like50) will appear after items with a lower number (like10or20).
Check out the Demo Site for an example and detailed instructions.
This guide walks you through applying the freshpink theme to a new Hugo site using Hugo Modules — the recommended modern way to manage themes.
hugo new site myblog
cd mybloghugo mod init github.com/yourname/myblogReplace yourname/myblog with your GitHub path (or any unique identifier).
That means the repository address that you will host through GitHub. In my case, I made it hugo mod init github.com/elecbrandy/elecbrandy.github.io.
Open the generated hugo.toml file and replace its contents completely with the configuration below. Then, update it with your own information:
baseURL: Enter the URL of your GitHub repository (e.g.https://elecbrandy.github.io/)title: Choose the name you want for your bloggithubUsername: Your GitHub username — this is required to display your contribution graph (grass) on the homepagegoogleAnalytics: (Optional) If you want to use Google Analytics, add your tracking ID here- 👀 Important: Do not add or define a
themefield. We're using Hugo Modules to manage the theme, so this must be left out. - The [module] section below is what tells Hugo to fetch the freshPink theme. Make sure this part is included!
baseURL = 'https://example.org/' # your git repository address
title = 'freshpink' # your own blog title
languageCode = 'en-us'
canonifyURLs = true

[[menus.main]]
name = 'Home'
pageRef = '/'
weight = 10

[[menus.main]]
name = 'TAGS'
pageRef = '/tags/'
weight = 20

[[menus.main]]
name = 'ABOUT'
pageRef = '/about/'
weight = 30

[module]
  [module.hugoVersion]
    extended = true
    min = "0.116.0"
  [[module.imports]]
    path = "github.com/elecbrandy/freshpink"  # important!

[params]
  googleAnalytics   = "G-000000000"   # Your Google Analytics tracking ID
  primaryColor      = "#ec42ff"     # Primary theme color (hex code)
  githubUsername    = "elecbrandy"    # GitHub username for contribution chart
  showGithubChart   = true            # Set to true to display the GitHub contributions chart
  math = true
  copyright = 'Copyright © 2024 elecbrandy'

[taxonomies]
  tag = 'tags'

[markup]
  [markup.goldmark]
    [markup.goldmark.renderer]
unsafe = trueNow, run the following command. Hugo will automatically detect the theme from your hugo.toml and download the necessary files. This command initializes the modules and downloads the theme files to your local cache.
hugo mod tidyhugo new posts/hello.mdhugo server -DThen open (local check) -> http://localhost:1313
You should see your blog styled with the freshpink theme! 🎉
To update the theme to the latest version, run the following command in the root of your Hugo project.
hugo mod tidy
hugo mod get -u
This command will fetch the latest version of the theme from its repository.
primaryColor: Set your theme’s primary color (hex code). ex:"#fa8b84".math: Enable or disable math rendering with KaTeX (true/false).
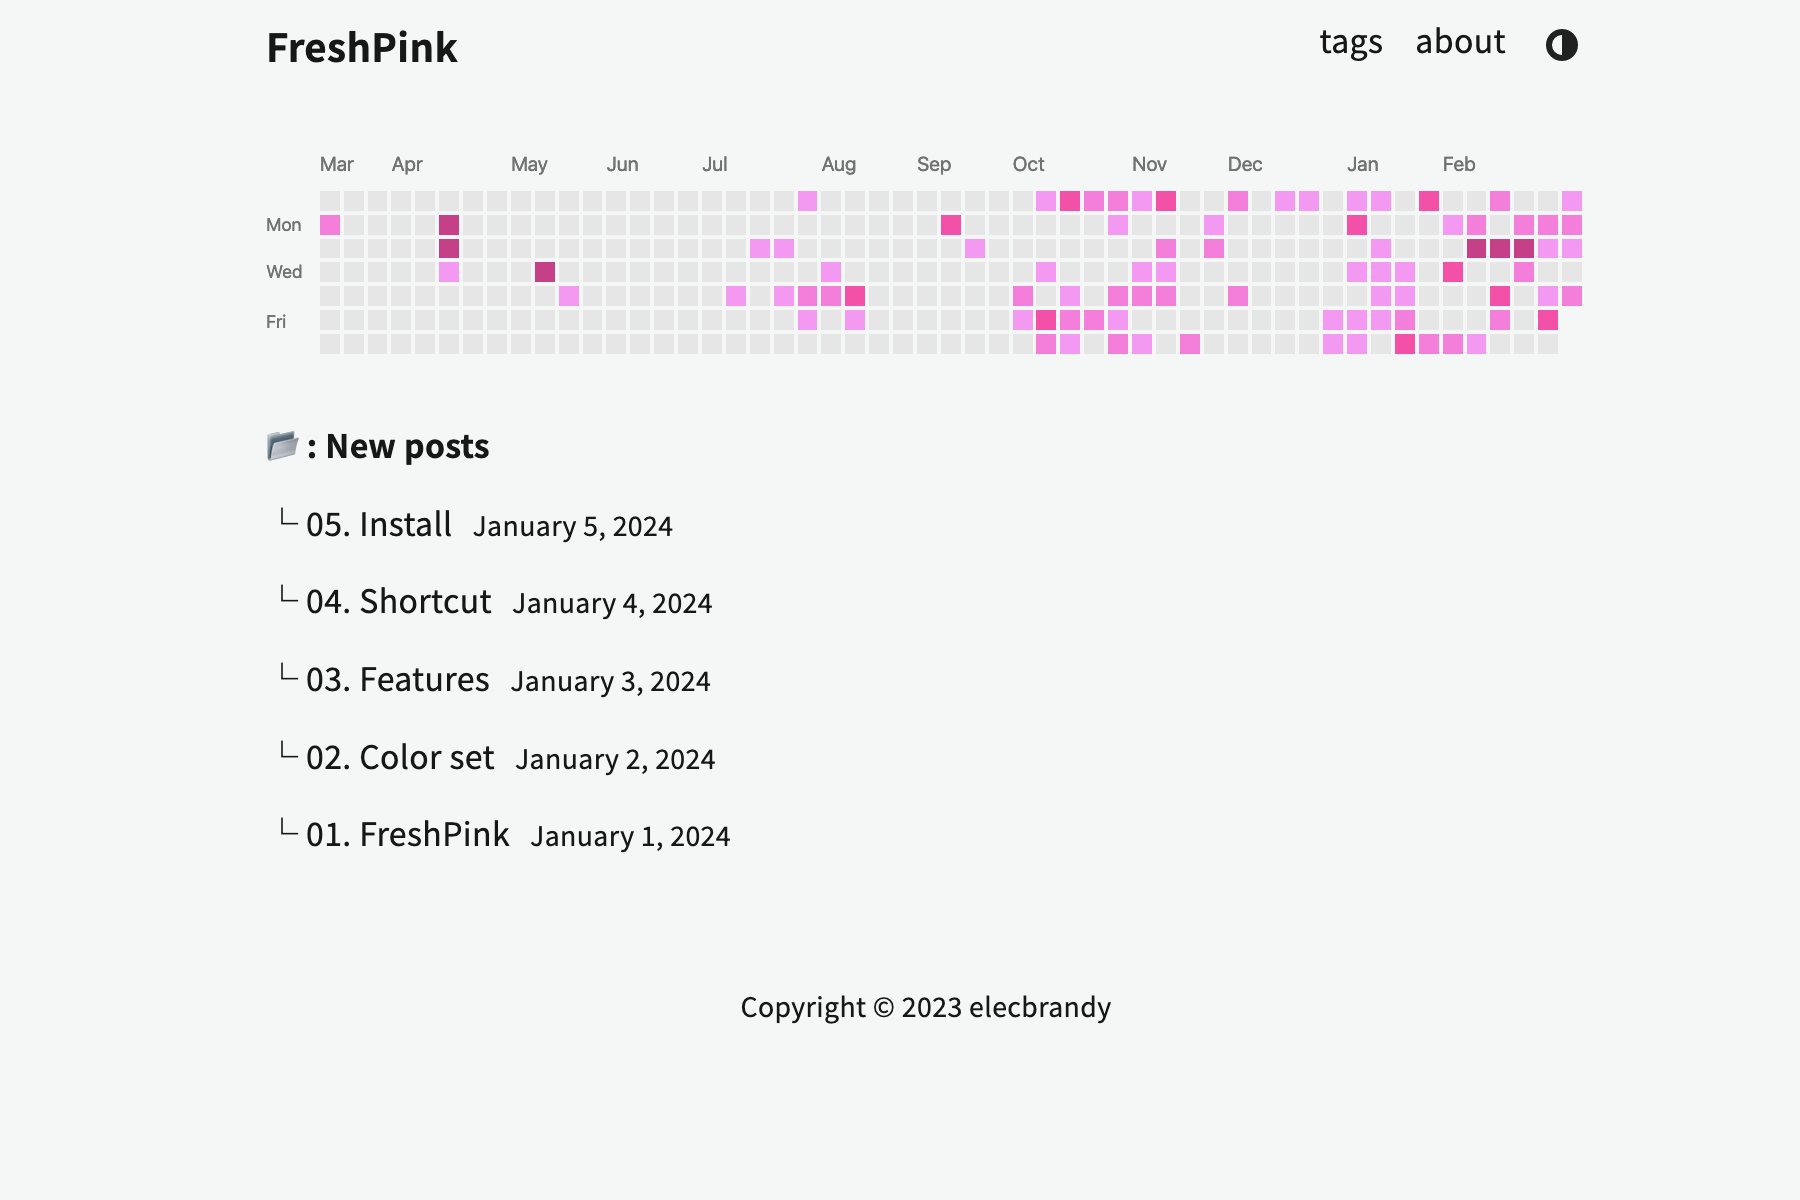
mainImageUrl: URL of the main image shown on the homepage.showMainImage: Toggle the main image on or off (true/false).
githubUsername: Your GitHub username (used to fetch the contribution graph).showGithubChart: Show or hide the GitHub contributions chart on the homepage (true/false).
googleAnalytics: Your Google Analytics tracking ID (e.g.,"G-000000000").copyright: Footer copyright.
[params]
  # --- Site Metadata ---
  googleAnalytics = "G-000000000"
  copyright = "Copyright © 2024 elecbrandy"

  # --- Theme & Display Settings ---
  primaryColor = "#fa8b84"
  math = true

  # --- GitHub Chart ---
  githubUsername = "elecbrandy"
  showGithubChart = true

  # --- Main Image ---
  mainImageUrl = "https://i.imgur.com/URQWyyY.png"
  showMainImage = true