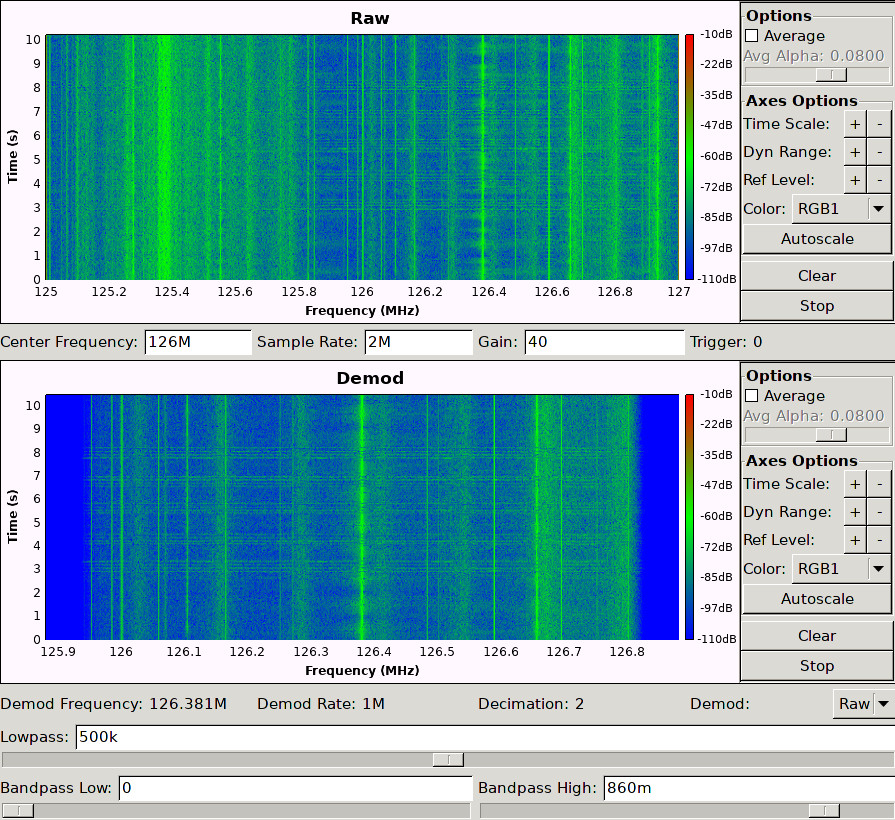
This is a simple framework to perform a Side-Channel analysis by using a SDR receiver. It uses the Osmocom SDR source, so it is compatible with most SDR receivers such as RTL-SDR, Hackrf (rad1o) and USRP. As most of this devices are leaking at a low frequencies in most cases an additional upconverter is required.
Install the following packages:
-python2
-GNURadio
-OsmoSDR
-matplotlib, numpy
Compile grc/cap-gui.grc using GNURadio Companion
First it is required to configure the receiver to correctly extract the individual traces. This call will tune the SDR to 125.5MHz and will guide you through the following steps. The file config/test.json will be created and all necessary parameter are stored in this file.
python2 capture.py --config=config/test.json --dut=dut-openssl.py
You can use the GUI to configure the GNURadio frontend.
On the command prompt, the following commands are available:
| Command | Description |
|---|---|
| scan | Scan Range for suitable trigger frequencies |
| trigger | Configure trigger frequency |
| capture | Capture traces |
| save | Save configuration |
| quit | Quit |
To automatically find trigger frequencies, you could simply use the 'trigger' command in capture.py. First 10 executions of the test program are performed and the resulting spectrogram is shown. In this case all 10 executions are clearly visible.
To detect individual executions, a carrier that could act as a triggersignal is required. In the next step an automated search for such a signal is performed, by using 10 pulse wavelets with appropriate spacing and pulse length over the spectrogram. The next graph shows the response of this wavelet analysis with different offsets. The carrier with the best response will be used as a trigger signal.
This carrier will be amplitude demodulated, resulting in a signal where all executions are clearly distinguishable.
Using a Haar-Wavelet (slope) the beginnging and end of the execution is detected. The maxima in this transformed signal are used as trigger points to extract the individual traces from the raw data. The result is the aligned trace.
The resulting parameter are written to the configuration file and we are now ready to capture traces and perform side channel analysis on this data.
A dut class implements tha api to a Device Under Test, allowing this framework to pass a challenge, that will be processed by the dut. To use a specific DUT implementation, simply use the "--dut=dut.py" option. An example might look like this:
class dut():
    values = [1,2] #set of testvalues

    def __init__(self):
        pass

    def challenge(self, challenge):
#pass the challenge to the dutThis is a deamon allows to start OpenSSL test programs (located in cprog/) on the DUT over a network connection and pass an argument to it. It is required to start this deamon on the target machine.
| Key | Description |
|---|---|
| misc.cmd | Path to the test Program to run on DUT |
| misc.ip | IP of the DUT |
| misc.port | Port for the daemon to listen |
The C code for this dut is located in arduino-des/. It will send a plaintext to the arduino, which will be encrypted using DES.
This tool can be used to configure the Capture frontend, e.g. center frequency or filters. You can use the commands, that will guide you through the steps listed above.
python capture.py --config=config/test.json --dut=dut-openssl.py
By including this class, you could perform your own sidechannel analysis
from capture import capture
cap = capture()
for challenge, trace in cap.capture(values=[val1, val2, ...]):
stft = cap.preprocess(trace)You can use this script to perform a dpa attack for a given configuration file. The test parameter can be passed via commandline Intermediate results will be stored in /tmp/out
python dpa.py --config=config/test.json 0000000000000000 ffffffffffffffff
This file implements Correlation Power Analysis for DES but currently, there are some bugs.
Attack implementation to perform a binary search on the RSA-CRT modul. This works for openssl-exp* programs by exploiting Side-Channel-Effects caused by the modular reduction of the Input. To use less traces, non relevant parts of the spectrogram should be masked. In general, this requires a lot of calibration ;)
Can be used to display .npy files generated by dpa.py
For a PC, best results were performed with a magnetic field probe as described by Genkint et. Al. This consists of 3 turns of coax cable with a cut in the middle of the shielding. At one end, the core is connected to the shielding and the shielding of the other end. The signal can be measured between the open core and both connected shieldings.
On some systems fluctuations of the USB power supply can also be used for sidechannel attacks. A small capacitor should be used to protect the input of the SDR receiver.
It is notable, that measurable sidechannel effects are not directly caused by the CPU but the power regulator. This circuit will emmit low frequency signals, that can be captured with an SDR.


