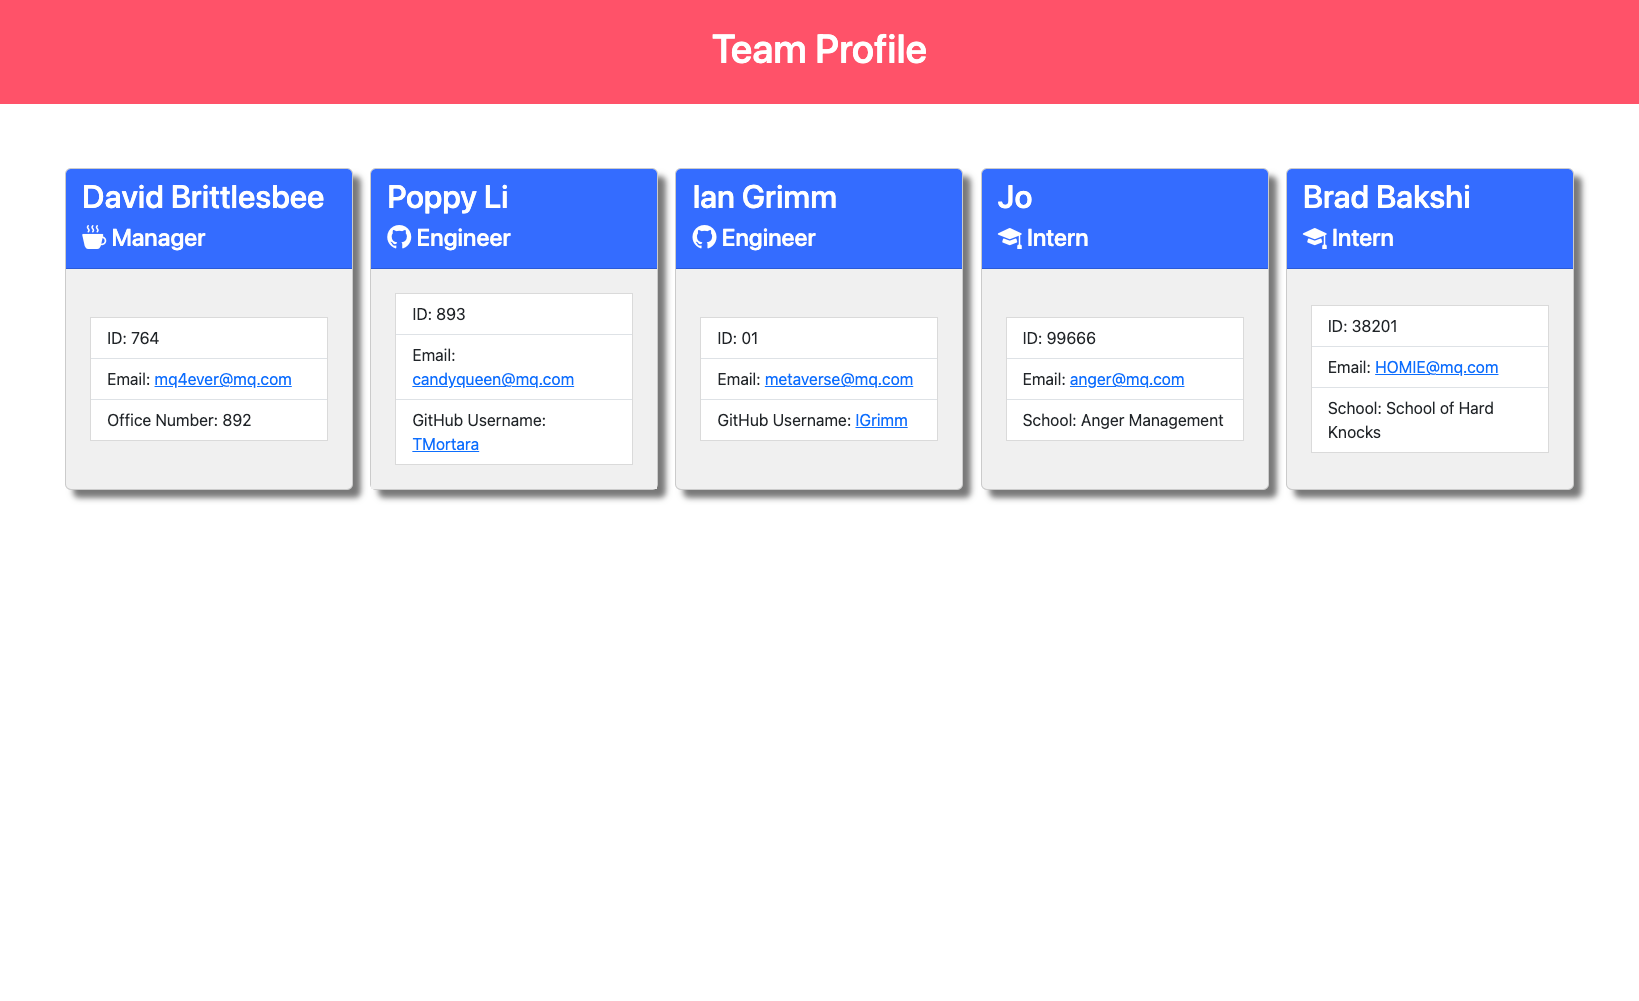
This application creates a Team Profile so users can quickly view information about their team members.
- Installation Steps
- Usage
- File Structure
- Built With
- Credits
- Resources Used to Complete Project
- License
- Tests
- Recording
- Screenshots of Application
Before using this application you must install Node.js.
After installing Node.js, open the integrated terminal in VS Code and run npm install. This will install all of the dependencies listed in the package.json file.
Installation Resources:
- Before beginning make sure you have completed the Installation Steps
- Open integrated terminal in VS Code
- Run node index
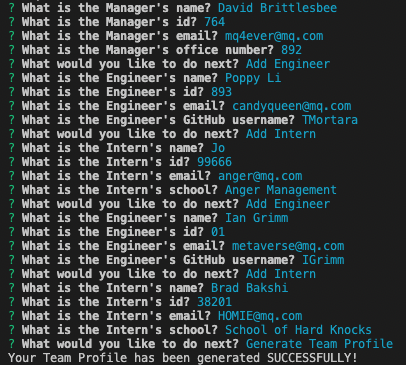
- As a Manager you will be prompted for the following information:
- Name
- ID
- Office Number
- You will then be prompted with a menu that will let you:
- Add Engineer
- Add Intern
- Generate Team Profile
- If you choose 'Add Engineer' you will be prompted for the following information:
- Name
- ID
- GitHub username
- You will then be prompted with the menu again to choose your next action.
- If you choose 'Add Intern' you will be prompted for the following information:
- Name
- ID
- School
- You will then be prompted with the menu to choose your next action.
- You can enter as many Employees as you need. When you are done, you will select 'Generate Team Profile'.
- This action will generate an HTML file in the dist/ folder.
The directory for this application is as follows:
- dist/ - Team Profile that is generated along with CSS files
- lib/ - Employee and Questions classes and HTML template
- src/ - JavaScript files that build the Employee cards and the body of the HTML
- tests/ - Employee test files
- My Tutor, Alex Gonzales, for teaching me more about Classes and SubClasses.
- Inquierer documentation
- Node.js file system documentation
- Node.js prompt documentation
- JEST documentation
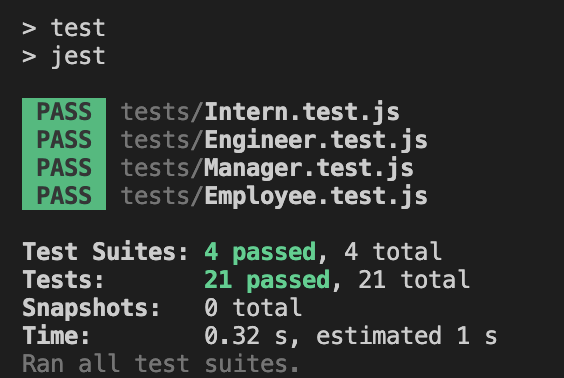
This application includes 4 tests.
- Employee
- Engineer
- Intern
- Manager
- Ensure you have installed Jest prior to running the tests
- Open the Integrated Terminal in VS Code
- Run npm run test
Untitled_.Jan.10.2023.10_20.PM.webm