- ShareSDK is the most popular social SDK for apps and mobile games in global world ! We've already support over 100,000 clients unitl now. ShareSDK could easily support 40+ social platforms in the world for third-party log in, sharing, and operating with friends list. Only few hours, this small package will make your app fully socialized! Wanna post something from your app on Chinese social platform? This might be your best choice!
- Getting Started
- Features
- [Category structure【ShareSDK Category structure】](#Category structure【ShareSDK Category structure】)
- [How to integrate ShareSDK easily](#How to integrate ShareSDK easily)
- [Option Configuration](#Option Configuration)
- common API
- Examples
- Notice
- Share to third-party SNS platforms.
- Third party log in.
ShareSDK include:
1、ShareSDK(ShareSDK Library),Contains:
SDK
  | ----- Required
        | ----- MOBFoundation.framework:Basic Functions Framework。(necessary)
  | ----- ShareSDK
        | ----- ShareSDK.framework:Core Framework。(necessary)
        | ----- Support
              | ----- Required
                   | ----- ShareSDK.bundle:ShareSDK Resources。(necessary)
                   | ----- ShareSDKConnector.framework:Acting framework for plug-ShareSDK frame and outer frame connection. When necessary, use a third-party SDK.(necessary)
              | ----- Third-party platform's SDK(Platform SDK does not require can be removable)
              | ----- PlatformConnector
              | ----- Optional
              	    | ----- ShareSDKExtension.framework:ShareSDK framework for functional expansion plug. Currently the main provider of third-party platform login, onekey share, screenshots sharing, shake sharing and other related functions. We need to use the above functions necessary。
                    | ----- ShareSDKUI.bundle:Share menu bar and share editorial page Resources。(customize these UI can be removed directly)
                    | ----- ShareSDKUI.framework:Share menu bar and share editorial page。(customize these UI can be removed directly)
                    | ----- ShareSDKConfigFile.bundle
                    | ----- ShareSDKConfigFile.framework
2、Demo(It contains Objective-C, swift sample Demo)
3、doc(Contains Objective-C, swift version integrated documentation and new features introduced)
- Official Download:http://www.mob.com/#/downloadDetail/ShareSDK/ios
- documents address:http://wiki.mob.com/ios简洁版快速集成/
- Use CocoaPods integrated ShareSDK,documents address:http://wiki.mob.com/使用cocoapods集成sharesdk/
-
cocoapods import:
main module(necessary)
pod 'ShareSDK3'
#Mob Public Library (must) if SMSSDK iOS2.0: can be integrated at the same time see this note:http://bbs.mob.com/thread-20051-1-1.html pod 'MOBFoundation'
UI module(Non-essential,Use ShareSDK's UI(Share menu bar and share editorial page) needs)
```objc
pod 'ShareSDK3/ShareSDKUI'
pod 'ShareSDK3/ShareSDKExtension'
SNSPlatform SDK module(Non-essential。if you want to Share to QQ/Wechat/Sinaweibo,Only the following three lines)
pod 'ShareSDK3/ShareSDKPlatforms/QQ'
pod 'ShareSDK3/ShareSDKPlatforms/SinaWeibo'
pod 'ShareSDK3/ShareSDKPlatforms/WeChat'

pod 'ShareSDK3/ShareSDKPlatforms/RenRen'
pod 'ShareSDK3/ShareSDKPlatforms/AliPaySocial'
pod 'ShareSDK3/ShareSDKPlatforms/Kakao'
pod 'ShareSDK3/ShareSDKPlatforms/Yixin'
pod 'ShareSDK3/ShareSDKPlatforms/Facebook'
pod 'ShareSDK3/ShareSDKPlatforms/Copy'
pod 'ShareSDK3/ShareSDKPlatforms/Evernote'
pod 'ShareSDK3/ShareSDKPlatforms/GooglePlus'
pod 'ShareSDK3/ShareSDKPlatforms/Instagram'
pod 'ShareSDK3/ShareSDKPlatforms/Instapaper'
pod 'ShareSDK3/ShareSDKPlatforms/Line'
pod 'ShareSDK3/ShareSDKPlatforms/Mail'
pod 'ShareSDK3/ShareSDKPlatforms/SMS'
pod 'ShareSDK3/ShareSDKPlatforms/WhatsApp'
pod 'ShareSDK3/ShareSDKPlatforms/WeChat'
pod 'ShareSDK3/ShareSDKPlatforms/MeiPai'
pod 'ShareSDK3/ShareSDKPlatforms/YouTube'
pod 'ShareSDK3/ShareSDKPlatforms/Twitter'
pod 'ShareSDK3/ShareSDKPlatforms/DingTalk'
pod 'ShareSDK3/ShareSDKPlatforms/Dropbox'

 #using the configuration file sharing module (optional)
pod 'ShareSDK3/ShareSDKConfigurationFile'

 #extension module (optional)
pod 'ShareSDK3/ShareSDKExtension'

#ShareSDK currently supports a platform (SDK platform removal does not affect the sharing and authorization functions)
#platform statement replaces the ShareSDKPlatforms module statement can
pod 'ShareSDK3/PlatformConnector/QQ'
pod 'ShareSDK3/PlatformConnector/SinaWeibo'
pod 'ShareSDK3/PlatformConnector/WeChat'
pod 'ShareSDK3/PlatformConnector/RenRen'
pod 'ShareSDK3/PlatformConnector/AliPaySocial' -
Manually import:
-
1、Download the latest version of the ShareSDK, and drag into your project
(1)、Download the latest version of the ShareSDK, then you will get the following files.
(2)、Select the ShareSDK file and drag into your project (or just holding down the Control key on your keyboard and click your project,namely right-click your project, and choose “Add Files to …”). then you will see the following window, check the "Copy items into destination group's folder (if needed)" and click "Finish" button.
(3)、Now you have added the ShareSDK file to your project and it will look like this:

-
-
2、add the necessary Framework
Indispensable Framework:
libicucore.dylib
libz.dylib
libstdc++.dylib
JavaScriptCore.framework
Optional Framework:
necessary for the SSO Login of Sina weibo

ImageIO.framework
libsqlite3.dylib
necessary for the SSO Login of WeChat
libsqlite3.dylibnecessary for the SSO Login of QZone or QQ Friend share
libsqlite3.dylibnecessary for Mail or SMS
MessageUI.frameworkThe steps of adding the framework:

Step 2: import the header files and register for a Appkey,and choose the platforms that you need and initialize them
1、Log in to http://reg.sharesdk.cn/ to register to be a Mob developer , and click here to create a Mob application, then you will get the Appkey.
2.Set MOBAppKey and MOBAppSecret in Info.plist
3、Open AppDelegate.m to import the .h file
4、appliance each SNS's Open Platform key,refer to:http://bbs.mob.com/forum.php?mod=viewthread&tid=275&page=1&extra=#pid860
#import <ShareSDK/ShareSDK.h>

//Links Native SDK use
#import <ShareSDKConnector/ShareSDKConnector.h>

#import <ShareSDKUI/ShareSDKUI.h>

//QQ SDK header file
#import <TencentOpenAPI/TencentOAuth.h>
#import <TencentOpenAPI/QQApiInterface.h>

//Wechat SDK header file
#import "WXApi.h"

//SinaWeibo SDK header file
#import "WeiboSDK.h"
and add the initialize code to the -(BOOL)application: didFinishLaunchingWithOptions: method
-   (BOOL)application:(UIApplication )application didFinishLaunchingWithOptions:(NSDictionary )launchOptions
{
     [ShareSDK registerActivePlatforms:@[
                            @(SSDKPlatformTypeSinaWeibo),
                            @(SSDKPlatformTypeMail),
                            @(SSDKPlatformTypeSMS),
                            @(SSDKPlatformTypeCopy),
                            @(SSDKPlatformTypeWechat),
                            @(SSDKPlatformTypeQQ),
                            @(SSDKPlatformTypeGooglePlus)]
           onImport:^(SSDKPlatformType platformType)
           {
               switch (platformType)
               {
                  case SSDKPlatformTypeWechat:
                       [ShareSDKConnector connectWeChat:[WXApi class]];
                    break;
                  case SSDKPlatformTypeQQ:
                       [ShareSDKConnector connectQQ:[QQApiInterface class] tencentOAuthClass:[TencentOAuth class]];
                    break;
                  case SSDKPlatformTypeSinaWeibo:
                          [ShareSDKConnector connectWeibo:[WeiboSDK class]];
                    break;
                  default:
                    break;
                }
          }
          onConfiguration:^(SSDKPlatformType platformType, NSMutableDictionary *appInfo)
          {
                switch (platformType)
                {
                  case SSDKPlatformTypeSinaWeibo:
                      //设置新浪微博应用信息,其中authType设置为使用SSO+Web形式授权
                      [appInfo SSDKSetupSinaWeiboByAppKey:@"568898243"
                                                appSecret:@"38a4f8204cc784f81f9f0daaf31e02e3"
                                              redirectUri:@"http://www.sharesdk.cn"
                                                 authType:SSDKAuthTypeBoth];
                   break;
                   case SSDKPlatformTypeWechat:
                      [appInfo SSDKSetupWeChatByAppId:@"wx4868b35061f87885"
                                            appSecret:@"64020361b8ec4c99936c0e3999a9f249"];
                   break;
                   case SSDKPlatformTypeQQ:
                      [appInfo SSDKSetupQQByAppId:@"100371282"
                                           appKey:@"aed9b0303e3ed1e27bae87c33761161d"
                                         authType:SSDKAuthTypeBoth];
                   break;
                   case SSDKPlatformTypeGooglePlus:
                      [appInfo SSDKSetupGooglePlusByClientID:@"232554794995.apps.googleusercontent.com"
                                                clientSecret:@"PEdFgtrMw97aCvf0joQj7EMk"
                                                 redirectUri:@"http://localhost"];
                    break;
                   default:
                    break;
              }
          }];
 return YES;
}1、Create Share parameters. Please refer to ShareSDK.h in ShareSDK.framework or Demo to get the specific usage.
2、To show the share content view ,you need to call the showShareActionSheet… method.
    //1、Create Share parameters
    NSArray* imageArray = @[[UIImage imageNamed:@"shareImg.png"]];
    if (imageArray) {

        NSMutableDictionary *shareParams = [NSMutableDictionary dictionary];
        [shareParams SSDKSetupShareParamsByText:@"Share Content"
                                         images:imageArray
                                            url:[NSURL URLWithString:@"http://mob.com"]
                                          title:@"ShareTitle"
                                           type:SSDKContentTypeAuto];
        //2、To show the share content view
        [ShareSDK showShareActionSheet:nil //The way to share content for iPad : we recommend you to use a child view of ViewController as the "anchor" to be the container. It can be an button、custom view etc. Only in this way do the share view and authorization view display correctly.
                                 items:nil
                           shareParams:shareParams
                   onShareStateChanged:^(SSDKResponseState state, SSDKPlatformType platformType, NSDictionary *userData, SSDKContentEntity *contentEntity, NSError *error, BOOL end) {

                       switch (state) {
                           case SSDKResponseStateSuccess:
                           {
                               UIAlertView *alertView = [[UIAlertView alloc] initWithTitle:@"Share Success!"
                                                                                   message:nil
                                                                                  delegate:nil
                                                                         cancelButtonTitle:@"OK"
                                                                         otherButtonTitles:nil];
                               [alertView show];
                               break;
                           }
                           case SSDKResponseStateFail:
                           {
                               UIAlertView *alert = [[UIAlertView alloc] initWithTitle:@"Share Fail"
                                                                                   message:[NSString stringWithFormat:@"%@",error]
                                                                                  delegate:nil
                                                                         cancelButtonTitle:@"OK"
                                                                         otherButtonTitles:nil, nil];
                                [alert show];
                                break;
                               }
                            default:
                               break;
                       }

                   }];
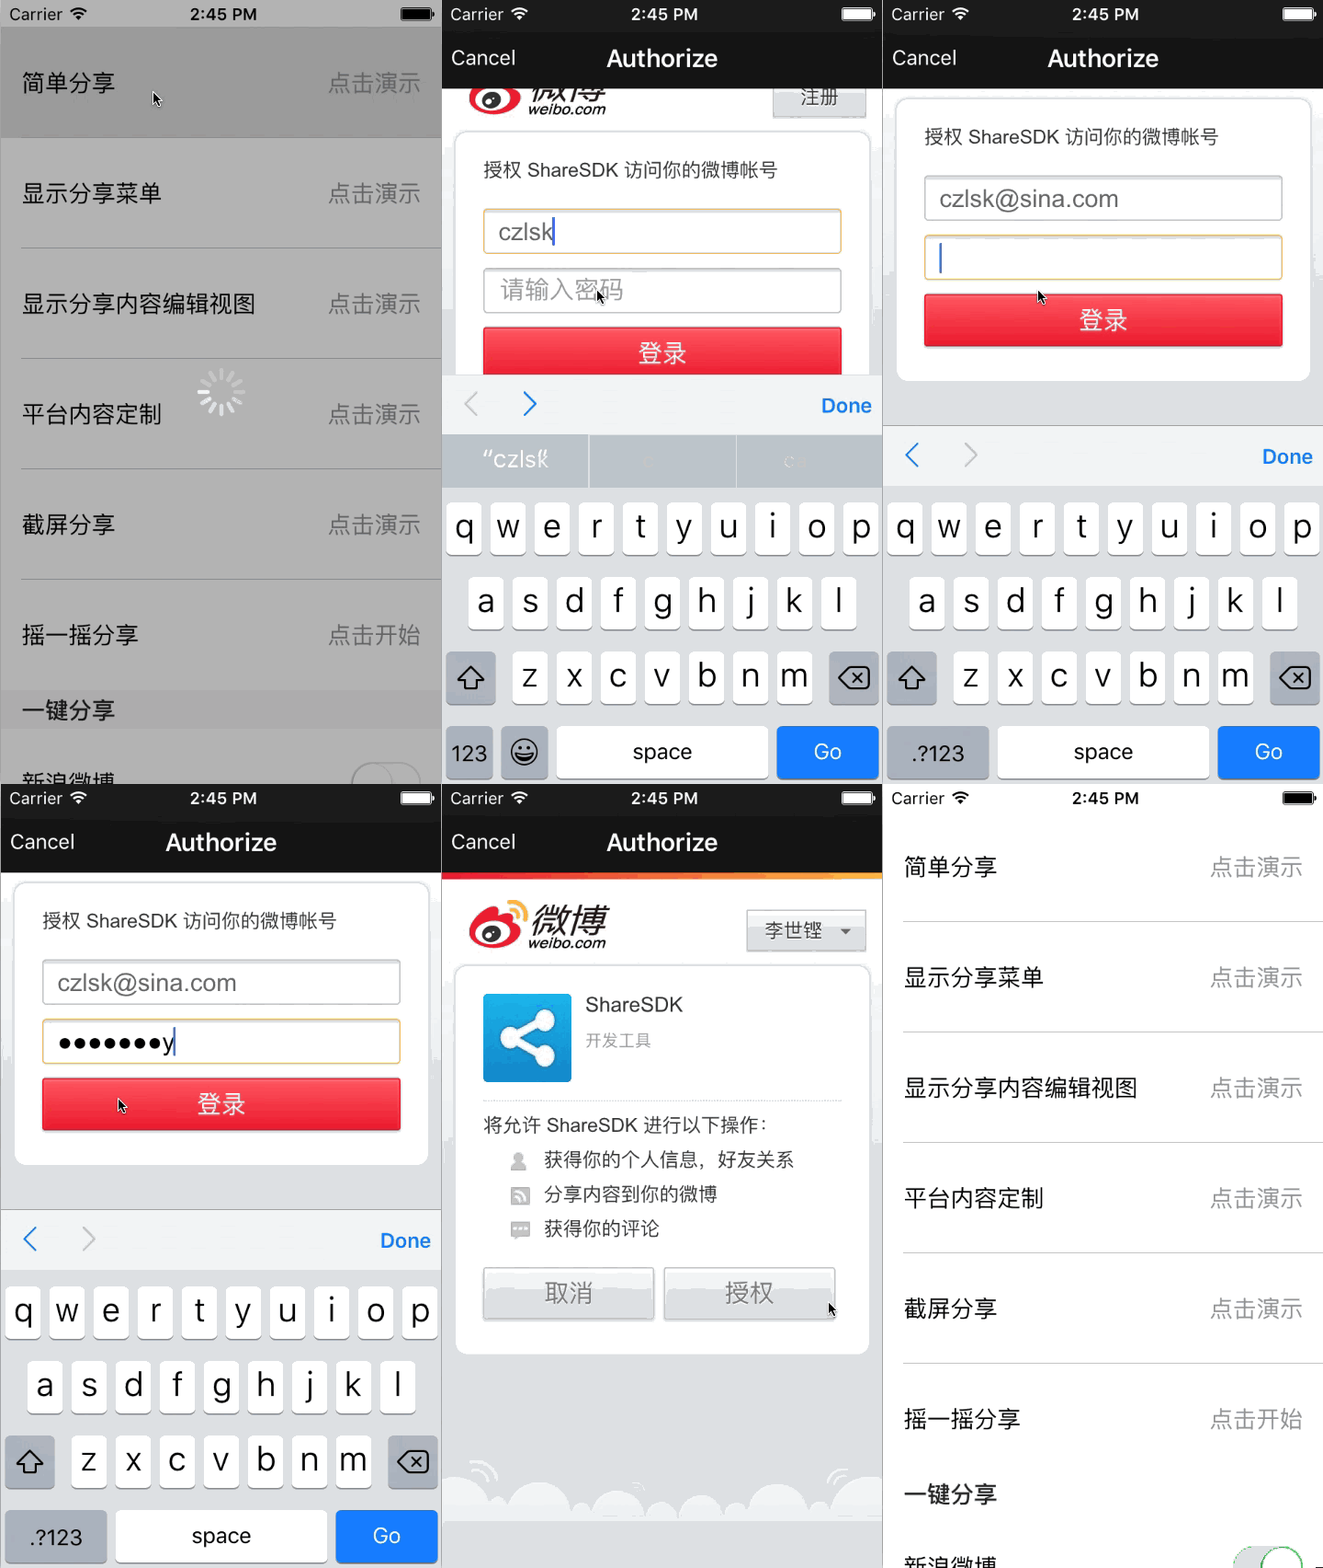
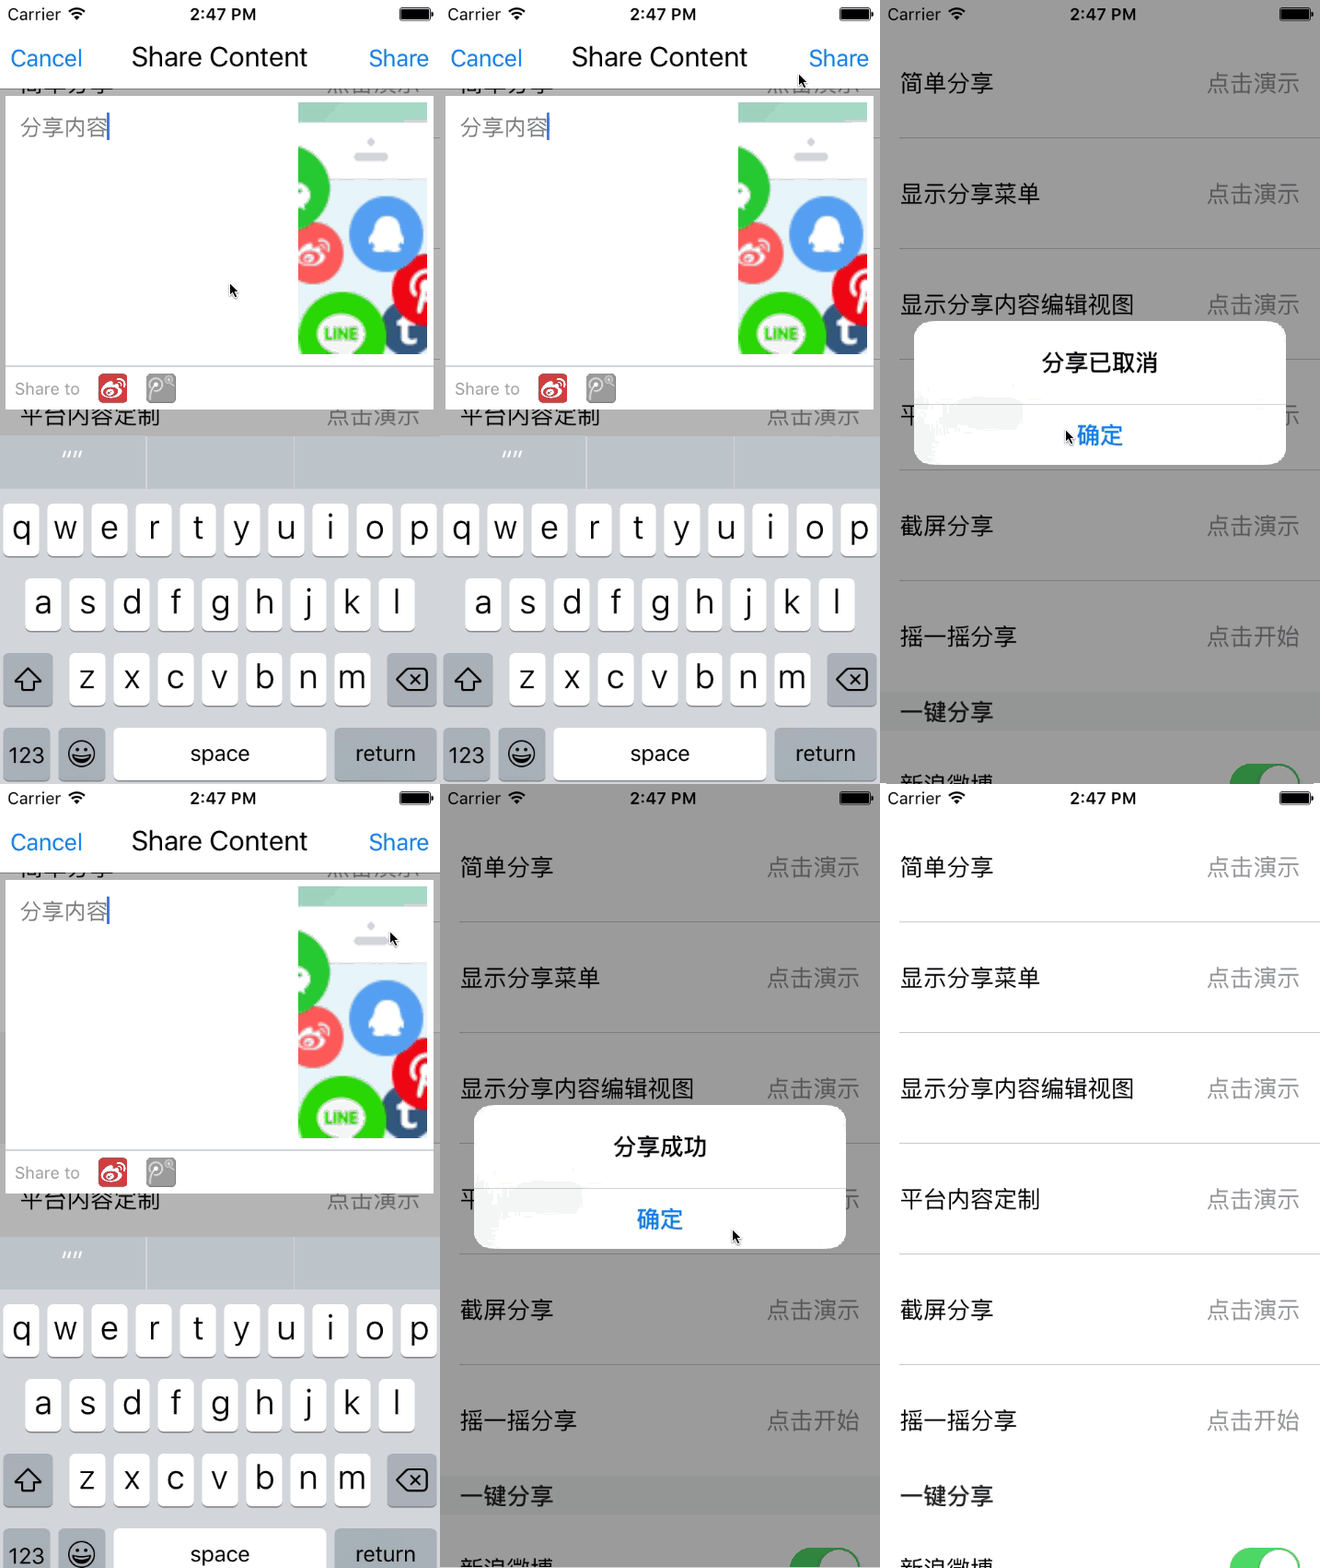
Congratulations!you make it and the result may look like the following snapshop.
1、Log in to Open QQ platform (http://open.qq.com/)to become a developer and create a application to get the app’s AppID.
2、Back to your project, choose the -Info.plist (- represents your project name) file. Add a URL Scheme for key, the value’s format is: "QQ" +the hexadecimal number of AppID (if the length of hexadecimal number is less than 8,then fill with zero to make sure the length is 8). Here is a example,if the hexadecimal number of your AppID is 5FB8B52,then the final value of the URL Scheme is QQ05FB8B52.
3、Open -AppDelegate.m ( -represents your project name), import QQSDK header file:
#import <TencentOpenAPI/QQApiInterface.h>
#import <TencentOpenAPI/TencentOAuth.h>
4、Add the codes in -(BOOL)application: didFinishLaunchingWithOptions: method
-   (BOOL)application:(UIApplication *)application didFinishLaunchingWithOptions:(NSDictionary *)launchOptions
{
//...
//Initialize QQ Platform
[ShareSDK registerApp:@"********"  // *** is the AppKey that you just got
          activePlatforms:@[@(SSDKPlatformTypeQQ)]
          onImport:^(SSDKPlatformType platformType) {
               switch (platformType)
               {
                  case SSDKPlatformTypeQQ:
                  // link to Native QQSDK
                  [ShareSDKConnector connectQQ:[QQApiInterface class]
                                    tencentOAuthClass:[TencentOAuth class]];
                  break;
                  default:
                      break;
               }
          }
          onConfiguration:^(SSDKPlatformType platformType, NSMutableDictionary *appInfo) {
               switch (platformType)
               {
                  case SSDKPlatformTypeQQ:
                  //The parameter “100371282” is the AppID of QQ App
                  [appInfo SSDKSetupQQByAppId:@"100371282"
                                       appKey:@"aed9b0303e3ed1e27bae87c33761161d"
                                     authType:SSDKAuthTypeBoth];
                  break;
                  default:
                      break;
               }
          }];

      //...
}1、Log in to WeChat open platform (http://open.weixin.qq.com/) to become a WeChat developer and create a application to get the app’s AppID,AppSecret.
2、Back to your project,choose the -Info.plist (- represents your project name) file. Add a WeChat URL Scheme key, the value is WeChat AppID (eg: wx4868b35061f87885). Here is a example:
3、Open -AppDelegate.m ( -represents your project name), import WechatSDK header file:
#import "WXApi.h"4、Add the codes in -(BOOL)application: didFinishLaunchingWithOptions: method
-   (BOOL)application:(UIApplication *)application didFinishLaunchingWithOptions:(NSDictionary *)launchOptions
{
//...
//Initialize wechat Platform
[ShareSDK registerApp:@"********"  // *** is the AppKey that you just got
          activePlatforms:@[@(SSDKPlatformTypeWechat)]
          onImport:^(SSDKPlatformType platformType) {
               switch (platformType)
               {
                  case SSDKPlatformTypeWechat:
                  // link to Native WechatSDK
                   [ShareSDKConnector connectWeChat:[WXApi class] delegate:self];
                  break;
                  default:
                      break;
               }
          }
          onConfiguration:^(SSDKPlatformType platformType, NSMutableDictionary *appInfo) {
               switch (platformType)
               {
                  case SSDKPlatformTypeWechat:
                       //The parameter “wx6dd7a9b94f3dd72a” is the AppID of WeChat App
                       [appInfo SSDKSetupWeChatByAppId:@"wx4868b35061f87885"
                                             appSecret:@"64020361b8ec4c99936c0e3999a9f249"];
                  break;
                  default:
                      break;
               }
          }];

      //...
}1、 Log in to Google+ Developer platform to become a developer (https://console.developers.google.com/home/) and create a application to get the app’s ClientID.
2、Back to your project , choose the -Info.plist (- represents your project name) file. Add a Google+ URL Scheme key and a URL identifier key, the value both are the BundleID (eg cn.appgo.sharebyone),and the value must same as Google+ dashboard's setting. Here are steps:
3、Add the codes in -(BOOL)application: didFinishLaunchingWithOptions: method
-   (BOOL)application:(UIApplication *)application didFinishLaunchingWithOptions:(NSDictionary *)launchOptions
{
//...
//Initialize wechat Platform
[ShareSDK registerApp:@"********"  // *** is the AppKey that you just got
          activePlatforms:@[@(SSDKPlatformTypeGooglePlus)]
          onImport:^(SSDKPlatformType platformType) {
               switch (platformType)
               {
                  //link to navite Google+ SDK
                   case SSDKPlatformTypeGooglePlus:
                        [ShareSDKConnector connectGooglePlus:[GPPSignIn class]
                                                  shareClass:[GPPShare class]];
                   break;
                   default:
                      break;
               }
          }
          onConfiguration:^(SSDKPlatformType platformType, NSMutableDictionary *appInfo) {
               switch (platformType)
               {
                  case SSDKPlatformTypeGooglePlus:
                       [appInfo SSDKSetupGooglePlusByClientID:@"***********" // Google+ clientID
                                                 clientSecret:@""
                                                  redirectUri:@""];
                  break;
                  default:
                      break;
               }
          }];

      //...
}/**
* ShareSDK APIs
*/
@interface ShareSDK : NSObject
#pragma mark - initialization
/**
* Initialization ShareSDK
*
* @param appKey ShareSDK Application ID,Log in to http://reg.sharesdk.cn/ to register to be a Mob developer , and click here to create a Mob application, then you will get the Appkey.
* @param activePlatforms Sharing platform used collection,eg:@[@(SSDKPlatformTypeSinaWeibo),@(SSDKPlatformTypeTencentWeibo)];
* @param connectHandler 导入回调处理,当某个平台的功能需要依赖原平台提供的SDK支持时,需要在此方法中对原平台SDK进行导入操作。具体的导入方式可以参考ShareSDKConnector.framework中所提供的方法。
* @param configurationHandler 配置回调处理,在此方法中根据设置的platformType来填充应用配置信息
*/
+ (void)registerApp:(NSString *)appKey
activePlatforms:(NSArray *)activePlatforms
onImport:(SSDKImportHandler)importHandler
onConfiguration:(SSDKConfigurationHandler)configurationHandler;
#pragma mark - authorize
/**
* authorize
*
* @param platformType
* @param @param settings 授权设置,目前只接受SSDKAuthSettingKeyScopes属性设置,如:@{SSDKAuthSettingKeyScopes : @[@"all", @"mail"]}
* @param stateChangeHandler
*/
+ (void)authorize:(SSDKPlatformType)platformType
settings:(NSDictionary *)settings
onStateChanged:(SSDKAuthorizeStateChangedHandler)stateChangedHandler;
/**
* judgment weather to authorize
*
* @param platformType
* @return YES :has Authorized,NO : Not Authorized
*/
+ (BOOL)hasAuthorized:(SSDKPlatformType)platformTypem;
/**
* cancelAuthorize
*
* @param platformType
*/
+ (void)cancelAuthorize:(SSDKPlatformType)platformType;
#pragma mark - User
/**
* Get User Info
*
* @param platformType
* @param stateChangeHandler
*/
+ (void)getUserInfo:(SSDKPlatformType)platformType
onStateChanged:(SSDKGetUserStateChangedHandler)stateChangedHandler;
/**
* Share Content
*
* @param platformType
* @param parameters
* @param stateChangeHandler
*/
+ (void)share:(SSDKPlatformType)platformType
parameters:(NSMutableDictionary *)parameters
onStateChanged:(SSDKShareStateChangedHandler)stateChangedHandler;#import <ShareSDK/ShareSDK.h>
//...
[shareParams SSDKSetupShareParamsByText:@"Share Content"
images:imageArray
url:[NSURL URLWithString:@"http://mob.com"]
title:@"Share title"
type:SSDKContentTypeImage];
[ShareSDK share:SSDKPlatformTypeSinaWeibo
parameters:shareParams
onStateChanged:^(SSDKResponseState state, NSDictionary *userData, SSDKContentEntity *contentEntity, NSError *error) {//...}#import <ShareSDK/ShareSDK.h>
//...
[shareParams SSDKSetupShareParamsByText:@"Share Content"
images:imageArray
url:[NSURL URLWithString:@"http://mob.com"]
title:@"Share title"
type:SSDKContentTypeImage];
[ShareSDK showShareEditor:SSDKPlatformTypeSinaWeibo
otherPlatformTypes:nil
shareParams:shareParams
onShareStateChanged:^(SSDKResponseState state, SSDKPlatformType platformType, NSDictionary *userData, SSDKContentEntity *contentEntity, NSError *error, BOOL end) {//...}


