This repository covers the development of a completely open-source drone that I named the SRD-1. SRD-1 stands for Science & Research Drone 1 (the name was of course inspired by the legendary plane SR-71 Blackbird). For motors and ESCs, this drone uses the generic 2212 motors with the generic 30A ESC-s, meaning that those parts can be easily acquired by anyone. As for the rest of the electronics, all 3 major systems of the drone are based on individual Arduino Nanos. This includes:
- Flight Controller - Arduino Nano, paired with an MPU6050, running the open-source MultiWii firmware
- Radio Receiver - Arduino Nano, paired with the RF NRF module, code available in this repository
- Radio Transmitter - Arduino Nano, paired with the RF NRF module, code available in this repository
If you check out the folders, you'll also be able to find all of the necessary CAD files for building your own drone. I will also be posting all of these models on Printables so you can download them there more easily if you would like. Links to Printables models:
- https://www.printables.com/model/1212696-diy-arduino-drone-srd-1
- https://www.printables.com/model/227060-raspberry-pi-hq-camera-drone-gimbal
I made this drone in 2021 as part of Element14 Communities, Attack of the Drones Project14 Competition, which this project managed to win! If you're interested in my write-up from back then, you can check this link here: https://community.element14.com/challenges-projects/project14/attackofthedrones/b/blog/posts/srd-1---3d-printed-drone-arduino-raspberry---june-11th-update---it-flies
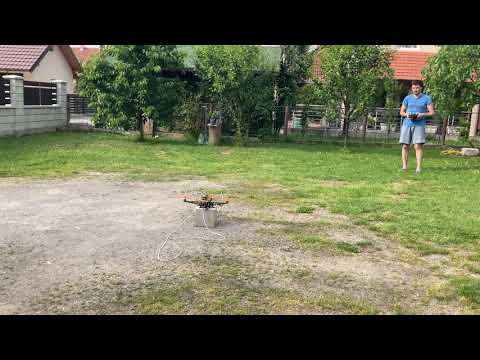
Below, you can find some pictures of the finished drone, flight videos, and crash videos, of course!


My goal with this drone was to make it capable, but at the same time, make it as cheap as possible. This is why for the construction of the drone, I went with mostly 3D printed parts, as well as some easily obtainable hardware like PVC pipes so that anyone trying to replicate the drone can have the easiest time possible! Here are some flight videos of the drone, some successful, some a bit less successful, as you can see! Hope you like my sophisticated safety mechanism!
Flight 1
Flight 2
Flight 3
Flight 4
Drone Crash
If you're considering making a similar drone and are curious about the lift capabilities, before making this drone, I made a drone motor test stand to find out what kind of thrust I was working with (you can check out the thrust stand, which is also an open-source project here: https://github.com/MilosRasic98/BLDC-Thrust-Tester), each motor could produce 870g of thrust. To get good performance out of the drone, ideally, you would like to keep it below 1.75kg, which is around half the weight of the maximum thrust with all 4 motors at full throttle.

My ultimate goal was to equip this drone with a Raspberry Pi and a Raspberry Pi Camera so I could do some recording and some more advanced stuff, but I never got around to the software part of it. However, I have done CAD models and printed out a gimbal for the Raspberry Pi HQ Camera module as well as some drone mounts for the Raspberry Pi 4. You can find the CAD files for each of these in the 3D Model directories or on the Printables links that I've linked at the beginning of this Readme file.


As mentioned above, both the RC transmitter and receiver were also made using Arduino Nano boards. To make my life a bit easier when I was making this drone, I used an RC transmitter body from an old RC helicopter I had and just connected it by soldering wires to the potentiometers. Another way you can go to recreate this would be using something like the Arduino joystick modules and keeping the code essentially the same.


I've tried my hardest to design all of the mechanical parts with the manufacturing process in mind, in this case, 3D printing. This is why I tried my best to minimize the support material used, as well as optimize the printability of the parts so that the parts can get the most strength where they need it. I've left a lot of comments in the technical drawings section, which you can check below, or check all of it in the technical drawings directory!


These are the same principles I tried to keep when I designed the gimbal for the Raspberry Pi HQ Camera using the popular SG90 servo motors. Here, I used some pieces of rubber tubing to act as shock absorbers to at least try and remove some of the noise coming from the propellers while the drone is flying.


Hope you like the project and that it at least inspires you to make something similar. Feel free to write to me if you have any questions with the project itself!