![]()
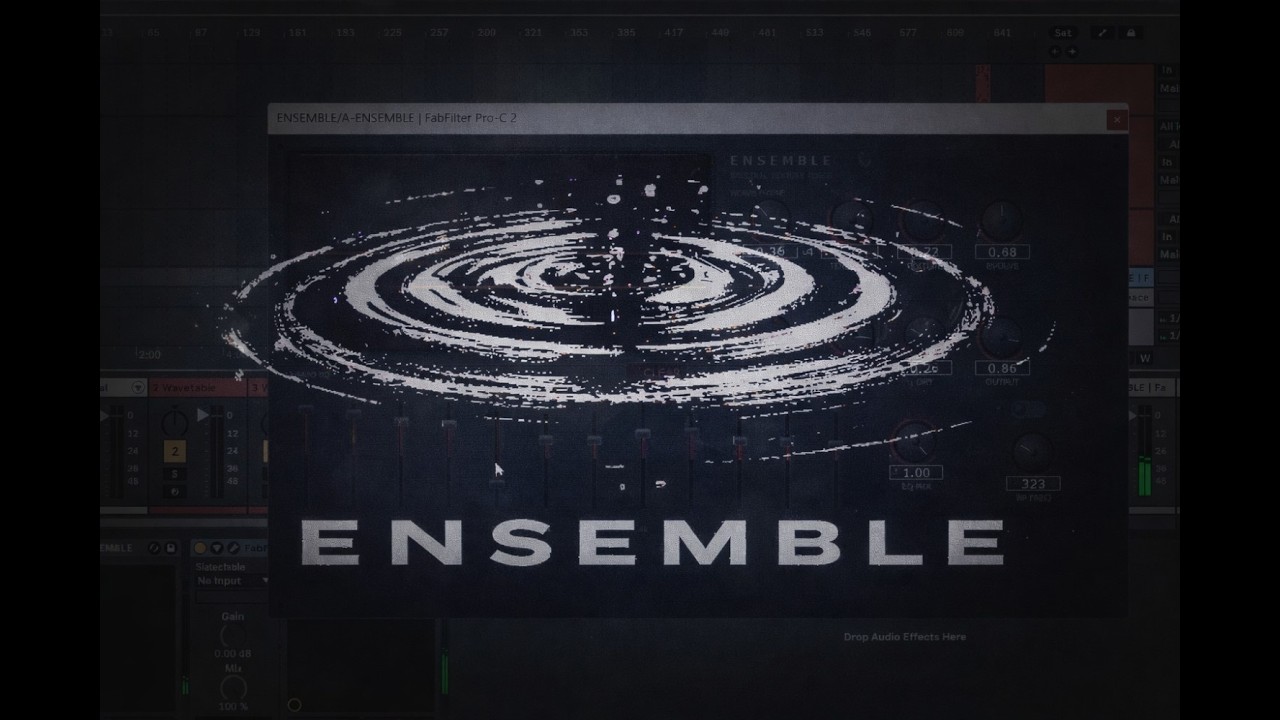
A spectral texture forge that transforms live audio into evolving, Penderecki-inspired orchestral swarms.
ENSEMBLE captures your audio into a circular buffer and continuously re-reads it through 8 voices with golden-ratio panning, incommensurate LFOs, and dual MASS/DUST grain layers; producing dense, breathing textures from any input.

Download the latest release for your platform from the Releases page.
Windows: Copy the ENSEMBLE.vst3 folder to C:\Program Files\Common Files\VST3\
macOS: Copy ENSEMBLE.vst3 to ~/Library/Audio/Plug-Ins/VST3/
Rescan plugins in your DAW. ENSEMBLE appears as an audio effect.
- Place ENSEMBLE on an effects/send track or your master bus — it processes incoming audio, it's not an instrument.
- Feed audio into it: synths, guitar, vocals, samples, whatever. Play sounds one at a time and let the texture build between each.
- Dial in the parameters as it plays back to you. Start with defaults and experiment.
- Press CLEAR to wipe the buffer and start fresh whenever you want to erase the current audio playback.
- Feed sounds in one by one in real time. Let each sound layer into the texture before adding the next.
- Melodic and harmonic sources work best. Pads, guitars, vocals, strings, textural samples. Drums and percussion tend to produce harsh results.
- PERSIST controls how long audio stays in the buffer. Higher values build denser, more layered textures over time.
- BLEND shifts between pointillist stippling (left) and smeared bowing (right). Try automating it slowly.
- EVOLVE controls how much the texture moves on its own. High values create constant internal motion without any input.
- DRY mixes your original signal back in. Keep it low for pure texture, or bring it up for parallel processing.
- The 12-band EQ is for carving out mud or taming harsh frequencies in the texture.
- The bandpass filter (toggle on, then sweep the frequency) can isolate a specific range of the texture for focused, narrow sounds.
-
Delete your old build folder:
rmdir /S /Q C:\ensemble-vst\build -
Replace the
Sourcefolder inC:\ensemble-vst\with the newSourcefolder from this download. Also replaceCMakeLists.txt. -
Make sure
C:\ensemble-vst\CMakeLists.txthas this line:set(JUCE_DIR "C:/JUCE" CACHE PATH "Path to JUCE framework")
[REPLACE: set(JUCE_DIR "/home/claude/juce" CACHE PATH "Path to JUCE framework") WITH: set(JUCE_DIR "C:/JUCE" CACHE PATH "Path to JUCE framework")]
-
Open Developer Command Prompt for VS 2026 and run:
cd C:\ensemble-vst mkdir build cd build cmake .. -G "Visual Studio 18 2026" -A x64 cmake --build . --config Release -
Install:
xcopy /E /I "C:\ensemble-vst\build\Ensemble_artefacts\Release\VST3\ENSEMBLE.vst3" "C:\Program Files\Common Files\VST3\ENSEMBLE.vst3" -
Rescan plugins in your DAW.
-
Install Xcode command line tools:
xcode-select --install -
Install CMake:
brew install cmake -
Clone JUCE (if you haven't):
git clone --depth 1 --branch 8.0.4 https://github.com/juce-framework/JUCE.git ~/juce -
Extract
ensemble-vst-plugin.tar.gzand edit CMakeLists.txt:set(JUCE_DIR "$ENV{HOME}/juce" CACHE PATH "Path to JUCE framework") -
Build:
cd ensemble-vst mkdir build && cd build cmake .. -DCMAKE_BUILD_TYPE=Release cmake --build . --config Release -
Install:
cp -r Ensemble_artefacts/Release/VST3/ENSEMBLE.vst3 ~/Library/Audio/Plug-Ins/VST3/
- BLEND: Left = pointillist stippling (DUST), Right = smeared bowing (MASS)
- TENSION: Metallic string resonance / comb filter stress
- TEXTURE: How loud the weave texture is
- EVOLVE: How much the texture moves on its own (LFO depth)
- PERSIST: Buffer feedback (0.5–0.99). Higher = denser layering over time
- INPUT: Input level going into the capture buffer
- DRY: Pass-through of your original dry signal
- OUTPUT: Master output level
- Vertical sliders: boost/cut each frequency band (±12 dB)
- EQ MIX: Wet/dry for the EQ (0 = EQ bypassed)
- FILTER: Sweep from Low Pass → Band Pass → High Pass
- CUTOFF: Filter frequency. When maxed out, filter is bypassed
- CLEAR button: Wipes all buffers and starts fresh
- Press CLEAR to reset buffers and start over
- Drums don't work well — this is oriented toward melodic, harmonic, and textural sounds
- Best use case: put ENSEMBLE on your master bus or send fx bus and feed multiple sounds into it one by one
- Start with default settings, play something, and let the texture build
- Use PERSIST to control how dense the texture gets over time
- Turn DRY up if you want to hear your original signal mixed in
- The Processing Lab knobs all start at 0 (off), the core engine is the weave + grains
See BUILD.md for full instructions. Requires JUCE 8.0.4 and a C++ compiler (Visual Studio 2022+ on Windows, Xcode on macOS).