Django with Admin-LTE was developed by Duvan Mejia, with the documentation available on docs.djangoproject.com. Django administration page provides you admin crud for students (In this case for USCO students), that can be used in your django projects.


Documentation | Examples | Support | Changelog
This package officially supports all currently supported versions of Python/Django:
| Python | 2.7 | 3.3 | 3.4 | 3.5 | 3.6 |
|---|---|---|---|---|---|
| Django 1.7 | ❌ | ❌ | ❌ | ❌ | ❌ |
| Django 1.8 | ✅ | ✅ | ✅ | ✅ | 🔵 |
| Django 1.9 | ✅ | ❌ | ✅ | ✅ | 🔵 |
| Django 1.10 | ✅ | ❌ | ✅ | ✅ | 🔵 |
| Django 1.11 | ✅ | ❌ | ✅ | ✅ | ❌ |
| Django 2.0 | ❌ | ❌ | ✅ | ✅ | ❌ |
| Django master | ❌ | ❌ | ❌ | ❌ | ❌ |
| Key | |
|---|---|
| ✅ | Officially supported, tested, and passing |
| 🔵 | Tested and passing, but not officially supported |
| 🔳 | Not officially supported, may break at any time, most tests passing |
| ❌ | Known incompatibilities |
Authored by Duvan Mejia.
- Python 2.7
- Django 1.11
Clone this repository into your project:
git clone https://github.com/DuvanSGF/Django-with-Admin-LTE.gitDownload the zip file and unpack it:
wget https://github.com/DuvanSGF/Django-with-Admin-LTE/master.zip
unzip master.zip
pip install -r requirements.txt ./manage.py migrate ./manage.py runserver
You'll need to see the documentation If you not understand something. See that documentation for guidance.
You'll need to add estudiantes to INSTALLED_APPS in your projects settings.py file:
INSTALLED_APPS = (
    # ...
    'estudiantes',
    # ...
)These settings should be reviewed and set or modified BEFORE any migrations have been run.
After you have configured all migration settings, run
python manage.py migrate estudiantesthen
python manage.py makemigrations estudiantesThese settings should also be reviewed and set or modified before importing any data.
If you is here! Congrats only two steps more and it's ready!
I'm finding some bugs and I will fix.
-
Upgrade Django-with-Admin-LTE to Django 2.0 and Python 3.6.
-
Remove Smart-selects Module.
I'm working about that!
-
Install postgres, MySQL (In my case I have installed XAMPP).
-
Create
uscodatabase. -
Run the following command :
$ python manage.py createsuperuser Username: admin You will then be prompted for your desired email address: Email address: admin@example.com -
Run tests:
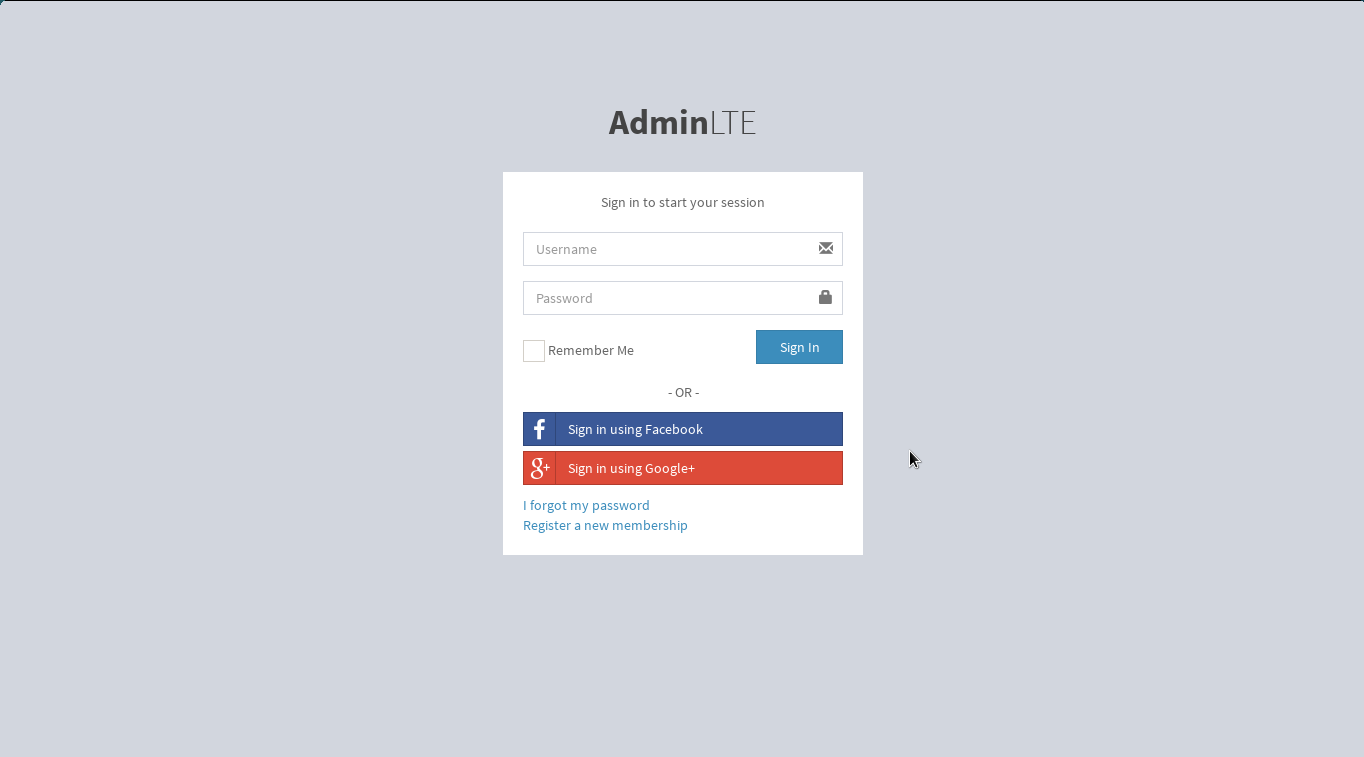
 $ python manage.py runserver

 Now, open a Web browser and go to “/admin/” on your local domain – e.g., http://127.0.0.1:8000/site/. You should see the admin’s login screen:
MIT, as the original project. See LICENSE.txt.