AppServiceDeploy
First verify that you have the appsettings.local.json in your solution. If you don't have it, please follow the following guidance to create it: Run Sample For The First Time.
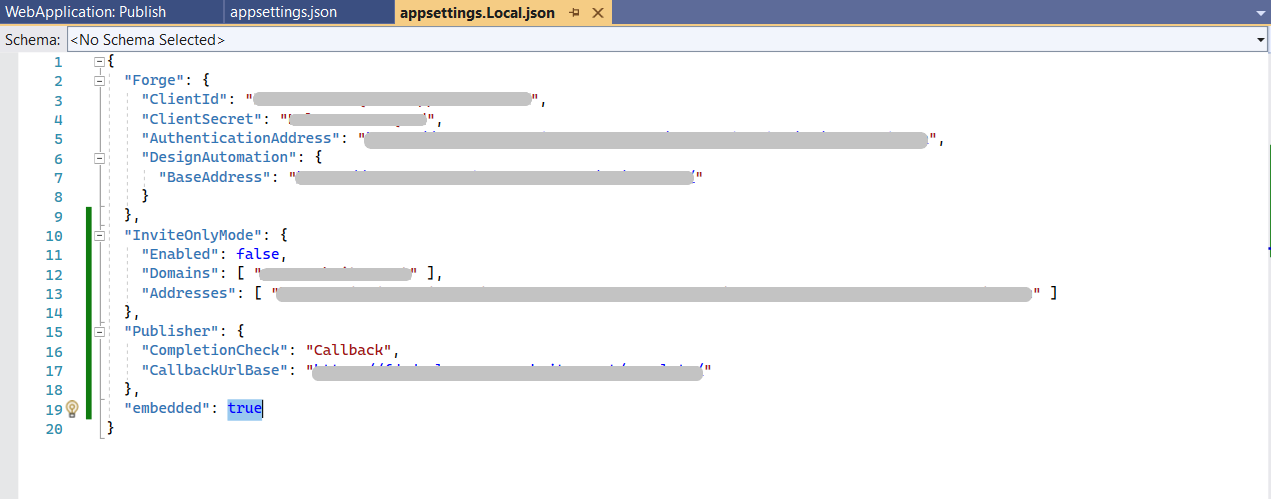
Prior to the deploy you would need to verify that you have specified following parameters in the appsettings.local.json file. In this example we will use the name of the application fdadeploy. You can change it to any other available name.
{
    "Publisher":
    {
       "CompletionCheck": "Callback",
       "CallbackUrlBase": "https://fdadeploy.azurewebsites.net/complete/"
    }

    "InviteOnlyMode":
    {
       "Enabled": false,
       "Domains": [ "autodesk.com" ],
       "Addresses": [ <your comma-separated email addresses> ]
    }

    "Forge":
    {
       "ClientId": <your client id>,
       "ClientSecret": <your client secret>,
       "AuthenticationAddress": "https://developer.api.autodesk.com/authentication/v1/authenticate",
       "DesignAutomation": {
       "BaseAddress": "https://developer.api.autodesk.com/da/us-east/"
    }
}
If you don't have your ClientId and ClientSecret, please refer to the following guidance to obtain them
-
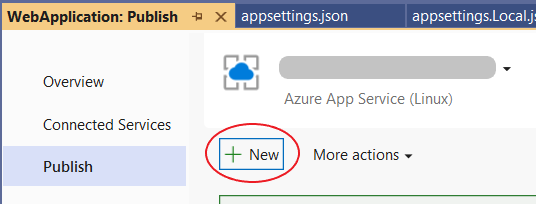
In Visual Studio right click on you WebApplication and select Publish
-
In the WebApplication: Publish window click New button
-
At the next screen select Azure as a target and then press Next
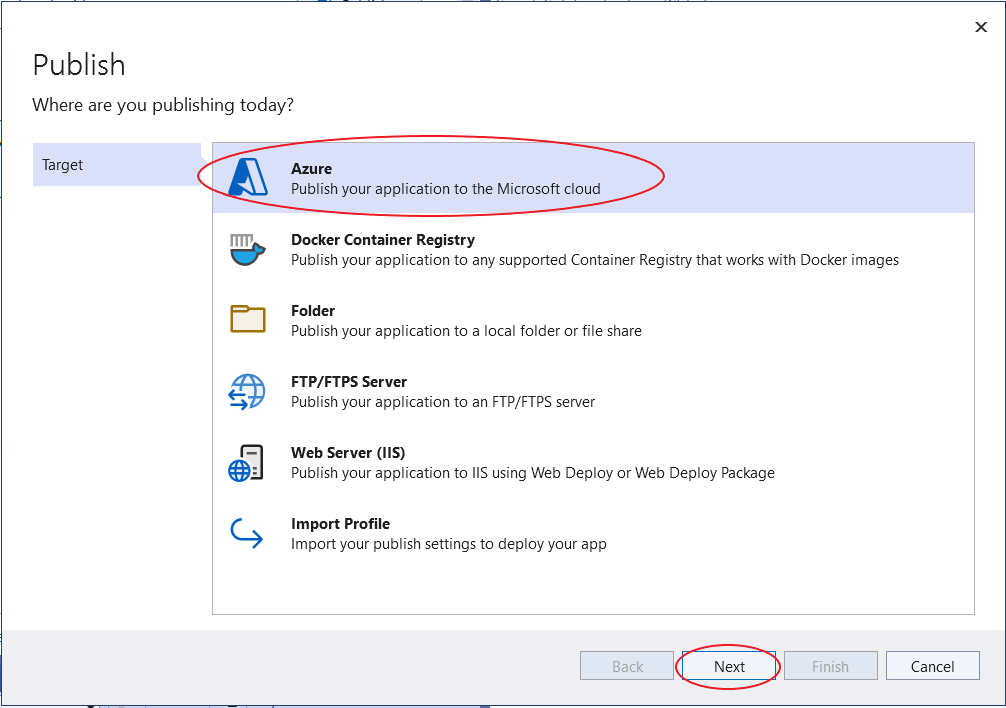
-
At the next screen, on the Specific target blade choose Azure App Service (Linux) and then press Next
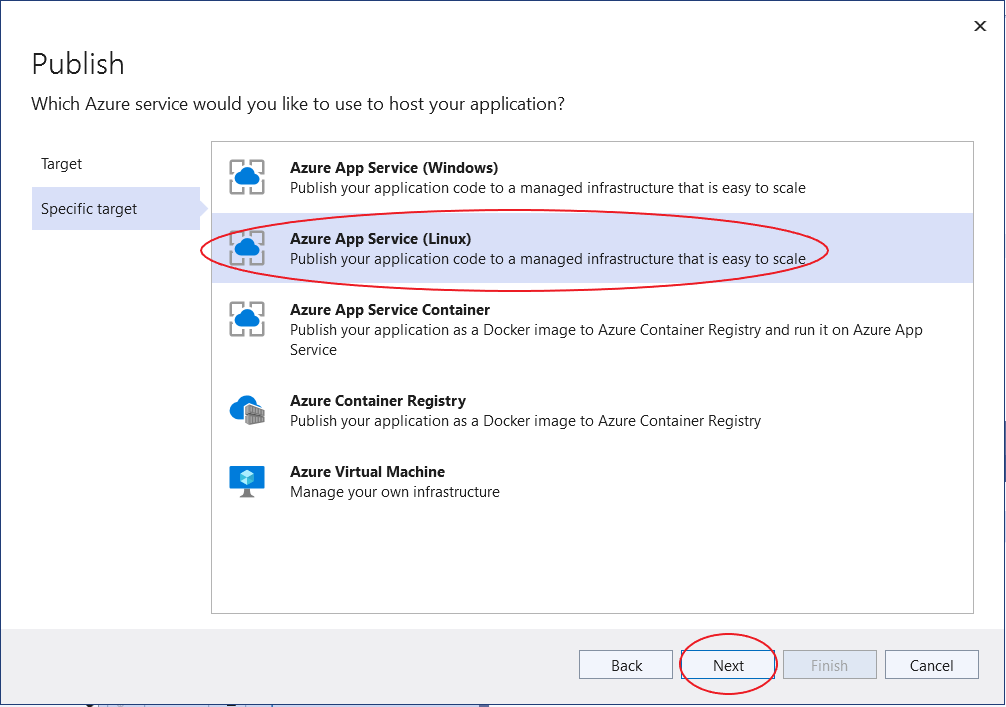
-
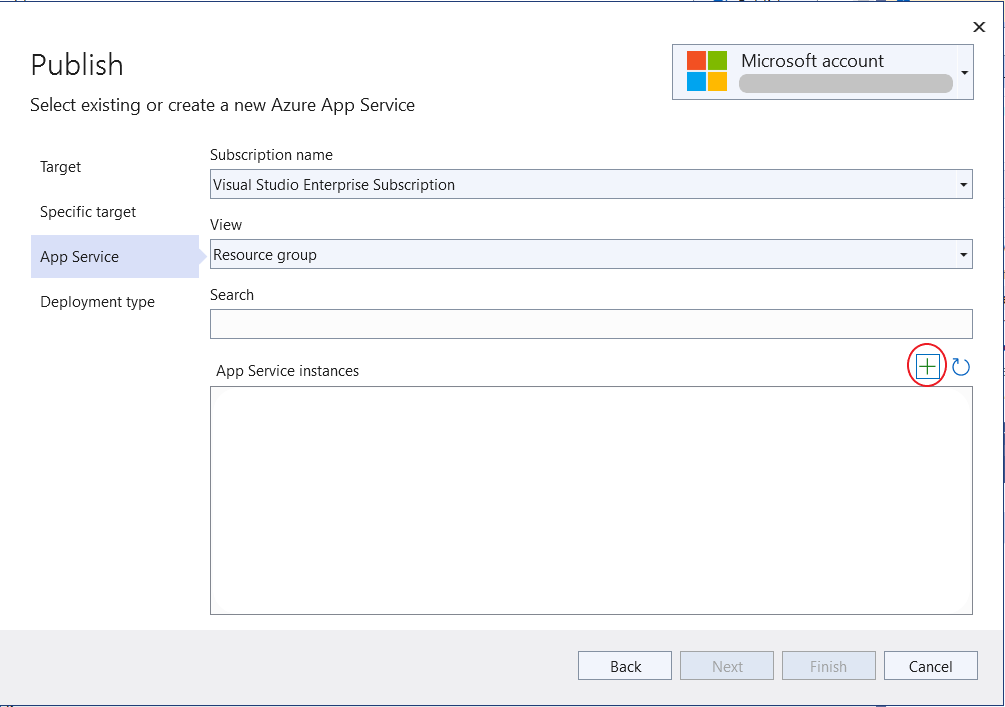
If you are doing a deploy to an already existing service application then skip this step. Else click '+' button
-
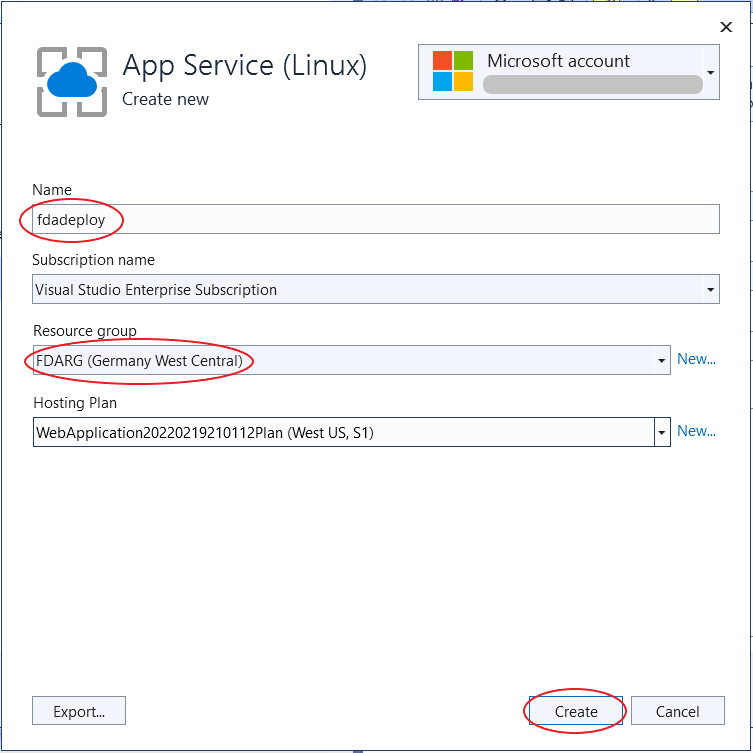
If you are doing a deploy to an already existing service application then skip this step. Else specify the Name of your application and the Resource Group name. Note that the name of your application must be the same as in your CallbackUrlBase. E.g. if your CallbackUrlBase is https://fdadeploy.azurewebsites.net/complete/ then your application Name must be fdadeploy. Press the Create button
-
In the Forge App at the Callback URL(s) section set the callback url of your application, in this case https://fdadeploy.azurewebsites.net/complete/
-
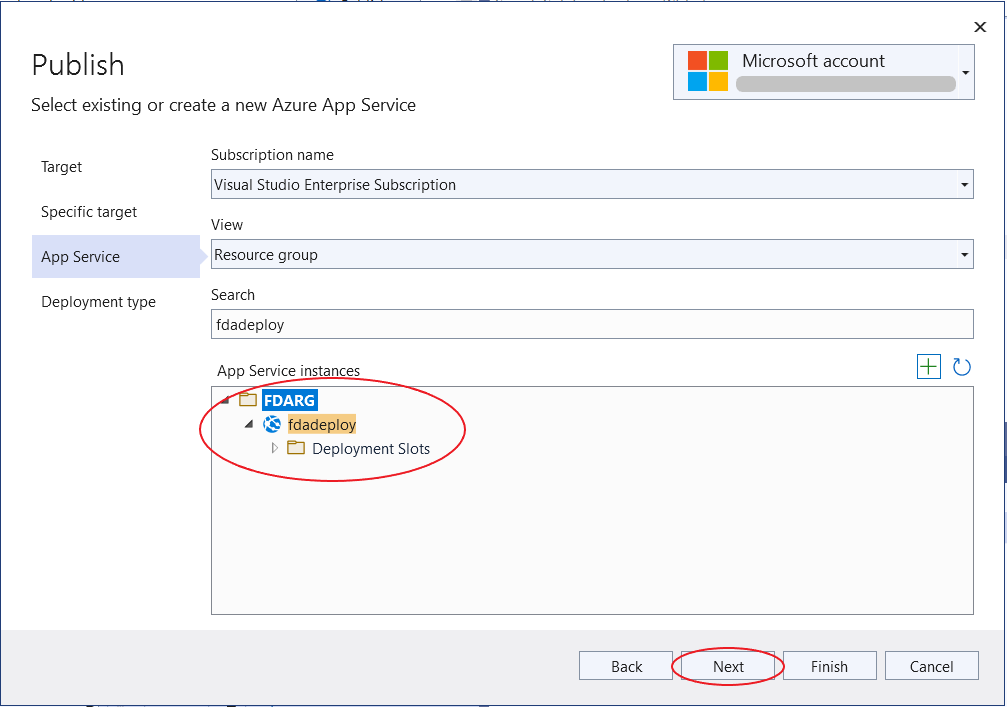
At the next screen select your App Service instance and press Next
-
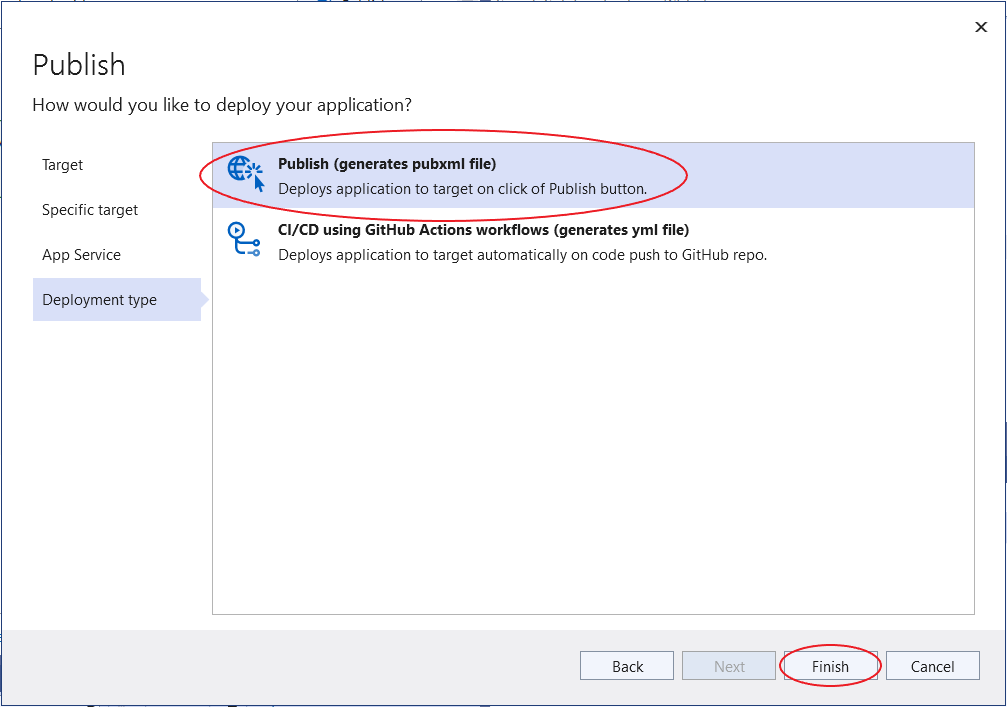
At the next screen select Publish (generates pubxml file) and press Finish
-
At the next screen press Publish button
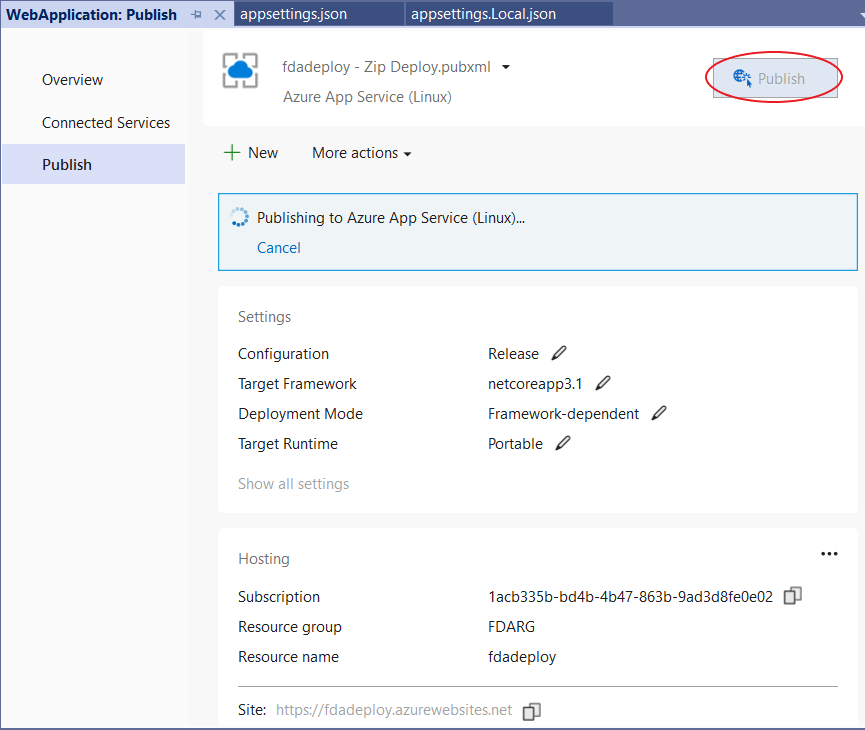
-
Your application is now fully deployed and functioning
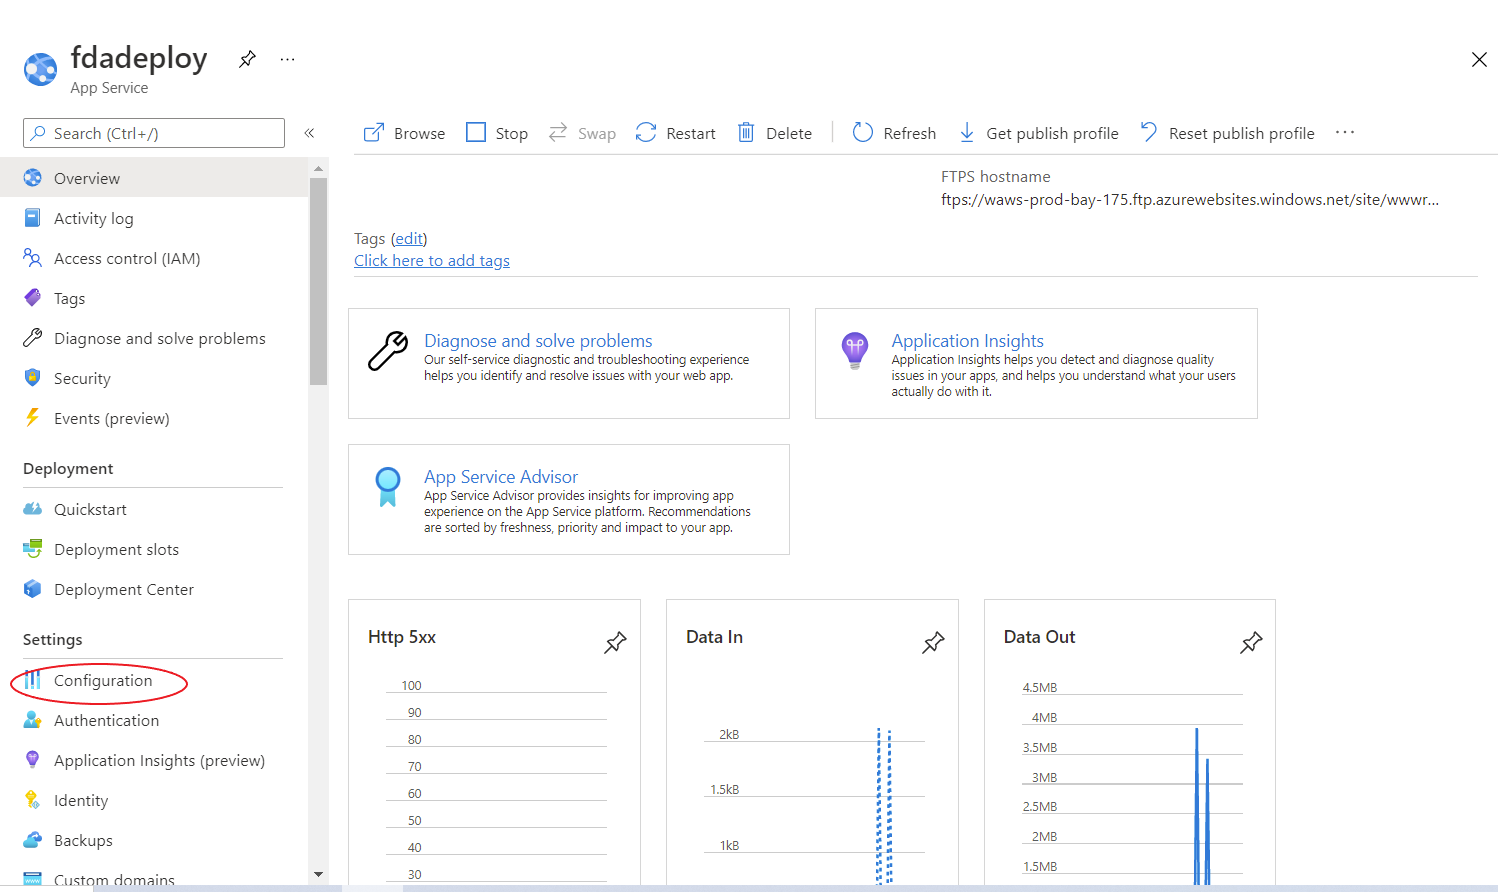
In case you want to change application settings without doing a re-deploy from the Visual Studio you might want to set parameters by using the environment variables. In this case you can override appsettings.local.json in the Azure portal and on any change your deployed application will restart, read the properties set and apply them immediately. Example of setting environment variables to override parameters set in the appsettings.local.json is shown below
-
Note what parameters you want to move from the appsettings.local.json
-
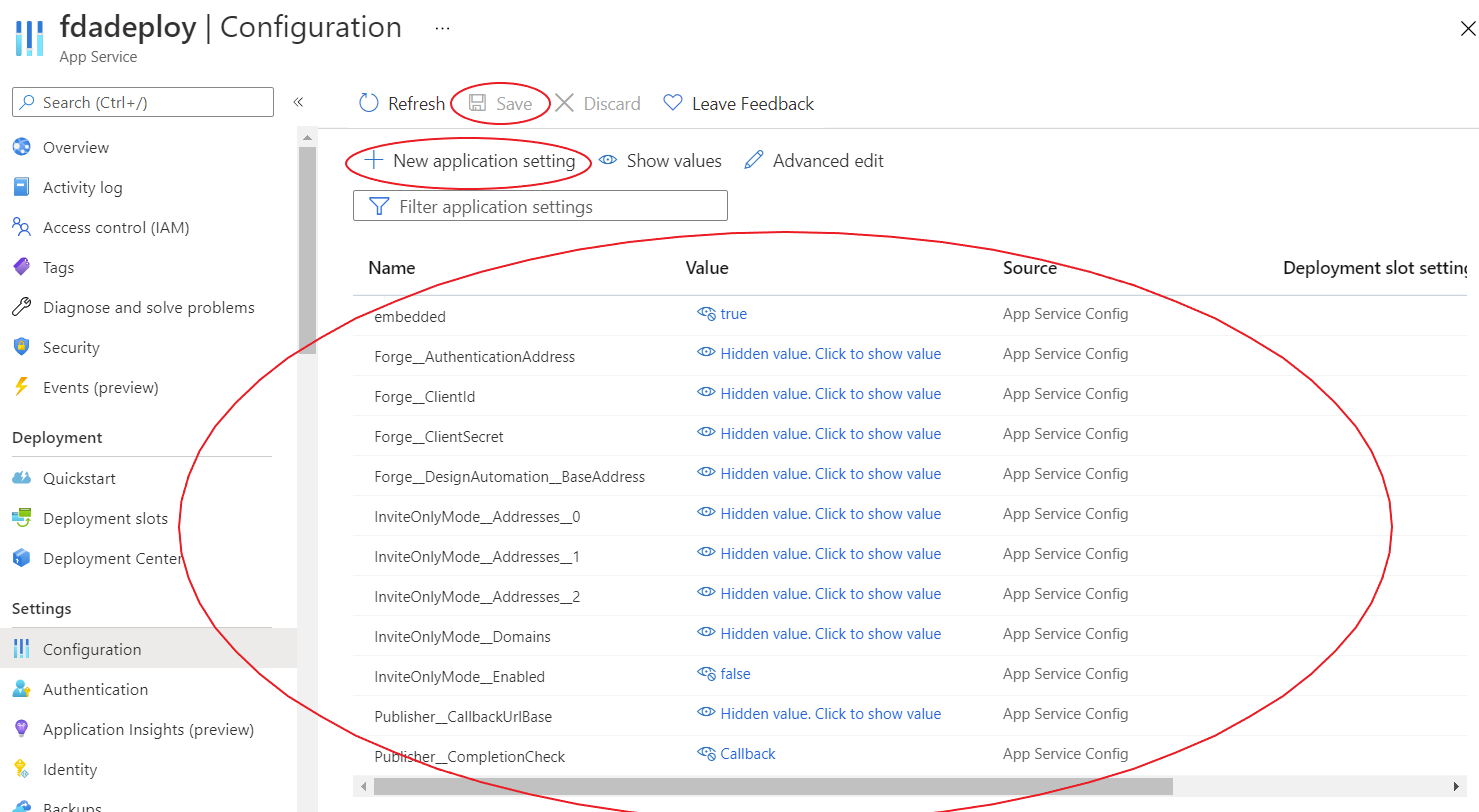
In Azure portal go to the Configuration blade
-
Name the variables as shown below and save the configuration
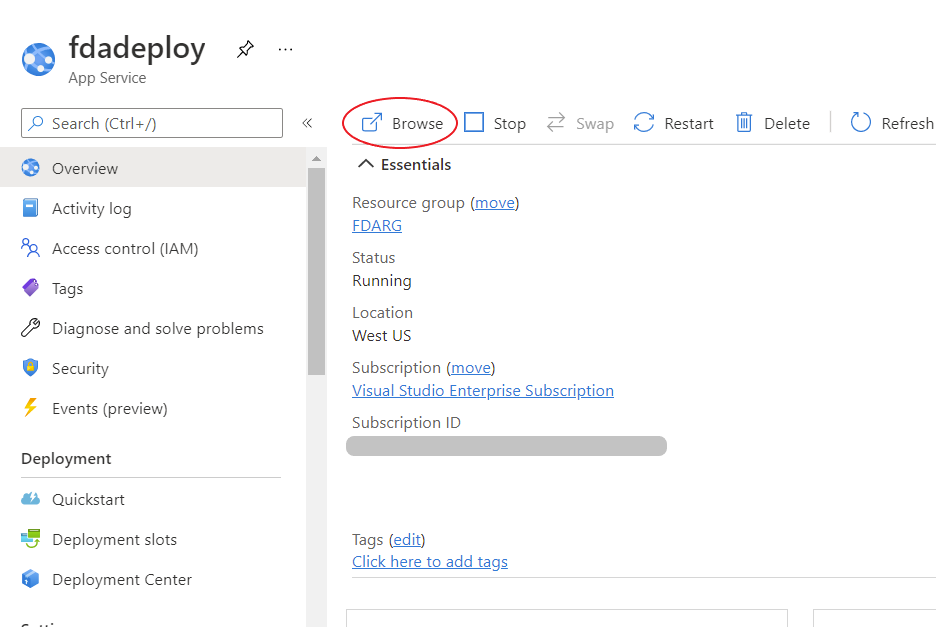
-
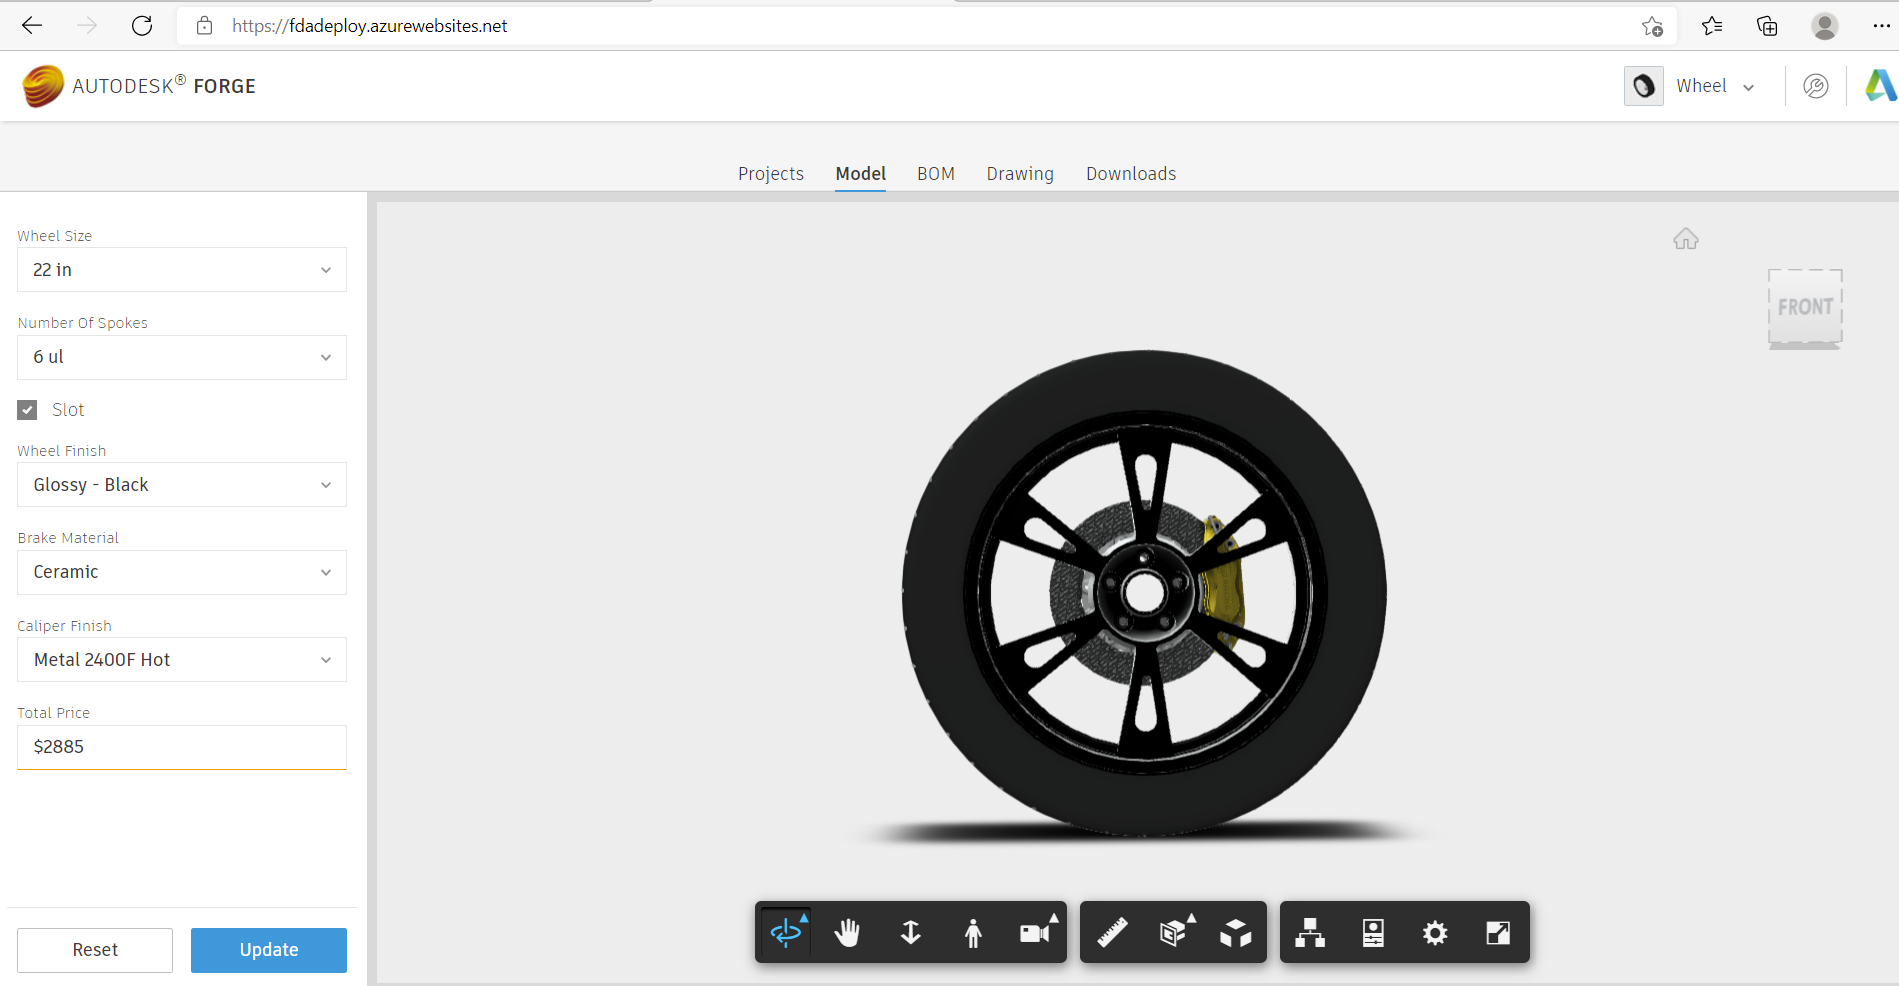
Browse the application