The Alfred-based Quick Switcher is basically an enhanced version of Obsidian's Quick Switcher Core Plugin.

- How the Search works
- Main Search
- Browse Links of a Note
- Search Notes by their Tags
- Search Bookmarked Files
- Search Recent Files
- Search for Attachments
- Extra Features
All the search features listed here do not directly search your vault, but rather use the metadata created by the Metadata Extractor Plugin on a regular basis. By default, this happens every 30 minutes, meaning recently created notes, recently renamed notes, or recent tag changes are not picked up at once. You can change the metadata refresh rate via the Metadata Extractor Plugin's settings.
o: Open files in your vault.
This keyword searches all your notes, aliases, folders, and headings combined.
This works similar to Obsidian's built-in Quick Switcher, but can be triggered without Obsidian running (in which case it opens Obsidian with the selected note). Press ↵ to open the selected file in Obsidian.
⌘ + ↵: Open the file in a new tab (requires Obsidian 0.16).⌥ + ↵: Reveal the file in Finder.fn + ↵: Append the content to the selected note.⌃ + ↵: Copy the Obsidian-URI to the selected file.⇧ + ↵: Browse a list of all links of the selected note (outgoing links, backlinks, external links.) See at the section "Browse Links" below for further information.- Press
⇧or⌘ yto preview the selected note via macOS' Quick Look feature. Press⇧or⌘ yagain to close the preview. This feature requires QLMarkdown or Peek being installed. - 💡 The
o-search respects theExcluded Filessetting from Obsidian and ignore files and folders added there. (Regex-Filters do not work properly though.) - ℹ️ There are various settings for appending and opening notes, which can be found in the workflow configuration.
- Add
filenameortitleto your search query, to display only files and no aliases, folders, or headings. For example,o obsidian filenamedisplays only notes that have theobsidianin their filename. - Add
canvasto your search to only display canvases (Obsidian 1.1). - Similarly, you can also filter for starred or recent files by adding
starredorrecentto your query. - You can add
#tagto your search query to search only for files with a specific tag, for example,o foobar #moconly displays notes with the namefoobarthat are also tagged with#moc.
This command also looks for aliases, when they are defined in the YAML-Header.
- Add
aliasto your search query, to only display aliases, for example,o obsidian aliasonly displays notes that have the aliasobsidian.
When selecting a folder, you "browse" the selected folder—this means that you are now searching only for files and folders inside that folder.
- When browsing a folder, you also have the option to create a new note in that folder. Uses the template note defined with the setting
template_note_path. - Furthermore, you can go up and browse the parent folder of the current folder. Basically, you can fully explore the folder structure of your vault via Alfred.
- Add
folderto your search query, to only display folders, for example,o foobar folderonly displays folder that havefoobarin their name. - When you are browsing inside a folder, use the query
..or thenewto quickly access the item for going up to the parent folder or creating a new note in that folder, respectively.
Displayed alongside the other search results are all headings in your vault. Selecting a heading with ↵ opens the file at the respective heading.
⌃ + ↵: Copies either a Markdown link that uses the Obsidian URI or the wikilink to the selected file, depending on the setting. Also work with headings.- Add
headingto your search query, to only display headings, for example,o foobar headingonly displays headings that includefoobar. - Add
h1,h2, … to your search query, to only display headings of a certain level, for example,o obsidian h2only displays level 2 headings that includeobsidian. - You can ignore certain (or all) heading levels with the respective workflow configuration.
- 💡 Recommendation: Add more heading levels to
h_lvl_ignoreif your search results become too crowded.
ol: Browse links of the current note
OR use ⇧ + ↵ on any search result of the main o search to browse the links of that note
- Displays a list of all links of the note: outgoing links, backlinks, and external links. (As of now, unresolved internal links are not displayed though.)
- Selecting an outgoing link or backlink opens the respective note.
- All the modifiers (
⌘/⌃/⌥/fn/⇧ + ↵) apply the same way as with the mainosearch. - Yes, this means you can repeatedly use
⇧ + ↵to basically traverse your graph via Alfred. 😎
- All the modifiers (
- for external links:
- Selecting an external link with
↵opens the link in the default browser. - Press
⌥ + ↵on an external link to copy the URL to the clipboard instead.
- Selecting an external link with
ot: Search tags and subsequently files with that tag
- Display and search a full list of all tags in your vault.
- Select a tag with
↵to display & search all notes with that tag. - In the following list of your notes, all the modifiers (
⌘/⌃/⌥/fn/⇧ + ↵) apply the same way as they do with theosearch. - Press
⌘ + ↵instead to open Obsidian's search pane and search for the tag there.
- Select a tag with
- Use the workflow configuration to set whether nested tags should be merged with their parent or not.
ob: Search bookmarked Files and Searches
- When you select a starred file, all the modifiers (
⌘/⌃/⌥/fn/⇧ + ↵) apply the same way as with the mainosearch. - If you select a starred search, Obsidian opens the search pane with the respective query.
- This feature requires the Bookmark core plugin being enabled.
or: Open recent Files
- All the modifiers (
⌘/⌃/⌥/fn/⇧ + ↵) apply the same way as with the mainosearch. - Only the 10 most recent files are displayed.
oa: attachment Search
- Searches only for attachments (non-Markdown files) in your vault.
↵opens the selected files in your default app. (Obsidian itself is not opened.) - The modifiers
⌘/⌃/⌥ + ↵and the previewing (⇧or⌘y) work the same way as with the mainosearch. ⇧ + ↵, however, works differently: it opens the file in Obsidian, if Obsidian is able to open them. (If not, the file simply is opened in your default app.)
You can prepend or append icons to the results of any search based on the notes' tags, similar to the Supercharged Links Plugin.
-
To do so, you have to add a file containing your emojis to the workflow configuration
Supercharged Icons. -
Every line of the file should represent a pair of tag and emoji to be assigned, separated by
,. Use,,so that the emoji gets appended instead of prepended. -
Example:
 coding,💻
 person,👤
 seedling,,🌱
 pkm,🧠,💡
…will result in:
 💻 Filename1
 👤 Filename2
 Filename3 🌱
 🧠 Filename4 💡
When the "Privacy Mode" checkbox is enabled, all notes with the cssclass private are censored when performing a search. This setting is meant to be enabled temporarily, for example during screen-sharing.
The main search (o) can also be used as Fallback Search for Alfred, basically a search that shows up when any Alfred search has no result.
To avoid accidentally triggering the Quick Look feature, I suggest you turn off activating Quick Look via shift and use ⌘ + Y instead. You can do so with in the Alfred Settings under Features → Previews:

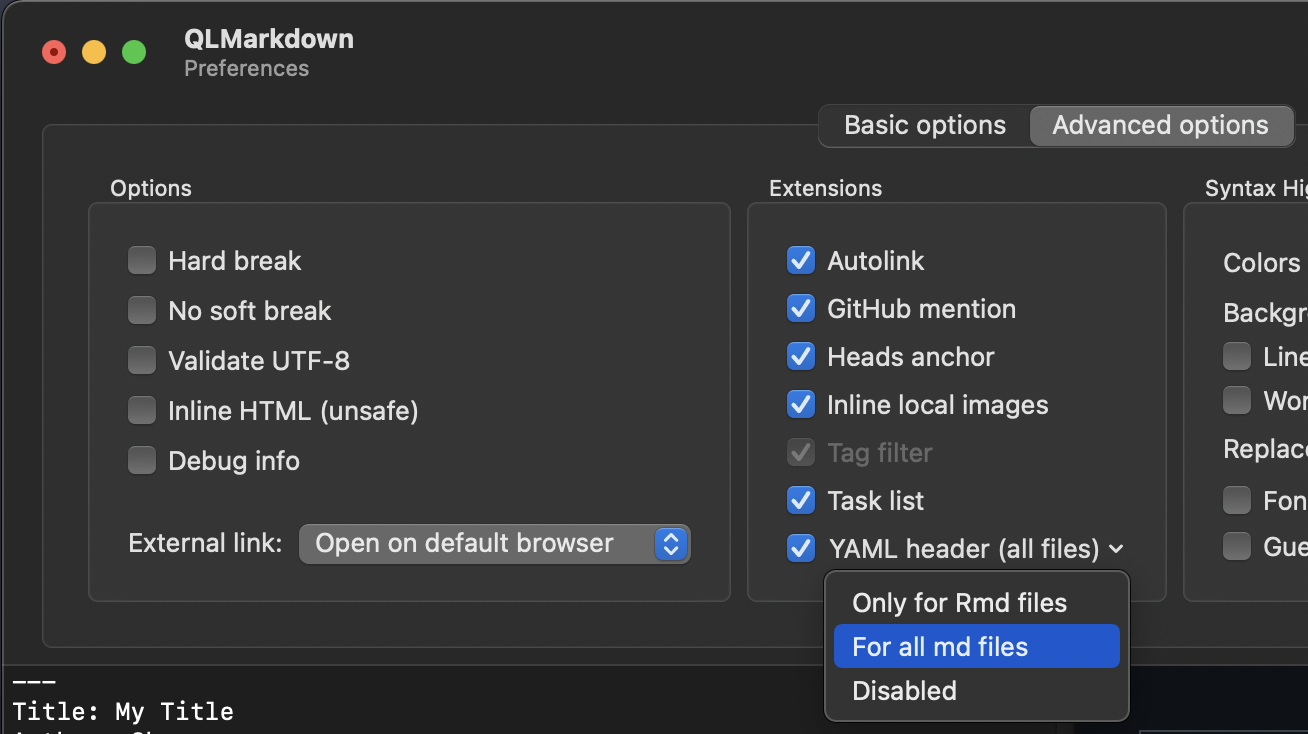
QLmarkdown and Peek both enable previewing of Markdown documents. Peek works with a wide range of other file types than Markdown, but costs around 5€. QLMarkdown is free, but only works for Markdown and requires some minor setup.