The design of the 3D printed parts has been done using Fusion 360. The document flip-clock.f3d contains the complete design, including the external electronic components.
For the internal parts of the Flip Digits, ABS filament has been used for enhanced mechanical robustness. Same for the bottom part of the cover itself.
| Internal view | External view |
|---|---|
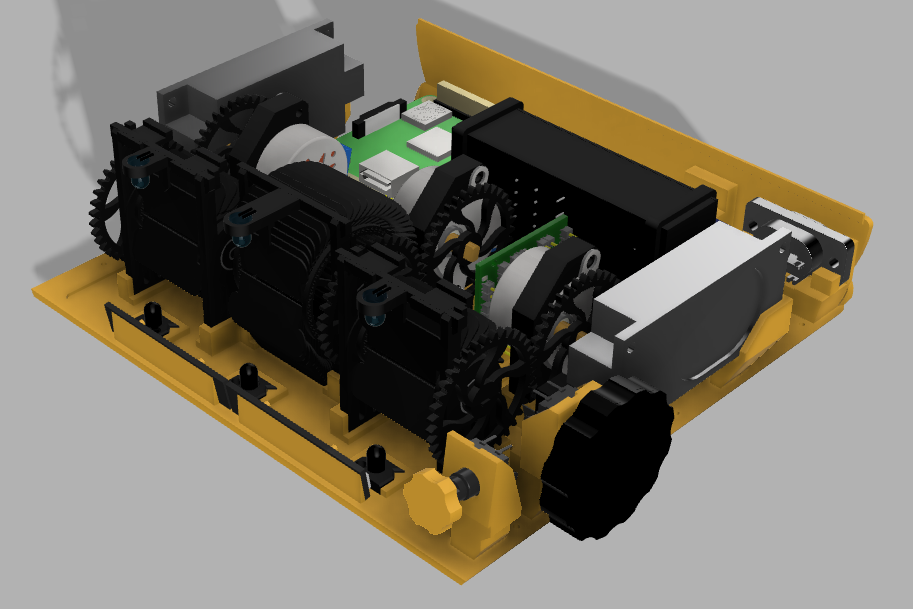 |
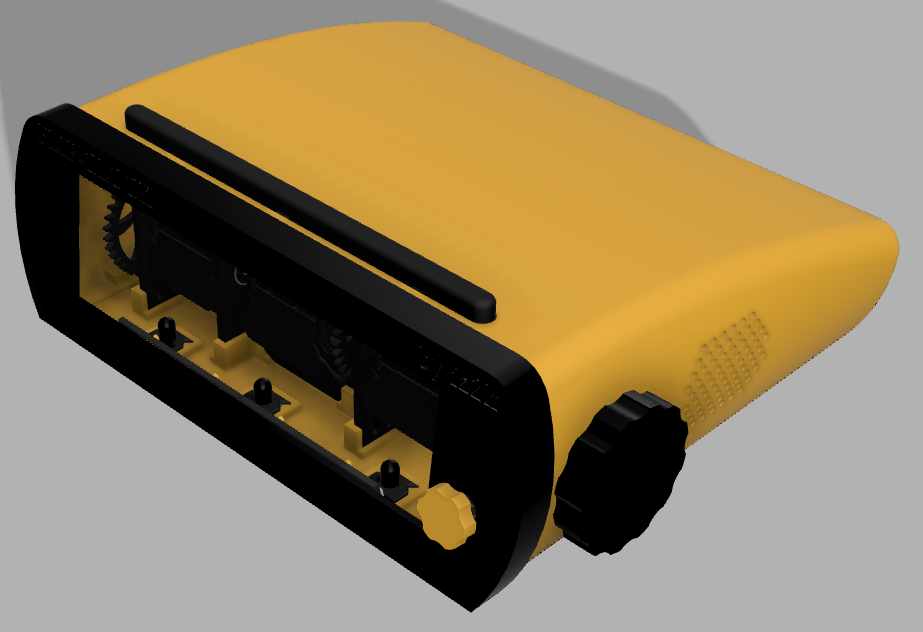 |
However, for the other parts of the cover, PLA filament has been used for ease of printing.
The most important part of the design are the flip digits. Those are composed by the support structure, axle with the gears, flap-holders and the flaps themselves. Additionally, the structure includes holders for th IR transmitter, IR receiver and the synchronization limit switch.
There are two different flap-holder sizes: one for 24 flaps, and another one for 60 flaps. The size of 24 is used for hours and weather flaps, whereas the size of 60 is for the minutes.

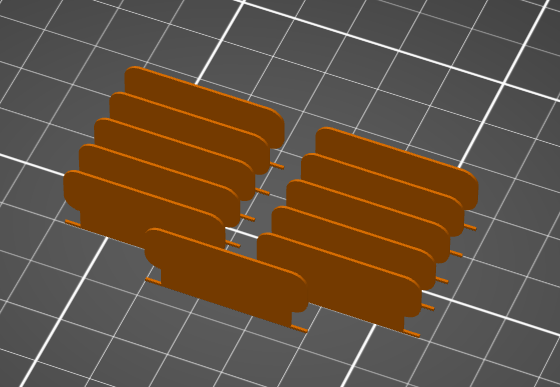
The flaps are quite tricky to print because of their thinness. I have found that using PLA filament and printing them in vertical position gets the best results. Note that the flaps for the 24 size flap-holders and the ones for the 60 size flap-holders are slightly different.
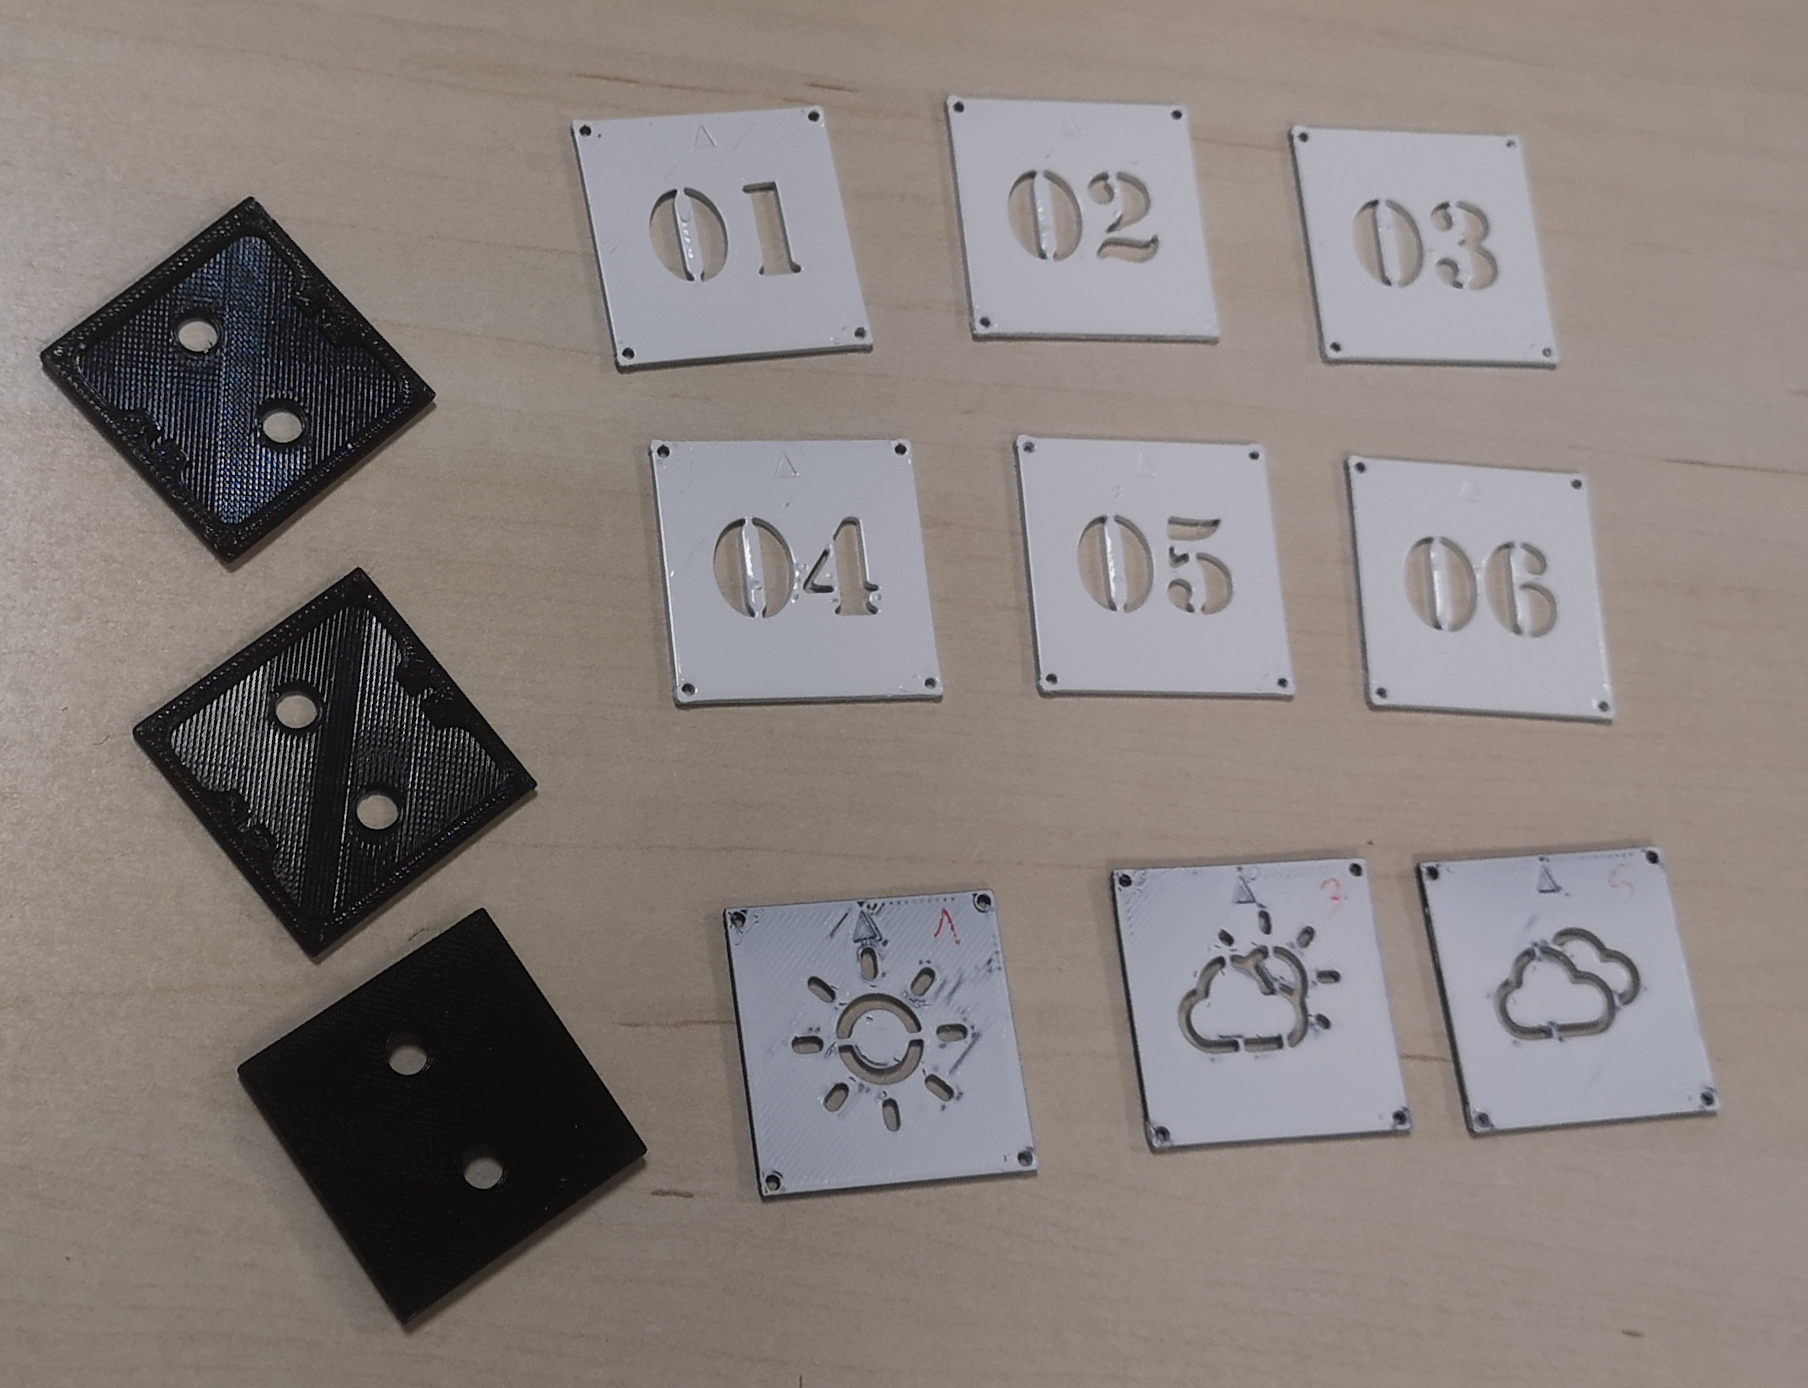
Once you get the flaps printed, it's time to add the content. In my case I have drawn the numbers and the weather icons using a white painting spray. In order to get good drawings, I have designed and printed the stencils, so that you have only to insert two flaps and spray them to get the desired drawing on them. The stencil parts are also included in the repositoyry, under the /3d/etc/stencil directory
As mentioned earlier, I found it easier to print the cover with PLA filament, but feel free to try other options. In this case, the most complicated part is the top cover. In my case, y got nice prints placing the cover in vertical position. aDDing some supports also helps.
The different parts of the cover should be tied together using standard M2*6 screws.