Getting Started
-
Download the newest version of pdParticles from the code tab.
-
Add pdParticles to the root directory of your project.
-
In your 'main.lua' file add:
import "CoreLibs/graphics"
import "coreLibs/object"
import "pdParticles"
To create a new particle create a variable using the ParticleCircle class. Also give it an x and y position somewhere on the screen
local p = ParticleCircle(200, 120)
You can modify all of the values with the functions detailed in the classes page.
to make all particles the same size use the setSize function with 1 argument: p:setSize(1)
To make your particles vary in size, still use the setSize function but with 2 arguments to give it a range: p:setSize(15, 25)
The particle mode decides whether the particle will disappear or stay until removed. By using the DECAY particle mode, particles will shrink rapidly until they disappear. p:setMode(Particles.modes.DECAY)
Finally I will set the speed the particles move at. This one can also take in a range. p:setSpeed(3, 7)
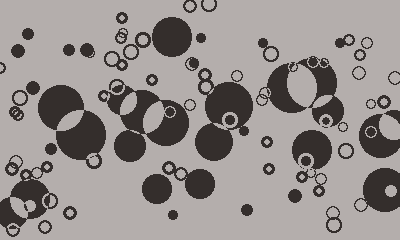
This will create an effect that looks something like this:

There is a lot more you can do with this library, currently only with circles but I hope to implement polygons soon.