- ► Discord: https://discord.gg/zwCDKnAKSw
- ► Mail: ognitorenks@gmail.com
- ► Site: https://ognitorenks.blospot.com
- Supported languages = English │ Turkish
- Türkçe açıklama: https://github.com/OgnitorenKs/EasyDism/blob/main/README-TR.md
All rights of the work belong to Hüseyin UZUNYAYLA. It is forbidden to develop, copy, change the content of the work. If you want to share the application on different platforms, you need to get permission from me.
- EasyDism works on x64 architectures of Windows 10 - 11 versions.
- Windows screen scaling setting may break Toolbox's window setting.
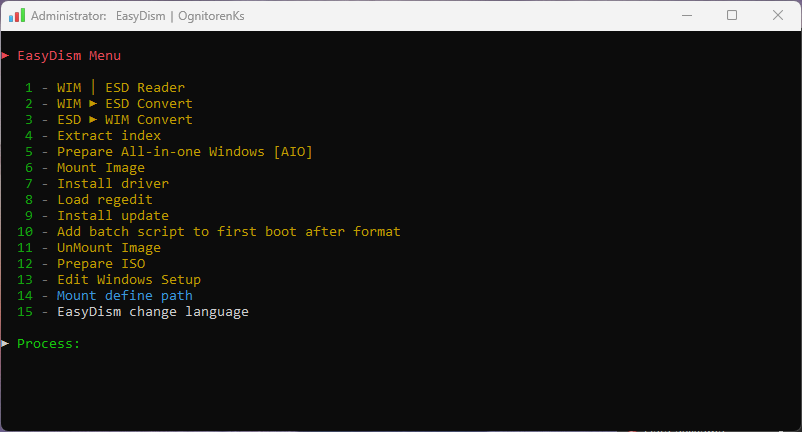
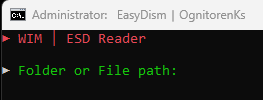
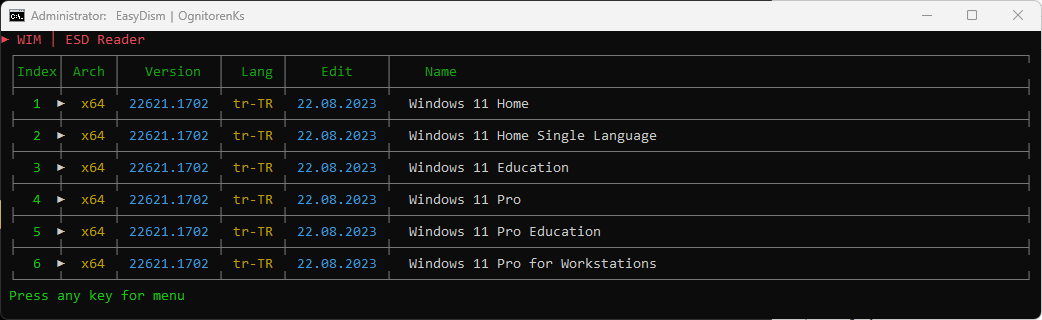
1 - WIM │ ESD Reader
In this section you can view the contents of 'install.wim', 'instal.esd' and 'boot.wim'.
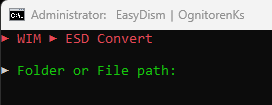
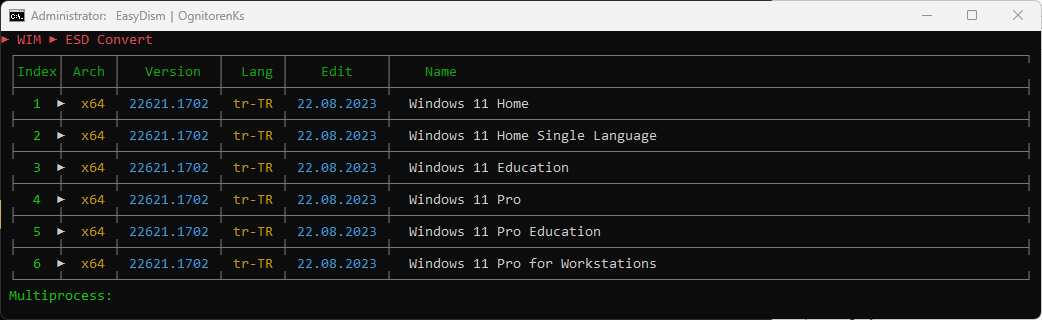
2 - WIM ► Convert ESD
- You can convert install.wim to install.esd.
- Esd conversion will compress install.wim considerably and reduce its size.

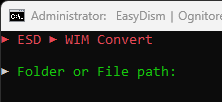
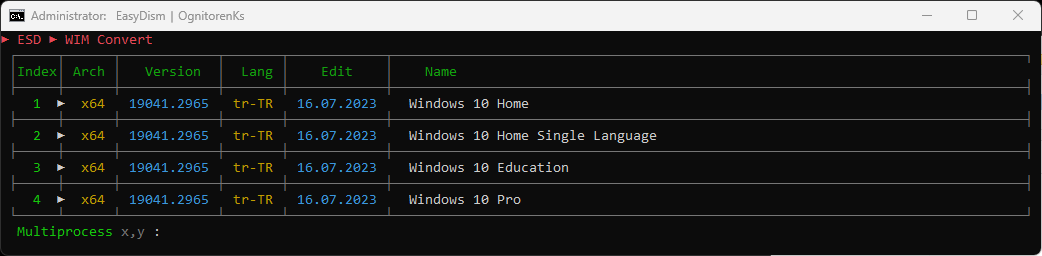
3 - ESD ► Convert WIM
- You can convert install.esd to install.wim.
- To reprocess install.esd files, they must first be converted to install.wim.

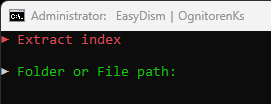
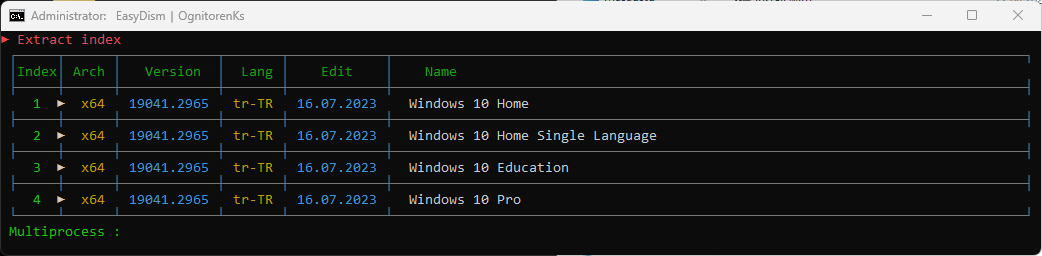
4 - Extract index
You can also use this section as an index eraser. Because the index deletion does not clean the junk files in install.wim, the size will not decrease. However, the 'index extractor' will not include junk files in the newly created install file, so if you have edited it before, the size will decrease.

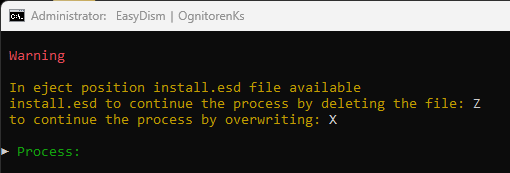
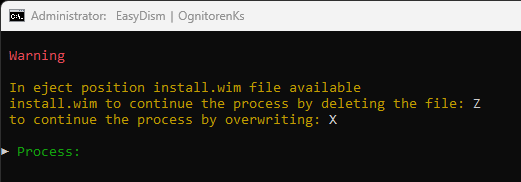
If you have already extracted in this section and you forgot to get your files from the EasyDism folder, it offers an option for new operations. In other words, if there is an install.wim/esd file in the Output folder, it will warn you according to your extraction process.
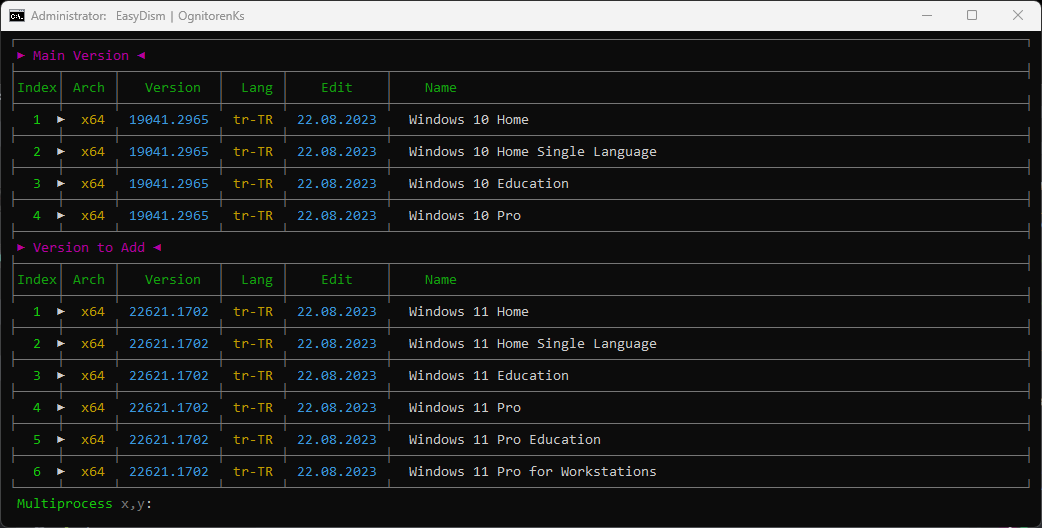
5 - Prepare All-in-one Windows [AIO]
It allows you to combine different versions of Windows into a single ISO. In other words, it allows you to create a single install.wim file with Windows 10 and Windows 11 versions together.


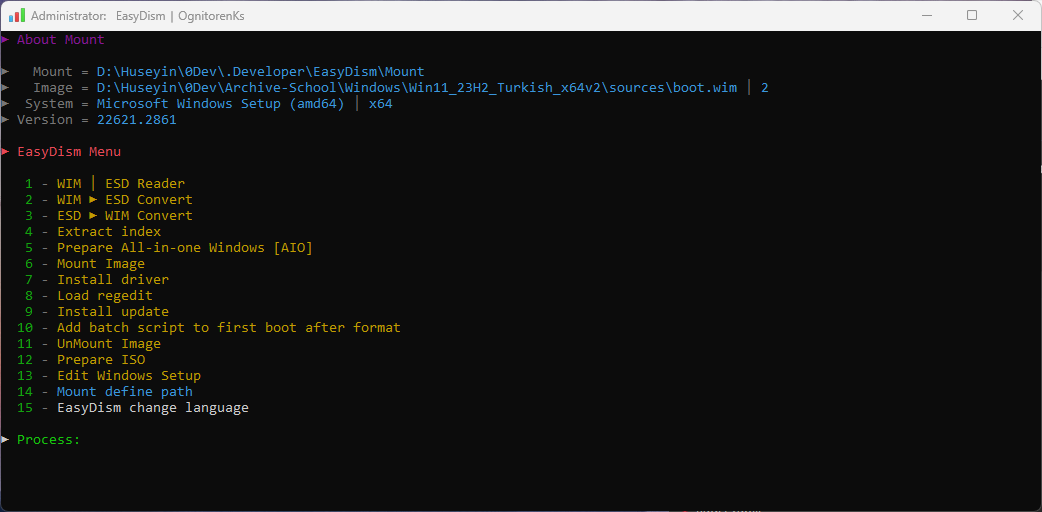
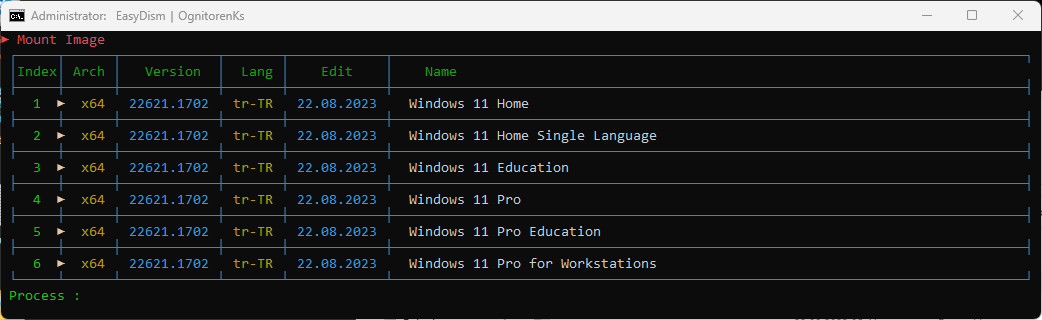
6 - Mount Image [Mount]
Allows you to extract the image file to the directory. You cannot extract more than one image. Once the image is defined, it writes information about its contents to the main menu.


7 - Install driver
Allows you to install drivers to indexed images. You can add the drivers you want to add in the 'Driver' folder in the installed directory of EasyDism. You can perform the installation process by clicking and running this section.
8 - Load regedit
It allows you to integrate regedit records into the image. Put the '.reg' files you want to install into the 'Regedit' folder in the installed directory of EasyDism. You can then run this section and start the integration process. You will not find such advanced regedit registry integration in any other application.
9 - Install update
It allows you to install updates into the mounted image. Put the update files you want to install into the 'Update' folder in the installed directory of EasyDism. You can then run this partition and perform the installation process. This section will also clean up the update trash files at the end of the process.
10 - Add batch script to first boot after format
A script file is added to the mounted image that will run on the first boot of the system. In this script file you can add the script files you want to run on first boot.
- You can add .bat .cmd .cmd .vbs .vbs .ps1 script files to this section. Open the directory where EasyDism is installed and put the files in the ".Script-AfterSetup" folder.
- You can add an unattended program and install it on first boot. Open the directory where EasyDism is installed and put the files in the ".Script-AfterSetup" folder. Add only unattended programs.
- You can add .reg files that need to be applied on first boot. Open the directory where EasyDism is installed and put the files in the ".Script-AfterSetup" folder.
- You can add files to the desktop. Open the directory where EasyDism is installed and put the files in the ".Desktop-AfterSetup" folder. It will not add empty folders. It will add to the desktop as "EasyDism_OgnitorenKs" folder.
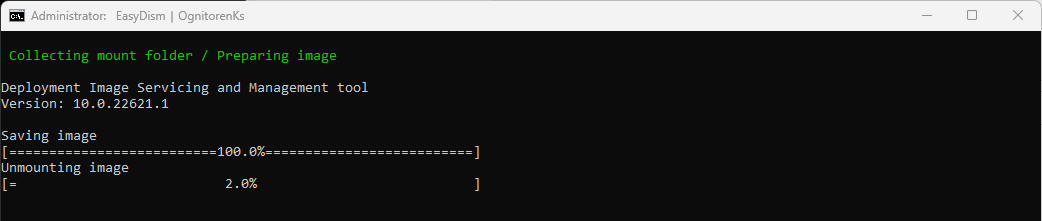
11 - Mount Image [UnMount]
It collects the mounted system and turns it into install.wim. After you make edits to the mounted image, the size of install.wim may increase instead of decreasing. This is because the components we removed remain as garbage files. When this section collects the mounted image, it first extracts the indexes to a separate directory and then rebuilds them. This will reduce the size as the junk files are deleted.
- After the collection process, the image information in the main menu will be removed.


12 - Prepare ISO
It allows you to prepare a suitable ISO for UEFI and Legacy BIOS installation. After the ISO is prepared, the folder where it was created will open. If there is an ISO with the same name that you have forgotten in your previous operations, it will warn you beforehand.


13 - Windows Setup düzenle
In this section, the “Windows Setup” section in the boot.wim file is edited. Here are the steps to be asked in order;
- "Add Lerup Launch bar and programs?" ► With this setting we add a WinPE application that functions like a start menu on the installation screen. It also includes utilities such as Explorer++, AOMEI Partition Assistan. If you accept the action, it will download the relevant files from the github repository and integrate them into boot.wim.
- "Integrate Windows 11 Bypass registers?" ► Windows 11 integrates bypass registers into boot.wim to bypass installation restrictions.
- "Should Setup area images be changed?" ► For this question to appear; you need to edit the "background.bmp", "spwizimg.dll", "setup.bmp" files and place them in the “Boot” folder in the directory where EasyDism is installed. Otherwise it will skip this section. For editing details, you can check the location on my blog page; https://ognitorenks.blogspot.com/2022/03/windows-setup-bolumu-nasl-duzenlenir.html
- "Install VMD drivers?" ► There are no integrated drivers in Windows for this feature developed for the new generation of Laptop devices, so the disks cannot be displayed during installation. To avoid this kind of problem, it integrates the drivers into boot.wim. If you accept the process, it will download and install the relevant drivers from the Github repository.
- "Collect mount directory?" ► will ask you if you want to save the changes and mount the mount directory if you are not going to make any other edits after the process is complete.
14 - Define mount path
In this section, if you have an image that you have previously mounted, you can select and define it and then you can operate on EasyDism. After the definition, the main menu will display information about the image.
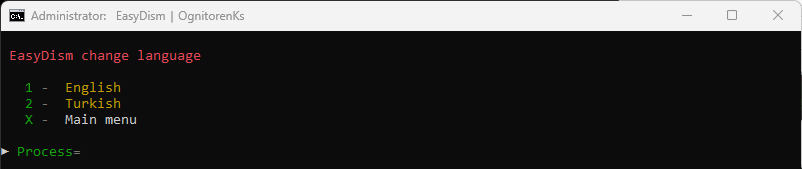
15 - EasyDism change language
At startup, the default system language is automatically selected. You can use this section if you want to change it.