Note: This project serves as a training exercise for myself in order to better understand the inner workings of Flutter and learn how to write custom Widgets, Elements and RenderObjects from scratch. As a result, the API might change heavily and I may not know about best practices or optimal solutions for many problems. So if you have any suggestions of improvement, please feel free to open an issue.
To use this plugin, add [flutter_gauges] as a dependency in your pubspec.yaml file.
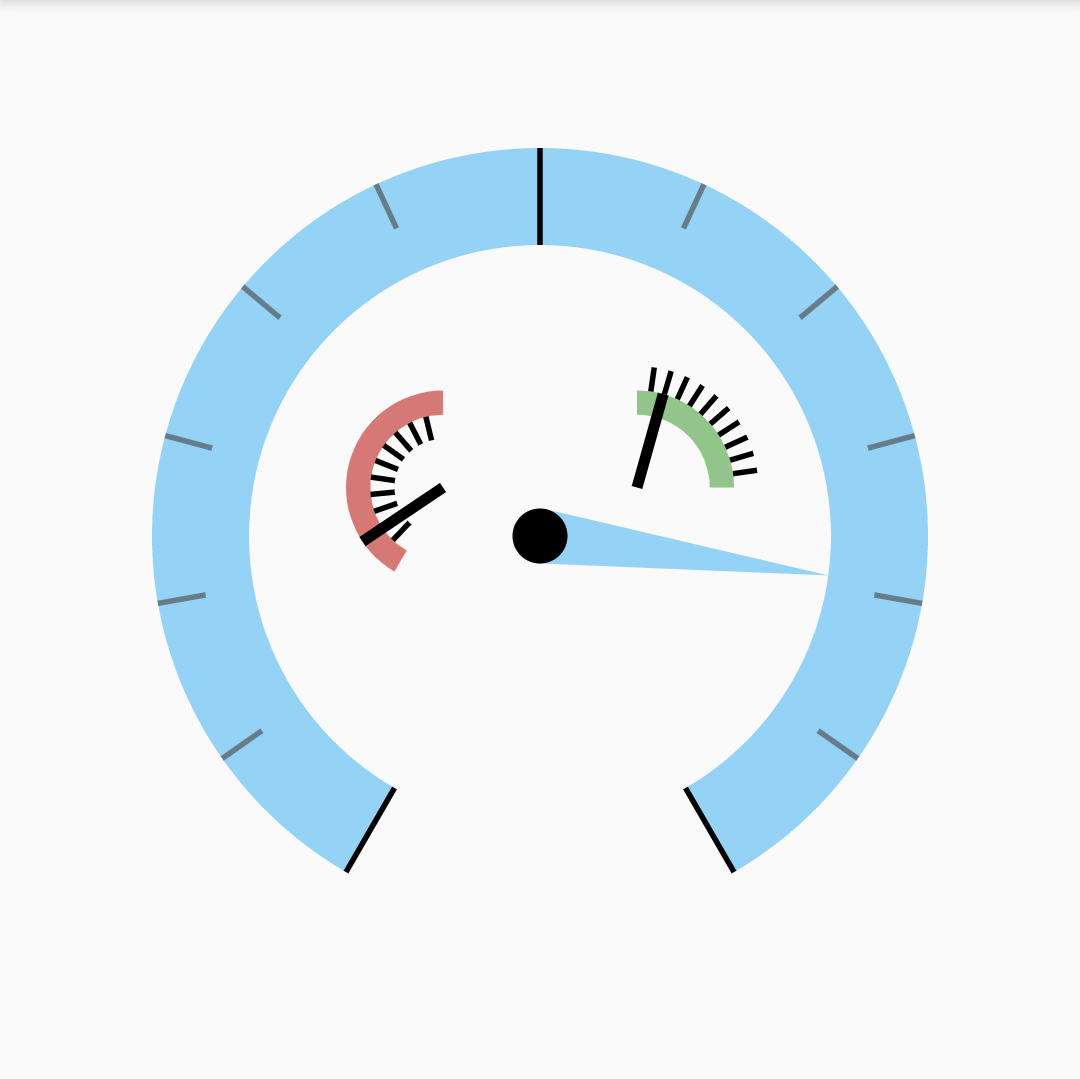
The basic widget for radial gauges is the RadialGauge. Multiple axes can be added. E. g. this is a gauge with three axes:
This is the basic structure of a RadialGauge. See the following sections for more info on each of them.
RadialGauge(
  axes: [
    RadialGaugeAxis(
        segments: [
            RadialGaugeSegment(),
            RadialGaugeSegment(),
            // ...
        ],
        pointers: [
            RadialNeedlePointer(),
            RadialNeedlePointer(),
            // ...
        ],
        ticks: [
            RadialTicks(
                children: [
                    RadialTick(),
                    RadialTick(),
                ],
            ),
            RadialTick(),
            // ...
    ),
    RadialGaugeAxis(
    ),
  ],
)An axes has a few important properties:
min: The minimum value of this axismax: The maximum value of this axisminAngle: The angle in degreesminis mapped tomaxAngle: The angle in degreesmaxis mapped toradius: The radius of the axes as a fraction of theRadialGauge's sizewidth: The width of the axes as a fraction of theRadialGauge's sizeoffset: The offset of the axes in respect to the middle of theRadialGaugecolor: The color of the axes (gradients are also available, see examples)
For more, take a look at the examples.
RadialGauge(
  axes: [
    RadialGaugeAxis(
      minValue: -100,
      maxValue: 100,
      minAngle: -150,
      maxAngle: 150,
      radius: 0.6,
      width: 0.2,
    ),
  ],
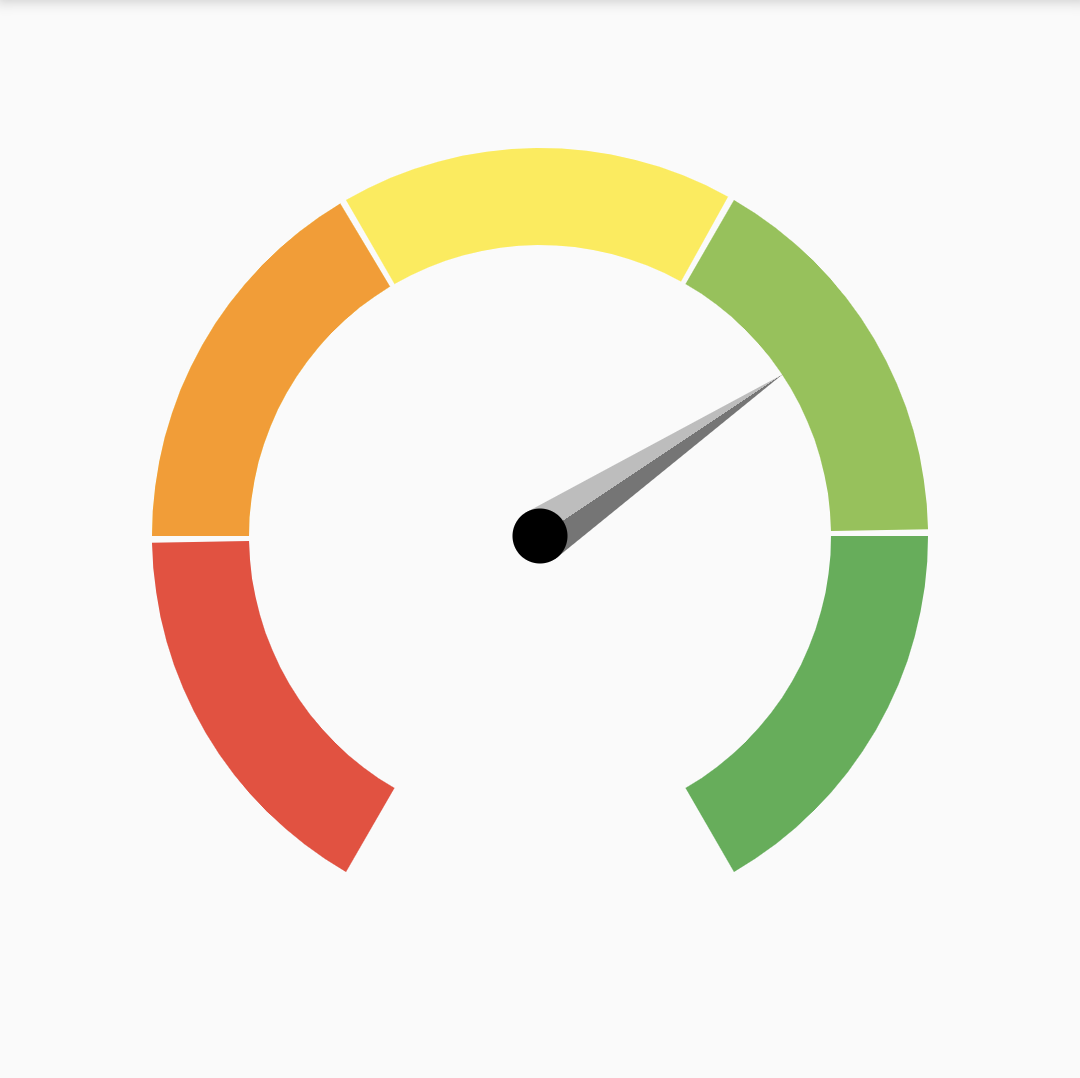
)Each axes can consist of multiple segments (it is, in fact, a segment itself). Each of the segments has a properties similiar to the RadialGaugeAxis. The segments are listed in the segments property of an axes:
RadialGauge(
  axes: [
    RadialGaugeAxis(
      color: Colors.transparent,
      // ...
      segments: [
        RadialGaugeSegment(
          minValue: 0,
          maxValue: 20,
          minAngle: -150,
          maxAngle: -130,
          color: Colors.red,
        ),
        RadialGaugeSegment(
          minValue: 20,
          maxValue: 40,
          minAngle: -120,
          maxAngle: -90,
          color: Colors.orange,
        ),
          // ...
      ],
    ),
  ],
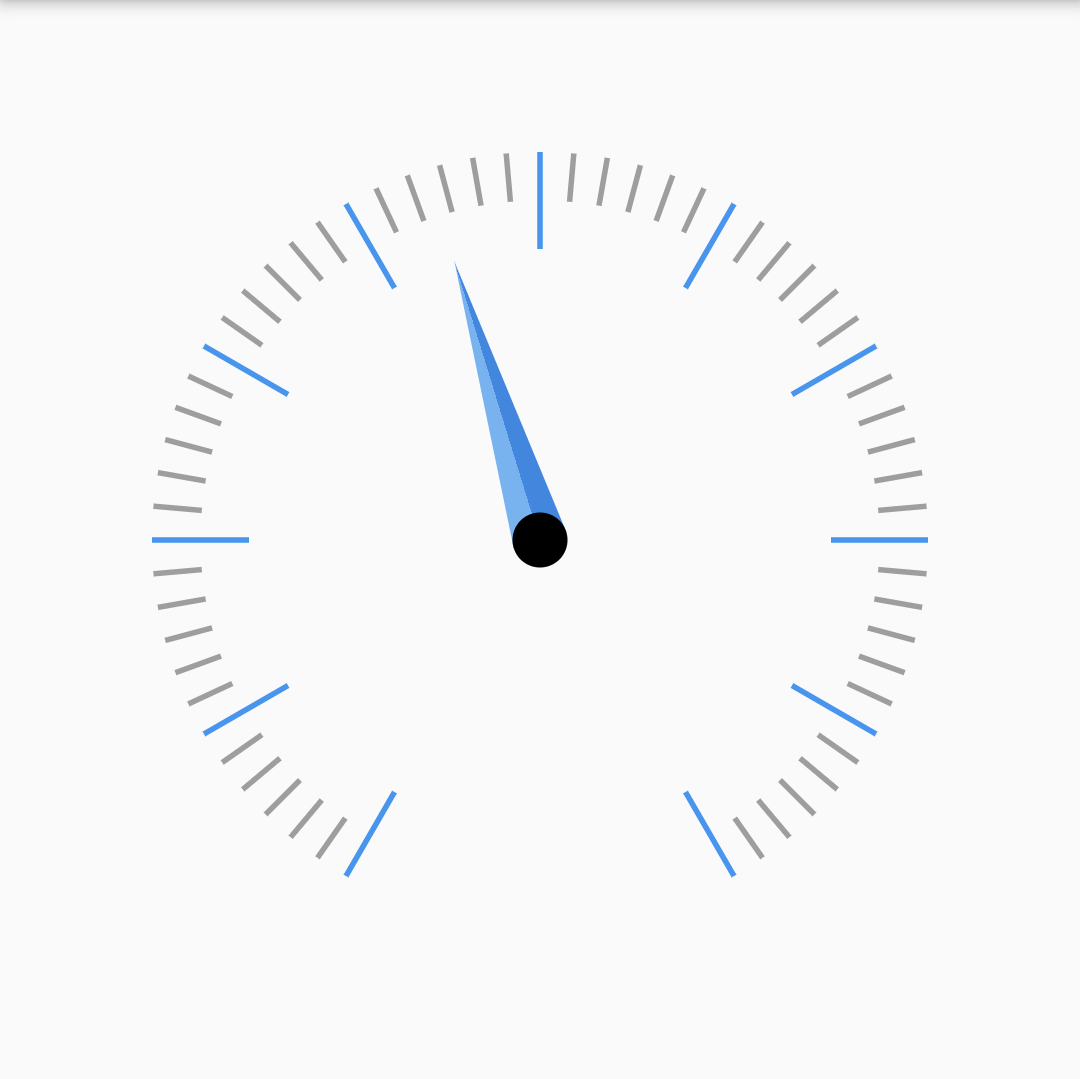
)Each axes can have multiple ticks of type RadialTick. They are listed in the ticks property.
There are multiple possibilities to create ticks.
- Interval: Set the interval to the desired value. The ticks are displayed on every integer multiple of
interval. - Ticks in between: Set
ticksInBetweento the desired number of ticks in between the parent ticks or the axes limits. - Custom values: Set
valuesto the desired values you want the ticks to appear at. - Custom builder: Set
valuesBuilderand/oranglesBuilderto a custom function calculating the values and/or angles at which the ticks should be displayed.
Every RadialTick can have RadialTicks as children, which is especially useful when setting the ticksInBetween on a children tick.
RadialGaugeAxis(
  // ...
  color: Colors.transparent,
  ticks: [
    RadialTicks(
        interval: 20,
        alignment: RadialTickAxisAlignment.inside,
        color: Colors.blue,
        length: 0.2,
        children: [
          RadialTicks(
              ticksInBetween: 5,
              length: 0.1,
              color: Colors.grey[500]),
        ])
  ],
)Each axis can have multiple pointers. Currently, there is only one type of pointer available, the RadialNeedlePointer with the following properties:
value: The value the pointer is pointing toticknessStart: The thickness of the pointer at the start of the pointer (in the middle of the axis)ticknessEnd: The thickness of the pointer at the end of the pointerlength: The length of the pointer in fractions of the axis.knobRadiusAboslute: The radius of the pointer's knob in absolute pixels.color/gradient: The color/gradient filling the pointer.
The following code results in the knob shown above. For more, take a look at the examples.
RadialGaugeAxis(
    pointers: [
        RadialNeedlePointer(
            value: _pointerValue,
            thicknessStart: 20,
            thicknessEnd: 0,
            length: 0.6,
            knobRadiusAbsolute: 10,
            gradient: LinearGradient(...),
        )
    ],
)Not available yet


