You signed in with another tab or window. Reload to refresh your session.You signed out in another tab or window. Reload to refresh your session.You switched accounts on another tab or window. Reload to refresh your session.Dismiss alert
Docker is an open-source project that automates the deployment of applications inside software containers, by providing an additional layer of abstraction and automation of operating-system-level virtualization on Linux. Docker uses the resource isolation features of the Linux kernel such as cgroups and kernel namespaces, and a union-capable filesystem such as aufs and others to allow independent “containers” to run within a single Linux instance, avoiding the overhead of starting and maintaining virtual machines.
Docker automates the repetitive tasks of setting up and configuring development environments so that developers can focus on what matters: building great software.
Developers using Docker don’t have to install and configure complex databases nor worry about switching between incompatible language toolchain versions.
{17-09-19 10:59}Leung:~ lynnleung% docker -v
Docker version 17.06.2-ce, build cec0b72
启动第一个docker: hello-world 。
{17-09-19 11:00}Leung:~ lynnleung% docker run hello-world
Unable to find image 'hello-world:latest' locally
latest: Pulling from library/hello-world
5b0f327be733: Pull complete
Digest: sha256:1f19634d26995c320618d94e6f29c09c6589d5df3c063287a00e6de8458f8242
Status: Downloaded newer image for hello-world:latest

Hello from Docker!
This message shows that your installation appears to be working correctly.

To generate this message, Docker took the following steps:
 1. The Docker client contacted the Docker daemon.
 2. The Docker daemon pulled the "hello-world" image from the Docker Hub.
 3. The Docker daemon created a new container from that image which runs the
    executable that produces the output you are currently reading.
 4. The Docker daemon streamed that output to the Docker client, which sent it
    to your terminal.

To try something more ambitious, you can run an Ubuntu container with:
 $ docker run -it ubuntu bash

Share images, automate workflows, and more with a free Docker ID:
 https://cloud.docker.com/

For more examples and ideas, visit:
 https://docs.docker.com/engine/userguide/
{17-09-19 11:32}Leung:~ lynnleung% docker run -P -d nginx
21ad408c79947d1cbee7540b1ae1586987acfc4bb6b09b6339b02879c70aeb2e
{17-09-19 11:32}Leung:~ lynnleung% docker ps -a
CONTAINER ID IMAGE COMMAND CREATED STATUS PORTS NAMES
21ad408c7994 nginx "nginx -g 'daemon ..." 2 seconds ago Up 1 second 0.0.0.0:32768->80/tcp hopeful_clarke
bd8dc013d734 hello-world "/hello" 31 minutes ago Exited (0) 31 minutes ago clever_bohr
leung@ubuntu:~$ docker run -d -p 80:80 nginx
8b15325246d29c7b6f50cd3290c7a91fdf4b7d78240779720a2abdc64555ab45
leung@ubuntu:~$ docker ps -a
CONTAINER ID IMAGE COMMAND CREATED STATUS PORTS NAMES
8b15325246d2 nginx "nginx -g 'daemon ..." 18 hours ago Up 18 hours 0.0.0.0:80->80/tcp flamboyant_mayer
{17-09-19 14:28}Leung:~ lynnleung% docker login
Login with your Docker ID to push and pull images from Docker Hub. If you don‘t have a Docker ID, head over to https://hub.docker.com to create one.
Username: leungjz
Password:
Login Succeeded
leung@ubuntu:~/docker$ docker ps
CONTAINER ID IMAGE COMMAND CREATED STATUS PORTS NAMES
490240532f1f nginx "nginx -g 'daemon ..." About an hour ago Up About an hour 0.0.0.0:80->80/tcp nginx-fpm
d254489bd9e4 php:7.1-fpm "docker-php-entryp..." About an hour ago Up 27 minutes 0.0.0.0:9000->9000/tcp php7-fpm
7f184683cc8d mysql "docker-entrypoint..." 2 hours ago Up 2 hours 0.0.0.0:3306->3306/tcp mysql
docker 对于很多程序猿来说,一点都不陌生,毕竟它是一个轻量级的部署神器。
也许,也有很多童鞋和我一样,只听说过,却没有真正的实践过 docker。那么,现在一起走进 docker 的世界。
什么是 Docker?
Docker 概念
Docker 和虚拟机(VM)的区别
一张图概括vm和docker的架构区别。具体的可以查看 知乎 - docker容器与虚拟机有什么区别?
总之明确一点, Docker 不是虚拟机。
Docker 的应用场景
为什么要用 Docker?
Docker 的优点
获取 Docker
安装
官方安装。 传送门
通过阿里云镜像仓库安装
先登录 阿里云 - 开发者平台,登录后进入管理中心,点击管理中心中的
Docker Hub 镜像站点。通过 DaoCloud 安装。 传送门
Docker 加速
目前国内比较多人用的加速器有 DaoCloud 和 阿里云。
阿里云
先登录 阿里云 - 开发者平台,登录后进入管理中心,点击管理中心中的
Docker Hub 镜像站点。可以看到控制台中的专属加速器。
DaoCloud
登录后打开 DaoCloud - 加速器即可看到配置 docker 加速器的脚本,拷贝代码运行即可。
非root用户使用 docker
创建docker组:
sudo groupadd docker将当前用户加入docker组:
sudo gpasswd -a ${USER} docker重新启动docker服务:
sudo systemctl restart docker当前用户退出系统重新登陆即可。
认识 Docker
查看Docker安装情况
Docker 安装之后,可以使用
docker -v查看docker 版本。{17-09-19 10:59}Leung:~ lynnleung% docker -v Docker version 17.06.2-ce, build cec0b72启动第一个docker: hello-world 。
{17-09-19 11:00}Leung:~ lynnleung% docker run hello-world Unable to find image 'hello-world:latest' locally latest: Pulling from library/hello-world 5b0f327be733: Pull complete Digest: sha256:1f19634d26995c320618d94e6f29c09c6589d5df3c063287a00e6de8458f8242 Status: Downloaded newer image for hello-world:latest Hello from Docker! This message shows that your installation appears to be working correctly. To generate this message, Docker took the following steps: 1. The Docker client contacted the Docker daemon. 2. The Docker daemon pulled the "hello-world" image from the Docker Hub. 3. The Docker daemon created a new container from that image which runs the executable that produces the output you are currently reading. 4. The Docker daemon streamed that output to the Docker client, which sent it to your terminal. To try something more ambitious, you can run an Ubuntu container with: $ docker run -it ubuntu bash Share images, automate workflows, and more with a free Docker ID: https://cloud.docker.com/ For more examples and ideas, visit: https://docs.docker.com/engine/userguide/Docker常用命令
pull
作用:从镜像仓库中拉取或者更新指定镜像
语法:
docker pull [OPTIONS] NAME[:TAG|@DIGEST]options:
-a:拉取所有tagged镜像--disable-content-trust:忽略镜像的校验,默认开启TAG 默认为
latest,即拉取仓库最新的镜像。具体的tag值可以去官方hub中查看。举个栗子,拉取nginx镜像,未指定tag时,默认拉取最新版本(在 Docker Hub - Nginx镜像首页可以看到,最新的nginx版本为 1.13.5):
{17-09-19 10:57}Leung:~ lynnleung% docker pull nginx
Using default tag: latest
latest: Pulling from library/nginx
afeb2bfd31c0: Pull complete
7ff5d10493db: Pull complete
d2562f1ae1d0: Pull complete
Digest: sha256:aa1c5b5f864508ef5ad472c45c8d3b6ba34e5c0fb34aaea24acf4b0cee33187e
Status: Downloaded newer image for nginx:latest
先把镜像拉取下来,待会就可以直接使用。
run
作用:创建一个新的容器,并运行一个命令
语法:
docker run [OPTIONS] IMAGE [COMMAND] [ARG...]常用的options:
-a stdin:指定标准输入输出内容类型,可选 STDIN/STDOUT/STDERR 三项-d: 后台运行容器,并返回容器ID-i: 以交互模式运行容器,通常与-t同时使用-t: 为容器重新分配一个伪输入终端,通常与-i同时使用--name="my-nginx": 为容器指定一个名称-h "hostname;": 指定容器的hostname-e username="ritchie": 设置环境变量--link=[]: 添加链接到另一个容器--expose=[]: 开放一个端口或一组端口-p hostport:containerport:指定容器暴露的端口对应宿主机的端口-P:暴露容器端口对应宿主机的随机端口-v:给容器挂载存储卷,挂载到容器的某个目录举个栗子,运行一个nginx:
{17-09-19 11:32}Leung:~ lynnleung% docker run -P -d nginx
21ad408c79947d1cbee7540b1ae1586987acfc4bb6b09b6339b02879c70aeb2e
{17-09-19 11:32}Leung:~ lynnleung% docker ps -a
CONTAINER ID        IMAGE               COMMAND                  CREATED             STATUS                      PORTS                   NAMES
21ad408c7994        nginx               "nginx -g 'daemon ..."   2 seconds ago       Up 1 second                 0.0.0.0:32768->80/tcp   hopeful_clarke
bd8dc013d734        hello-world         "/hello"                 31 minutes ago      Exited (0) 31 minutes ago                           clever_bohr
可以看到 PORTS,容器中的 80 端口对应了宿主机中的 32768 端口,此时访问

http://localhost:32768即可看到nginx的默认页面。如果在虚拟机中运行
docker run -d -p 80:80 nginx访问虚拟机的地址http://10.211.55.9,同样可以打开nginx的默认页面。start/stop/restart
作用:
docker start:启动一个或多少已经被停止的容器docker stop:停止一个运行中的容器docker restart:重启容器语法:
举个栗子,停止虚拟机中的nginx:
此时再访问虚拟机ip已经是不能访问了。
再运行
docker start flamboyant_mayer可以再次启动nginx。exec
作用:在运行的容器中执行命令
语法:
docker exec [OPTIONS] CONTAINER COMMAND [ARG...]options:
-d:分离模式: 在后台运行-i:即使没有附加也保持STDIN 打开-t:分配一个伪终端举个例子,进入虚拟机中的nginx容器查看nginx的版本和已安装模块:
可以看到,最新版的nginx容器确实是
1.13.5版本,并且安装了大部分常用的模块。create
作用: 创建一个新的容器但是不启动它
语法:
docker create [OPTIONS] IMAGE [COMMAND] [ARG...]语法同run举个栗子:
运行
start命令后,即可访问虚拟机的 8888 端口。build
作用: 根据 Dockerfile 构建镜像。
语法:
docker build [OPTIONS] PATH | URL | -常用的 options:
ps
作用: 列出容器
语法:
createoptions:
-a:显示所有的容器,包括未运行的-f:根据条件过滤显示的内容--format:指定返回值的模板文件-l:显示最近创建的容器-n:列出最近创建的n个容器--no-trunc:不截断输出-q:静默模式,只显示容器编号-s:显示总的文件大小port
作用: 列出指定的容器的端口映射,或者查找将PRIVATE_PORT NAT到面向公众的端口。
语法:
docker port [OPTIONS] CONTAINER [PRIVATE_PORT[/PROTO]]栗子:
top
作用: 查看容器中运行的进程信息,支持 ps 命令参数。
语法:
docker top [OPTIONS] CONTAINER [ps OPTIONS]栗子:
images
作用: 列出本地镜像
语法:
docker images [OPTIONS] [REPOSITORY[:TAG]]常用的options:
-a:列出本地所有的镜像(含中间映像层,默认情况下,过滤掉中间映像层)-f:显示满足条件的镜像-q:只显示镜像IDleung@ubuntu:~$ docker images -a REPOSITORY TAG IMAGE ID CREATED SIZE nginx latest 66216d141be6 10 days ago 108MBrm/rmi
用法:
rm用于删除一个或多个容器,rmi用于删除一个或多个本地镜像。语法:
rm:
docker rm [OPTIONS] CONTAINER [CONTAINER...]rm 的options:
-f:通过SIGKILL信号强制删除一个运行中的容器-l:移除容器间的网络连接,而非容器本身-v:-v 删除与容器关联的卷rmi:
docker rmi [OPTIONS] IMAGE [IMAGE...]rmi 的options:
-f:强制删除--no-prune:不移除该镜像的过程镜像,默认移除tag
作用: 标记本地镜像,将其归入某一仓库。
语法:
docker tag [OPTIONS] IMAGE[:TAG] [REGISTRYHOST/][USERNAME/]NAME[:TAG]要注意这里的
username指的是你注册docker hub后,在hub上的唯一标识符,也是登录的username。举个栗子:
docker tag nginx leungjz/nginxpush
作用: 将本地的镜像上传到镜像仓库,要先登陆到镜像仓库
Linux登录仓库的方法是: 运行
docker login命令,然后输入dockerhub的登录名和密码即可,登录名不是邮箱。Mac 登录仓库为点击状态栏上的小鲸鱼,在下拉栏中选择
Sign in登录即可。{17-09-19 14:28}Leung:~ lynnleung% docker login Login with your Docker ID to push and pull images from Docker Hub. If you don‘t have a Docker ID, head over to https://hub.docker.com to create one. Username: leungjz Password: Login Succeeded语法:
docker push [OPTIONS] NAME[:TAG]options:
--disable-content-trust:忽略镜像的校验,默认开启在push前,需要标记本地某个镜像,举个栗子(Mounted 那里应为是基于我的测试账号中tag过来。):
{17-09-19 14:32}Leung:~ lynnleung% docker tag nginx leungjz/nginx
{17-09-19 14:33}Leung:~ lynnleung% docker push leungjz/nginx
The push refers to a repository [docker.io/leungjz/nginx]
110566462efa: Mounted from buct132/nginx
305e2b6ef454: Mounted from buct132/nginx
24e065a5f328: Mounted from buct132/nginx
latest: digest: sha256:d8565c25b654da69bc9b837a0dee713c988f0276e90564aa8fd12ebf4c2ff11e size: 948
commit
作用: 从容器创建一个新镜像。
语法:
docker commit [OPTIONS] CONTAINER [REPOSITORY[:TAG]]options:
-a:提交的镜像作者-c:使用Dockerfile指令来创建镜像-m:提交时的说明文字-p:在commit时,将容器暂停举个栗子:
{17-09-19 14:48}Leung:~ lynnleung% docker ps
CONTAINER ID        IMAGE               COMMAND                  CREATED             STATUS              PORTS                    NAMES
6b06e2bb098e        nginx               "nginx -g 'daemon ..."   38 minutes ago      Up 38 minutes       10.211.55.2:80->80/tcp   nginx
{17-09-19 14:48}Leung:~ lynnleung% docker commit -a "leungjz" -m "my nginx" 6b06 leungjz/nginx
sha256:3b4cb2b72b78be5da995e42ad051cbf0c73fd62fd437ac56469d8ee8f488b4c6
{17-09-19 14:49}Leung:~ lynnleung% docker images
REPOSITORY          TAG                 IMAGE ID            CREATED             SIZE
leungjz/nginx       latest              3b4cb2b72b78        6 seconds ago       108MB
nginx               latest              da5939581ac8        5 days ago          108MB
hello-world         latest              05a3bd381fc2        6 days ago          1.84kB
{17-09-19 14:49}Leung:~ lynnleung% docker push leungjz/nginx
The push refers to a repository [docker.io/leungjz/nginx]
a13795f76641: Pushed
110566462efa: Mounted from buct132/nginx
305e2b6ef454: Mounted from buct132/nginx
24e065a5f328: Layer already exists
latest: digest: sha256:eaa0d73ad93f9ce2ebe8df0059d028742bcf1c92aeaebf65e9c2a9b3558f7acd size: 1155
使用 Docker 搭建 lnmp 环境
既然 Docker 可以直接启动 nginx 服务器,那么也肯定可以快速搭建 lnmp 环境。
为了方便管理,先新建一个项目目录:
$ mkdir -p ./docker/mysql ./docker/php ./docker/nginx ./docker/php ./docker/project
$ cd docker
其中,
启动 MySql
一条命令即可快速启动一个mysql服务器:
docker run -p 3306:3306 -v $PWD/mysql:/var/lib/mysql -e MYSQL_ROOT_PASSWORD=123456 -d --name mysql mysql运行后,docker 会自动从仓库中下载最新的 mysql 镜像,并设置为 root 密码为
123456,同时暴露出 3306 端口,容器命名为mysql,并后台运行。启动 PHP-FPM
这里的 php 使用 fpm 管理进程:
先新建一个 php.ini :
配置文件中的配置项可以自行设置。
从官方的 php7.1-fpm 为基础容器。因为要连接数据库,所以还得进入容器中安装 php 的 pdo_mysql 模块。
可以看到,已经安装上了 pdo_mysql 的模块。重启 php 容器即可。
启动 nginx
之前已经成功启动nginx了,只需要在这基础上,增加 php 文件的解析就可以了。
同理,先新建一个 nginx 配置文件:
$ touch nginx/default.conf其中,配置文件中需要将 php 文件转发到 php-fpm 去处理即可,以前在宿主机中的配置一般都是转发到
127.0.0.1:9000,但是现在容器的 ip 是不固定的,所以直接填php7-fpm:9000,启动容器时用link连接两个容器,让 docker 自动去识别容器的 ip 就可以了。当中的php7-fpm为 php-fpm 容器的名称。 php 文件路径要和 nginx 的文件路径保持一致。启动 nginx :
此时,一个简易的 lnmp 环境已经搭好了,查看一下容器启动情况:
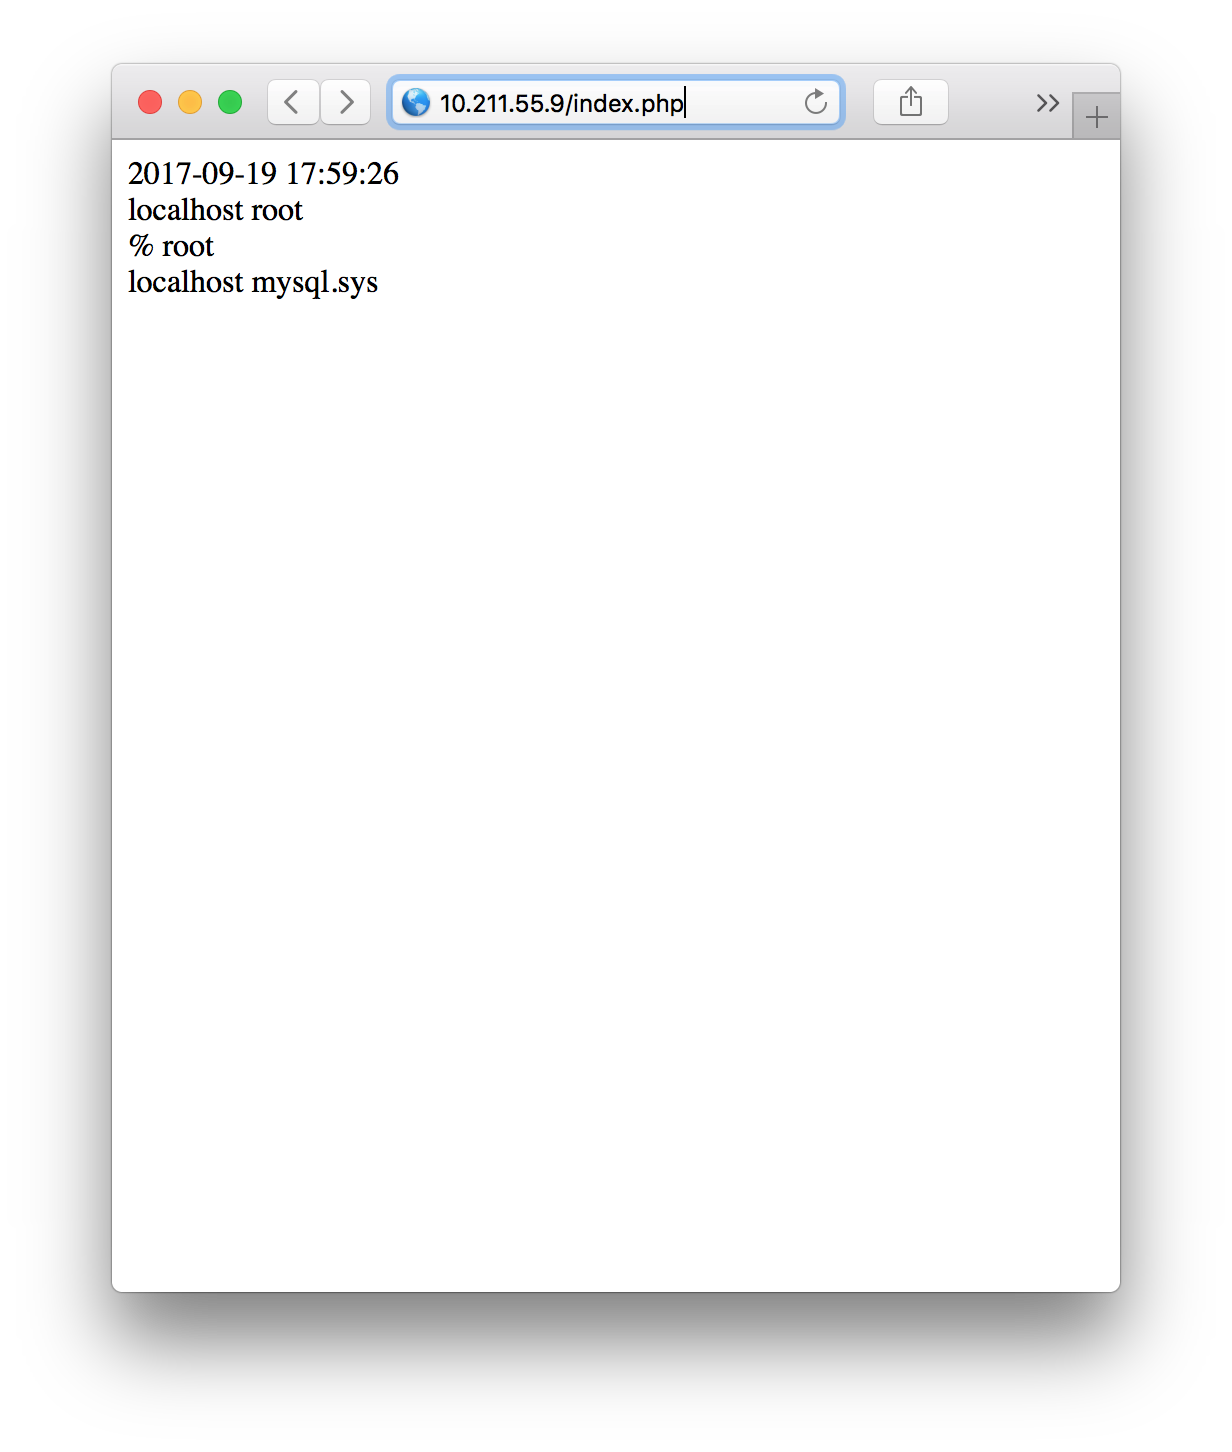
测试访问 php 文件
新建两个测试文件:
touch project/index.php project/i.phpindex.php
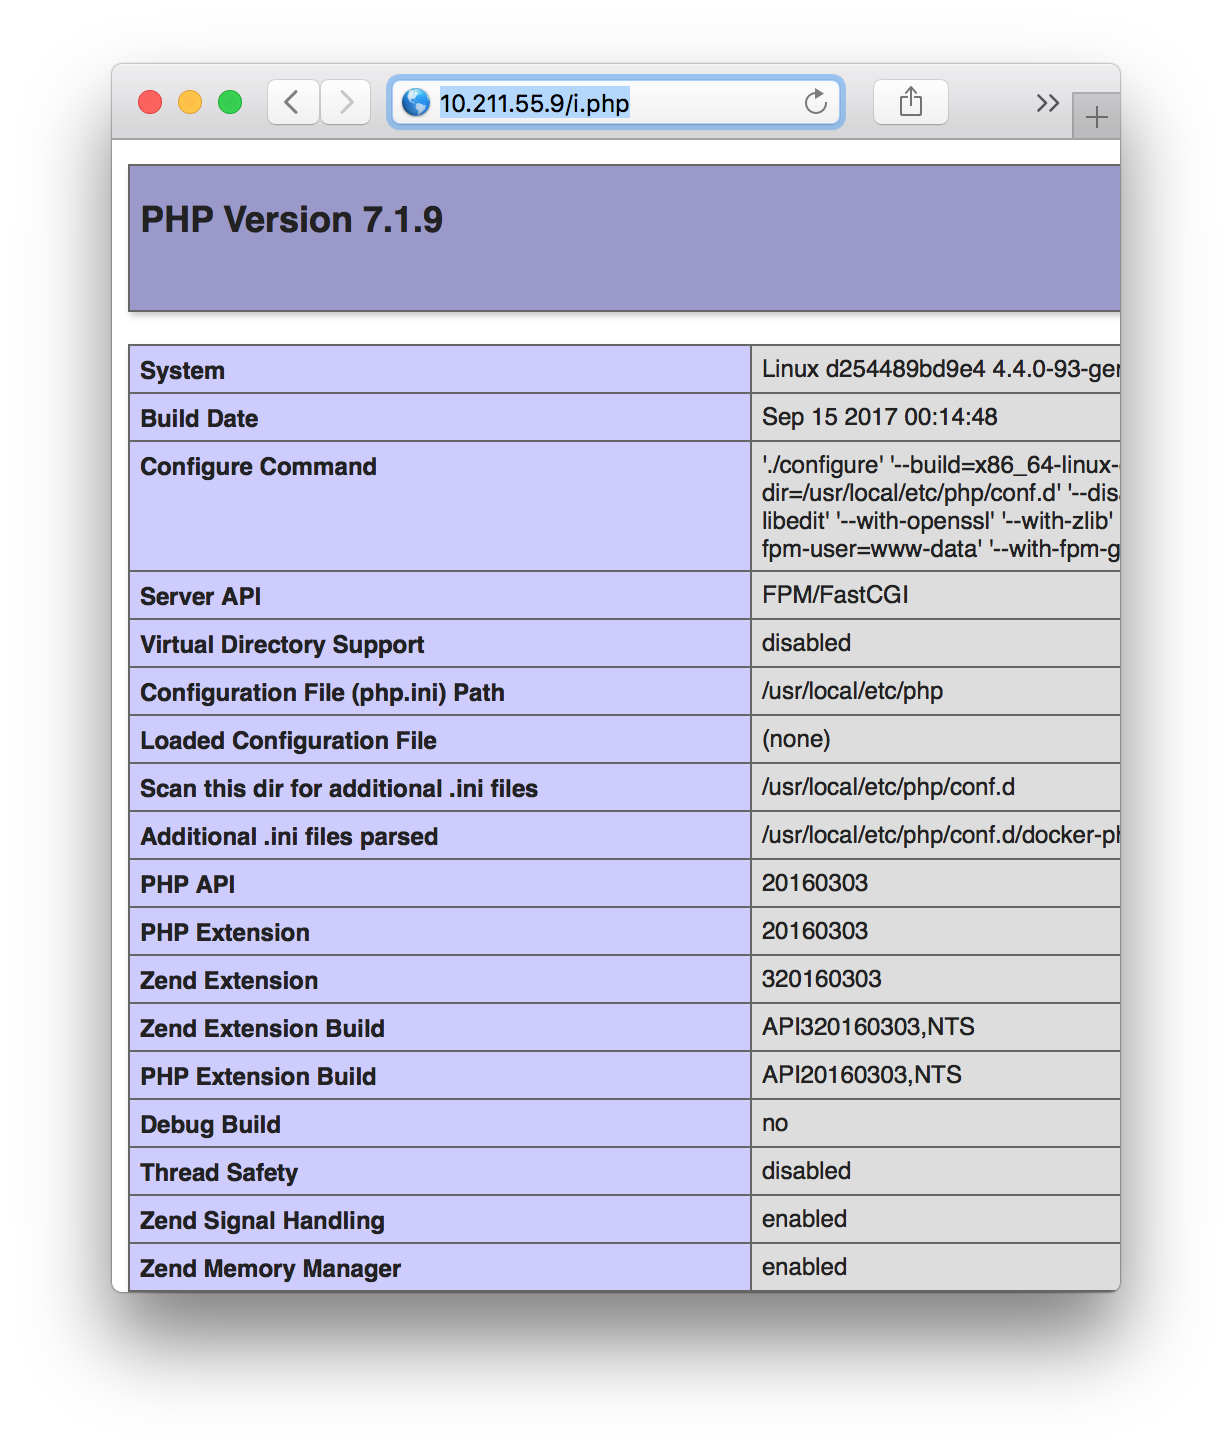
i.php
打开浏览器访问 http://10.211.55.9/i.php:


The text was updated successfully, but these errors were encountered: